
Leather handbags are a significant investment, and a Chanel bag is no exception. Discovering a stain or simply noticing accumulated dirt can be distressing. Luckily, with the right approach, you can effectively clean your Chanel bag’s leather and maintain its pristine condition. This guide will walk you through a gentle cleaning process, address common concerns, and provide preventative measures to keep your treasured bag looking its best. We’ll start with a quick fix for light dirt, then delve into deeper cleaning methods and ongoing care.
This comprehensive guide will cover everything from identifying your bag’s leather type to selecting the appropriate cleaning products. We’ll detail step-by-step cleaning instructions for various levels of soiling, including tackling common issues like ink marks and water stains. By the end of this article, you’ll have the knowledge and confidence to safely and effectively clean your Chanel bag, preserving its beauty for years to come.
Understanding Your Chanel Bag’s Leather
Before you begin, it’s crucial to identify the type of leather your Chanel bag is made from. Chanel uses several types, each requiring a slightly different cleaning approach.
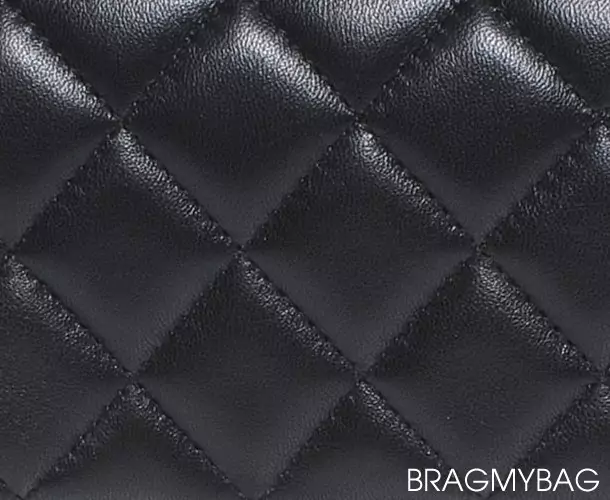
- Lambskin: Extremely soft and delicate, prone to scratches and watermarks. Requires the gentlest cleaning methods.
- Caviar Leather: More durable and textured, offering better resistance to scratches and wear. Can tolerate slightly more robust cleaning.
- Patent Leather: Shiny and glossy, susceptible to fingerprints and smudges. Needs specific patent leather cleaners.
- Calfskin: A durable and resilient leather, less prone to damage than lambskin.
If you’re unsure of your bag’s leather type, consult the authenticity card or contact Chanel directly for assistance.
Materials You’ll Need
Gathering the right supplies is essential for a safe and effective cleaning process.
| Item | Quantity | Specifications |
|---|---|---|
| Microfiber Cloths | 3-5 | Lint-free, soft |
| Leather Cleaner | 1 | Specifically formulated for the leather type |
| Leather Conditioner | 1 | To restore moisture after cleaning |
| Soft-Bristled Brush | 1 | For gently removing dirt from textured leather |
| Distilled Water | As needed | Avoids mineral deposits |
| Cotton Swabs | Several | For targeted cleaning |
| Leather Protector Spray | 1 | To prevent future stains (optional) |
Important: Always test any cleaning product on an inconspicuous area of the bag first to ensure it doesn’t cause discoloration or damage.
Step-by-Step Cleaning Process
This section will cover a general cleaning process, adaptable for different leather types.
Phase 1: Preparation
- Empty the Bag: Remove all contents from your bag.
- Dust Removal: Use a soft-bristled brush or a dry microfiber cloth to gently remove loose dust and dirt from the exterior. Pay attention to crevices and hardware.
- Hardware Cleaning: Use a separate, slightly damp microfiber cloth to wipe down the metal hardware. Avoid harsh chemicals that could tarnish the finish.
Phase 2: Gentle Cleaning
- Apply Leather Cleaner: Apply a small amount of leather cleaner to a clean microfiber cloth. Do not apply the cleaner directly to the bag.
- Gentle Wipe Down: Gently wipe the leather surface in circular motions. Avoid excessive pressure, especially on lambskin.
- Remove Residue: Use a clean, damp (not wet!) microfiber cloth to remove any remaining cleaner residue.
- Dry Thoroughly: Allow the bag to air dry completely in a cool, well-ventilated area, away from direct sunlight or heat.
Phase 3: Conditioning & Protection (Optional)
- Apply Leather Conditioner: Once the bag is completely dry, apply a small amount of leather conditioner to a clean microfiber cloth.
- Condition the Leather: Gently massage the conditioner into the leather in circular motions. This helps restore moisture and prevent cracking.
- Buff to Shine: Buff the bag with a clean, dry microfiber cloth to remove any excess conditioner and restore its shine.
- Apply Protector Spray: For added protection, consider applying a leather protector spray. Follow the manufacturer’s instructions carefully.
Tackling Specific Stains

Different stains require different approaches. Here’s how to handle common issues:
- Ink Marks: Gently blot the ink stain with a clean microfiber cloth. If the stain persists, consult a professional leather cleaner. Avoid rubbing, as this can spread the ink.
- Water Stains: Dampen the entire panel of the bag with distilled water to create an even tone. Allow it to air dry naturally. This can often minimize the appearance of watermarks.
- Oil Stains: Sprinkle cornstarch or talcum powder onto the oil stain. Let it sit for several hours (or overnight) to absorb the oil. Gently brush off the powder with a soft-bristled brush.
- Color Transfer: This is a tricky one. Professional cleaning is highly recommended for significant color transfer. For minor transfer, a specialized leather cleaner may help, but test carefully.
How to Prevent Future Damage
Prevention is key to maintaining the beauty of your Chanel bag.
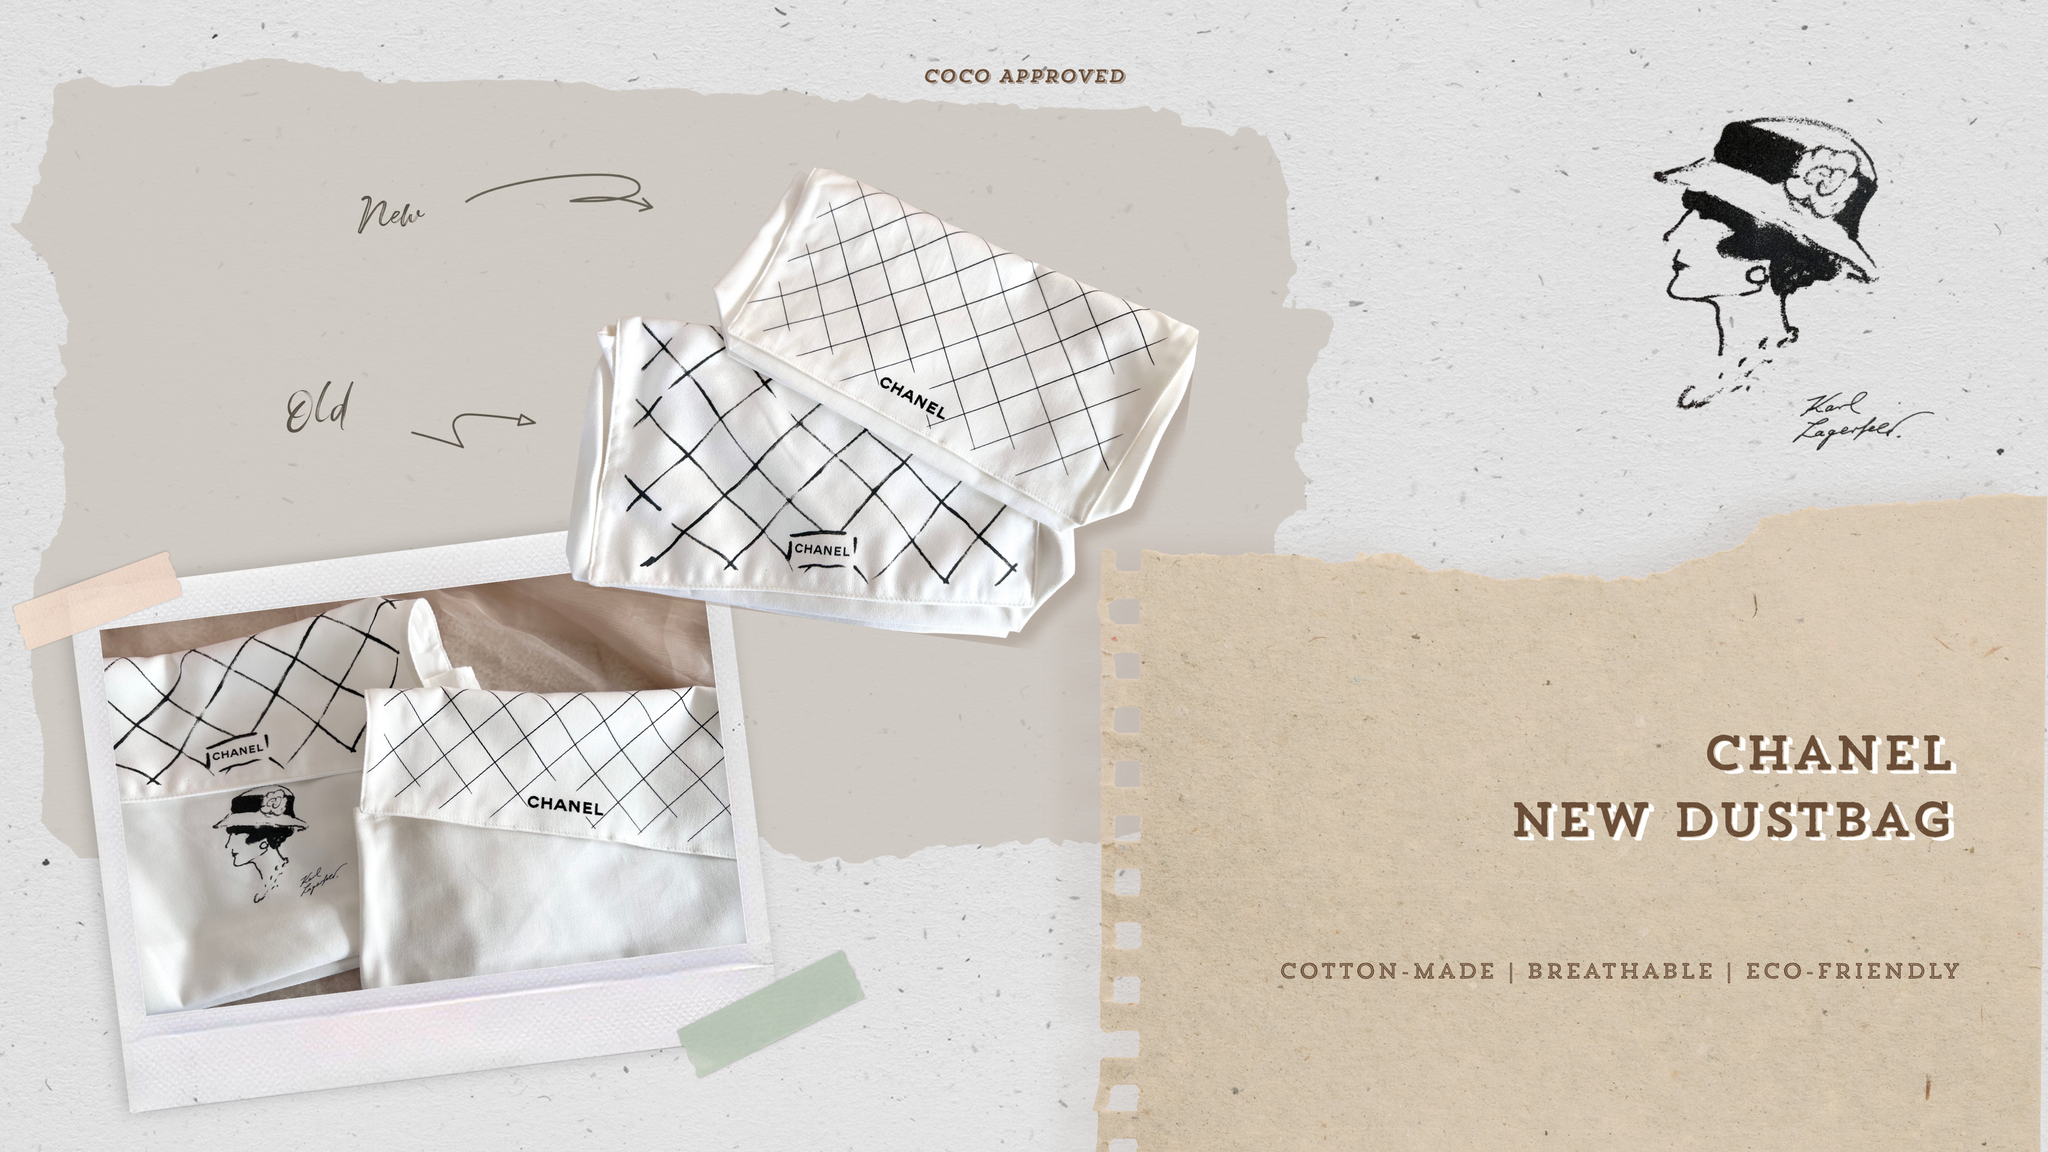
- Storage: Store your bag in a dust bag when not in use. Avoid storing it in direct sunlight or humid environments.
- Handling: Handle your bag with clean hands to prevent oil and dirt transfer.
- Avoid Overfilling: Overfilling can stretch the leather and distort the bag’s shape.
- Regular Dusting: Dust your bag regularly with a soft cloth to remove accumulated dirt.
- Professional Cleaning: Consider professional cleaning once or twice a year, especially for delicate leathers like lambskin.
Pro Tips for Chanel Bag Care
- Avoid Harsh Chemicals: Never use harsh chemicals, alcohol-based cleaners, or abrasive cleaners on your Chanel bag.
- Test First: Always test any cleaning product on an inconspicuous area of the bag before applying it to the entire surface.
- Gentle is Key: Use gentle motions and avoid excessive pressure when cleaning.
- Hardware Protection: Apply a thin coat of petroleum jelly to the hardware to prevent tarnishing.
- Stuffing: When storing, stuff your bag with acid-free tissue paper to maintain its shape.
When to Seek Professional Help
While you can handle many cleaning tasks at home, some situations require professional attention.
- Severe Stains: Deeply ingrained stains, such as ink, grease, or dye transfer, are best left to the experts.
- Significant Damage: Scratches, tears, or discoloration should be addressed by a professional leather repair specialist.
- Unsure of Leather Type: If you’re unsure of your bag’s leather type, it’s best to err on the side of caution and seek professional advice.
A reputable leather restoration service will have the expertise and tools to safely and effectively clean and repair your Chanel bag. Expect to pay between $100-$500+ depending on the extent of the cleaning/repair needed.
Get Your Chanel Bag Working Again
By following this guide, you can confidently clean and care for your Chanel bag, preserving its beauty and value for years to come. Remember to identify your leather type, use gentle cleaning methods, and prioritize prevention.
Have you successfully cleaned your Chanel bag using these tips? Share your experiences and any additional advice in the comments below!


