

Dealing with a dirty sleeping bag can be a real downer, especially when you’re planning your next outdoor adventure. A smelly or soiled synthetic sleeping bag isn’t just unpleasant; it can also compromise its insulation and lifespan. Fortunately, cleaning a synthetic sleeping bag isn’t as daunting as it seems, and with the right approach, you can restore it to its former glory. This guide will walk you through the entire process, from initial assessment to drying and storage, ensuring your bag stays fresh and functional for years to come.
This comprehensive guide goes beyond a quick rinse. We’ll cover everything from assessing the level of cleaning needed, to hand-washing and machine-washing techniques, proper drying methods, and essential maintenance tips. By the end of this article, you’ll be equipped with the knowledge to confidently clean your synthetic sleeping bag and keep it in top condition, ready for countless nights under the stars.
Assessing the Dirt and Damage
Before diving into cleaning, evaluate the condition of your sleeping bag. This will determine the best approach.
Lightly Soiled – Minimal Odor
- Signs: Minimal dirt, slight odor, used for a few nights without significant exposure to grime.
- Solution: Spot cleaning or a refresh cycle in the dryer (see “Pro Tips” section).
Moderately Soiled – Noticeable Odor & Dirt
- Signs: Visible dirt, noticeable odor, used for several nights with some exposure to sweat and oils.
- Solution: Hand-washing or gentle machine washing.
Heavily Soiled – Significant Dirt & Odor
- Signs: Obvious dirt, strong odor, potentially stains, used in challenging conditions.
- Solution: Thorough hand-washing or machine washing, potentially requiring multiple cycles.
Materials and Tools Needed
| Item | Quantity | Specifications |
|---|---|---|
| Large Tub/Bathtub | 1 | Large enough to fully submerge the bag |
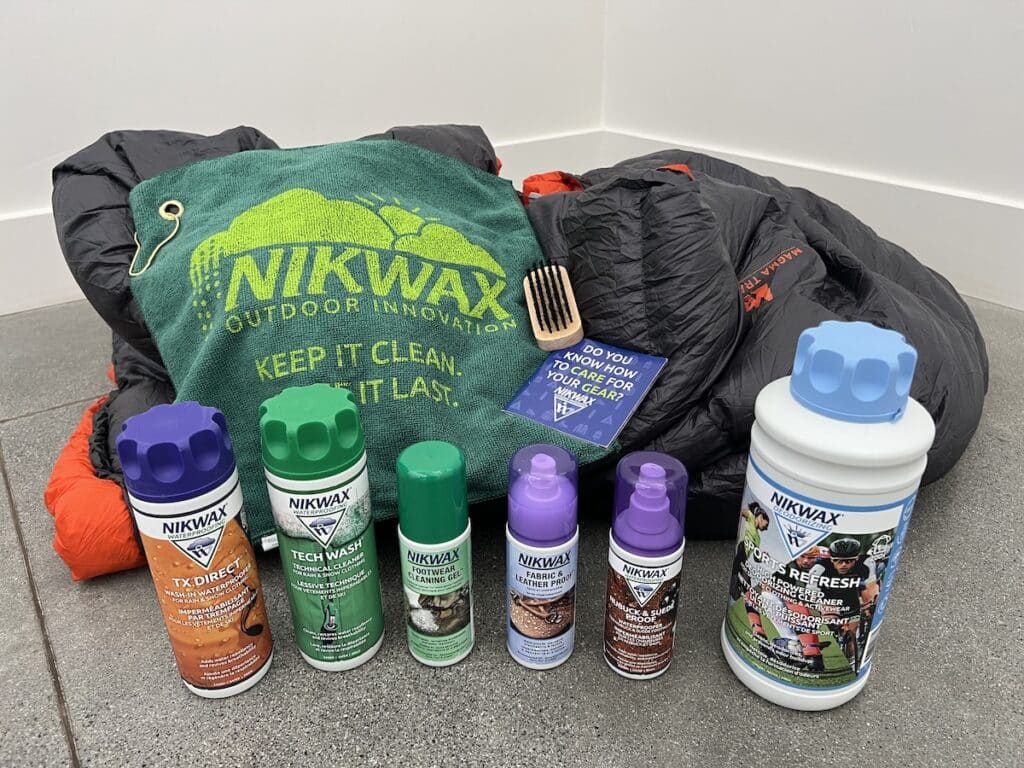
| Gentle Detergent | 1 Bottle | Specifically for technical fabrics (Nikwax Tech Wash, Grangers Performance Wash) – Avoid harsh detergents, bleach, or fabric softeners |
| Soft Sponge/Cloth | 1-2 | For gentle scrubbing |
| Clean Water | As needed | Cool or lukewarm |
| Drying Rack | 1 | Large enough to support the bag’s weight |
| Tennis Balls/Dryer Balls | 2-3 | For fluffing during drying |
| Large, Clean Dryer (Optional) | 1 | With low heat setting |
Complete Cleaning Process
Step 1: Preparation
- Empty Pockets: Remove all items from the bag.
- Zip It Up: Fully zip the bag and turn it inside out. This protects the zippers and outer shell.
- Inspect for Tears: Check for any rips or tears and repair them before washing to prevent further damage.
Step 2: Hand-Washing (Recommended for most synthetic bags)
Diagnosing the Issue
- Determine if spot cleaning is sufficient for minor stains or odors.
- If widespread cleaning is needed, proceed with the full hand-washing process.
Fix Steps
- Fill Tub: Fill the tub with cool or lukewarm water. Never use hot water, as it can damage the synthetic fibers.
- Add Detergent: Add the recommended amount of technical detergent to the water.
- Submerge & Soak: Fully submerge the sleeping bag and gently agitate the water to ensure even detergent distribution. Let it soak for 15-30 minutes.
- Gentle Scrubbing: Use a soft sponge or cloth to gently scrub any particularly dirty areas. Avoid harsh scrubbing.
- Rinse Thoroughly: Drain the soapy water and refill the tub with clean water. Rinse the bag repeatedly until all traces of detergent are gone. This is crucial! Remaining detergent can attract dirt and reduce insulation.
Testing
- Squeeze the bag to check for any remaining suds. Repeat rinsing if necessary.
Step 3: Machine Washing (If bag label permits)
Diagnosing the Issue
- Check the care label on your sleeping bag. If it states “machine washable,” proceed with caution.
- If unsure, hand-washing is always the safer option.
Fix Steps
- Use a Large Capacity Washer: A front-loading washer without a central agitator is ideal. Top-loading washers with agitators can damage the bag.
- Gentle Cycle: Select the gentle or delicate cycle with cool or lukewarm water.
- Add Detergent: Use the recommended amount of technical detergent.
- Rinse Twice: Select an extra rinse cycle to ensure all detergent is removed.
Testing
- After washing, inspect the bag for any signs of damage or remaining detergent.
Step 4: Drying
:max_bytes(150000):strip_icc()/how-to-wash-a-sleeping-bag-5224345-09-3896b820281f4bcb8b8fa5b680cf74c5.JPG)
Diagnosing the Issue
- Improper drying can clump the synthetic fill, reducing its loft and insulation.
- Ensure adequate ventilation and low heat to prevent damage.
Fix Steps
- Gently Squeeze Out Excess Water: Avoid wringing the bag, as this can damage the fibers.
- Lay Flat to Dry: Lay the bag flat on a clean, dry surface or hang it on a large drying rack. Avoid direct sunlight or heat.
- Fluff Regularly: Every few hours, gently fluff the bag to help restore its loft.
- Tumble Dry (Optional): If the care label permits, tumble dry on low heat with 2-3 clean tennis balls or dryer balls. These will help break up clumps and restore fluffiness. Do not use high heat!
Testing
- Check for any damp spots. Continue drying until the bag is completely dry.
Pro Tips
- Refresh in the Dryer: For lightly soiled bags, tumble dry on air only (no heat) with a few tennis balls for 15-20 minutes to freshen it up.
- Spot Cleaning: Use a mild detergent and a damp cloth to spot clean small stains.
- Storage: Store your sleeping bag uncompressed in a large, breathable storage sack. Compression sacks are fine for travel, but long-term compression can damage the insulation.
- Avoid Fabric Softeners: Fabric softeners coat the fibers and reduce their ability to breathe and insulate.
- Detergent Choice: Technical detergents are designed to clean technical fabrics without stripping their Durable Water Repellent (DWR) finish.
Professional Help
- Signs You Need Professional Cleaning: Extensive damage, stubborn stains, or if you’re unsure about the best cleaning method.
- What to Look For: A reputable outdoor gear cleaning service with experience cleaning sleeping bags.
- Typical Cost: $50 – $150, depending on the size and condition of the bag.
FAQ
Q: Can I use regular laundry detergent?
A: No. Regular detergents contain harsh chemicals that can damage the synthetic fibers and reduce the bag’s insulation. Always use a technical detergent specifically designed for outdoor gear.
Q: How long does it take for a sleeping bag to dry?
A: Drying time varies depending on the humidity and drying method. It can take anywhere from 24 to 72 hours to dry completely.
Q: What if my sleeping bag still smells after washing?
A: Repeat the washing process, ensuring you rinse thoroughly. You may also consider using a specialized odor eliminator designed for outdoor gear.
Q: Can I iron my sleeping bag?
A: No. Ironing can melt the synthetic fibers and damage the bag.
Alternative Solutions
| Solution | Pros | Cons | Best For |
|---|---|---|---|
| Professional Cleaning | Thorough, convenient | Expensive | Heavily soiled or damaged bags |
| Spot Cleaning | Quick, easy | Limited to small areas | Minor stains and dirt |
Keep Your Synthetic Sleeping Bag Running Smoothly
By following these steps, you can effectively clean your synthetic sleeping bag and keep it performing at its best. Regular cleaning and proper storage will extend its lifespan and ensure many more comfortable nights outdoors. Remember to always check the care label and use gentle cleaning methods to avoid damaging the delicate synthetic fibers.
Have you successfully cleaned your synthetic sleeping bag? Share your experience and any tips you have in the comments below!


