
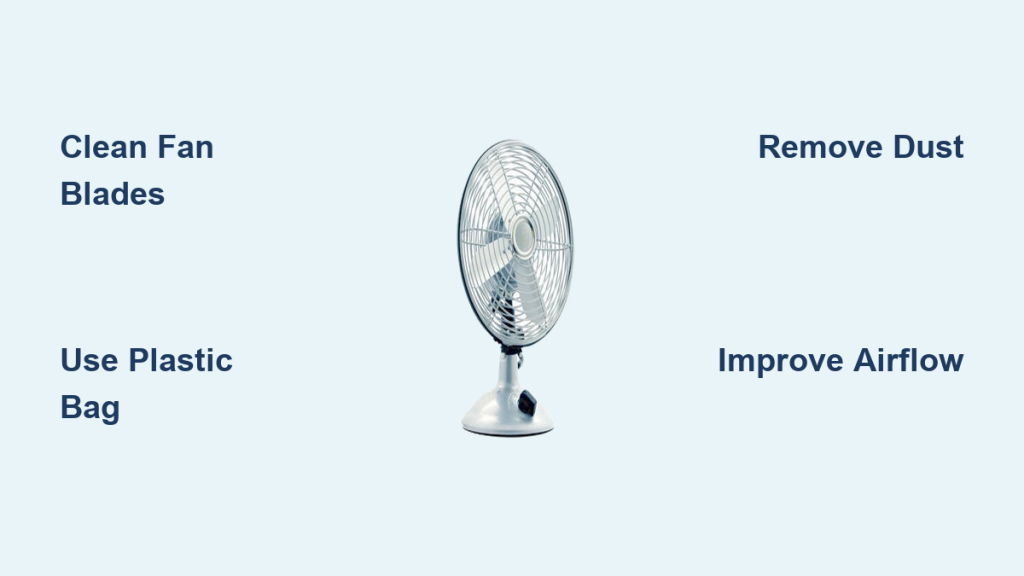
Dust buildup on your fan blades isn’t just unsightly; it reduces efficiency and can even recirculate allergens into the air. You likely dread the messy task of cleaning them, but there’s a surprisingly simple and effective method using a plastic bag! This quick fix gets the job done without spreading dust everywhere.
This guide will go beyond this simple trick, providing a comprehensive walkthrough of cleaning your fan, covering different fan types, detailed step-by-step instructions, preventative measures, and even when it’s time to call in the professionals. By the end of this article, you’ll confidently maintain a clean, efficient, and healthy airflow in your home.
Why Cleaning Your Fan Matters
Before diving into the cleaning process, understanding why it’s important can motivate you to make it a regular habit. Dust accumulation leads to:
- Reduced Efficiency: Dust acts as an insulator, forcing the fan motor to work harder, consuming more energy, and shortening its lifespan.
- Allergen Circulation: Fans can redistribute dust mites, pollen, and other allergens, exacerbating respiratory issues.
- Unpleasant Odors: Dust can trap odors, making your room smell stale.
- Decreased Airflow: A thick layer of dust physically obstructs airflow, diminishing the fan’s cooling effect.
The Plastic Bag Cleaning Method: A Quick Fix
This method is ideal for a quick refresh and is incredibly effective at capturing dust before it spreads.
Materials Needed:
- Plastic grocery bag (or similar thin plastic bag)
- Rubber band (optional)
Steps:
- Turn off and unplug the fan. Safety first!
- Slip the bag over a blade. Gently slide the plastic bag over one fan blade, encasing it completely.
- Apply gentle pressure and pull. Apply slight pressure and slowly pull the bag towards the base of the blade. The dust will collect inside the bag.
- Repeat for each blade. Repeat this process for each blade, using a clean section of the bag for each one.
- Dispose of the bag. Carefully remove the bag and dispose of it, containing all the collected dust.
Comprehensive Fan Cleaning Guide

While the plastic bag method is excellent for quick maintenance, a more thorough cleaning is needed periodically. This section covers cleaning various fan types and in-depth instructions.
Different Fan Types & Considerations
- Ceiling Fans: These require a ladder and extra caution. Ensure the ladder is stable and the fan is completely off.
- Box Fans: Relatively easy to clean, but the grill can be tricky.
- Tower Fans: Often have intricate designs, requiring a soft brush and careful attention.
- Standing Fans: Similar to box fans, but with adjustable height and oscillation features.
Detailed Cleaning Steps
Step 1: Preparation & Safety
- Unplug the fan. Always disconnect the fan from the power source before cleaning.
- Gather supplies: You’ll need a screwdriver (if disassembly is required), a soft cloth, a mild cleaning solution (dish soap and water), a vacuum cleaner with a brush attachment, and a bucket of warm water.
- Protect the surrounding area: Lay down a drop cloth or old newspapers to catch any falling dust.
Step 2: Disassembly (If Applicable)
- Check the manual: Refer to your fan’s manual for disassembly instructions. Some fans have removable grills and blades, while others do not.
- Remove the grill: Carefully remove the front grill, noting how it’s attached.
- Remove the blades: If your fan allows it, remove the blades by unscrewing them.
Step 3: Cleaning the Blades
- Dust removal: Use a vacuum cleaner with a brush attachment to remove loose dust from the blades.
- Washing: Dip a soft cloth into the warm, soapy water and gently wipe down each blade. Avoid using excessive water, especially on wooden blades.
- Rinsing: Use a clean, damp cloth to rinse off any remaining soap residue.
- Drying: Allow the blades to air dry completely before reassembling.
Step 4: Cleaning the Grill & Housing
- Vacuuming: Vacuum the grill and fan housing to remove dust.
- Washing: Wipe down the grill and housing with a damp cloth and mild cleaning solution.
- Stubborn dirt: For stubborn dirt, use a soft brush to scrub gently.
- Drying: Dry the grill and housing thoroughly.
Step 5: Reassembly
- Reattach the blades: Carefully reattach the blades, ensuring they are securely fastened.
- Reattach the grill: Reattach the front grill, ensuring it clicks into place properly.
Pro Tips for Fan Cleaning
- Microfiber cloths are your friend: They trap dust effectively and are gentle on surfaces.
- Vinegar for grime: A solution of equal parts vinegar and water can help dissolve stubborn grime.
- Lubricate the motor (if applicable): Some fans require occasional motor lubrication. Check your manual for instructions.
- Clean regularly: Aim to clean your fan blades at least once a month, or more frequently if you live in a dusty environment.
- Avoid abrasive cleaners: These can damage the fan’s finish.
- Don’t submerge the motor: Never immerse the fan motor in water.
When to Call a Professional
While most fan cleaning can be done DIY, certain situations warrant professional help:
- Motor issues: If the fan is making strange noises or isn’t running smoothly, there may be a motor problem.
- Electrical problems: If you suspect an electrical issue, do not attempt to fix it yourself.
- Extensive damage: If the fan is significantly damaged, it’s best to have it repaired or replaced by a professional.
FAQ
Q: Can I use a steam cleaner on my fan?
A: While tempting, steam cleaners are generally not recommended for fans, as the moisture can damage the motor and electrical components.
Q: How can I prevent dust from building up so quickly?
A: Use an air purifier to reduce dust in the air. Regularly dust other surfaces in the room to minimize airborne particles.
Q: What’s the best way to clean wooden fan blades?
A: Use a mild wood cleaner and avoid getting the wood too wet. Dry immediately to prevent warping.
Get Your Fan Working Efficiently
By following these steps, you can keep your fan clean, efficient, and running smoothly for years to come. Remember, regular maintenance is key to extending the life of your fan and improving the air quality in your home.
Have you tried the plastic bag method? Share your fan cleaning tips and experiences in the comments below!


