
Dealing with an unclean enema bag can be frustrating and potentially harmful. Maintaining proper hygiene is crucial for safe and effective use. This guide provides a comprehensive approach to cleaning your enema bag, starting with a quick disinfection method for immediate use and then detailing a thorough cleaning process to ensure long-term hygiene and prevent infections.
Cleaning your enema bag isn’t just about aesthetics; it’s about protecting your health. This guide will cover everything from quick disinfection techniques to deep cleaning procedures, material-specific considerations, and preventative maintenance to ensure your enema bag remains safe and sanitary for every use. By the end of this article, you’ll have the knowledge to confidently maintain your enema bag and enjoy its benefits with peace of mind.
Common Causes of Enema Bag Contamination
Several factors can lead to contamination of your enema bag:
- Biofilm Buildup: Over time, a slimy layer of bacteria can form inside the bag, even with regular rinsing.
- Residue Accumulation: Leftover enema solution can create a breeding ground for bacteria.
- Improper Storage: Storing the bag in a damp or unhygienic environment increases contamination risk.
- Handling Contamination: Touching the nozzle or inside of the bag with unclean hands introduces bacteria.
How to Clean an Enema Bag: Multiple Methods
Method 1: Quick Disinfection (For Immediate Use)
This method is ideal for a quick clean before immediate use when a full cleaning isn’t feasible.
Diagnosing the Issue
Visually inspect the bag for any visible debris or discoloration. If the bag appears heavily soiled, a thorough cleaning (Method 2) is recommended.
Fix Steps
- Empty the Bag: Completely drain any remaining solution.
- Rinse with Warm Water: Rinse the bag thoroughly with warm (not hot) water.
- Disinfectant Solution: Prepare a diluted solution of white vinegar and water (1 part vinegar to 3 parts water) or use a commercially available enema bag disinfectant, following package instructions.
- Swish and Soak: Swish the disinfectant solution around inside the bag, ensuring all surfaces are coated. Let it soak for 10-15 minutes.
- Rinse Thoroughly: Rinse the bag multiple times with clean, warm water until all traces of the disinfectant are gone.
- Air Dry: Hang the bag upside down to air dry completely.
Testing
Ensure no residual disinfectant smell remains. The bag should be clear and free of visible debris.
Method 2: Thorough Cleaning (For Regular Maintenance)

This method provides a deep clean for long-term hygiene.
Diagnosing the Issue
Assess the level of grime and buildup inside the bag. This method is best for routine cleaning or when the bag shows signs of discoloration or residue.
Fix Steps
- Empty and Rinse: Empty any remaining solution and rinse with warm water.
- Disassemble Components: If your bag has removable parts (like the nozzle or tubing), disassemble them.
- Soaking Solution: Fill the bag with a solution of warm water and either:
- White Vinegar: 1 cup of white vinegar per gallon of water.
- Baking Soda: 1/2 cup of baking soda per gallon of water.
- Hydrogen Peroxide: 3% hydrogen peroxide (use caution, as it can degrade some materials over time – test a small area first).
- Soak and Agitate: Let the solution soak for at least 30 minutes, gently agitating the bag periodically to loosen debris.
- Brush and Scrub: Use a long, soft-bristled bottle brush to scrub the inside of the bag, paying attention to corners and crevices. For small parts, use a smaller brush.
- Rinse Thoroughly: Rinse the bag and all components multiple times with clean, warm water until no traces of the cleaning solution remain.
- Sterilization (Optional): For extra precaution, you can sterilize the bag and components by boiling them in water for 10-15 minutes. Caution: Ensure the bag material is heat-resistant before boiling.
- Air Dry: Hang the bag upside down to air dry completely in a clean, dust-free environment.
Testing
Inspect the bag for any remaining residue or discoloration. Ensure all parts are completely dry before reassembling and storing.
Method 3: Cleaning Silicone Enema Bags
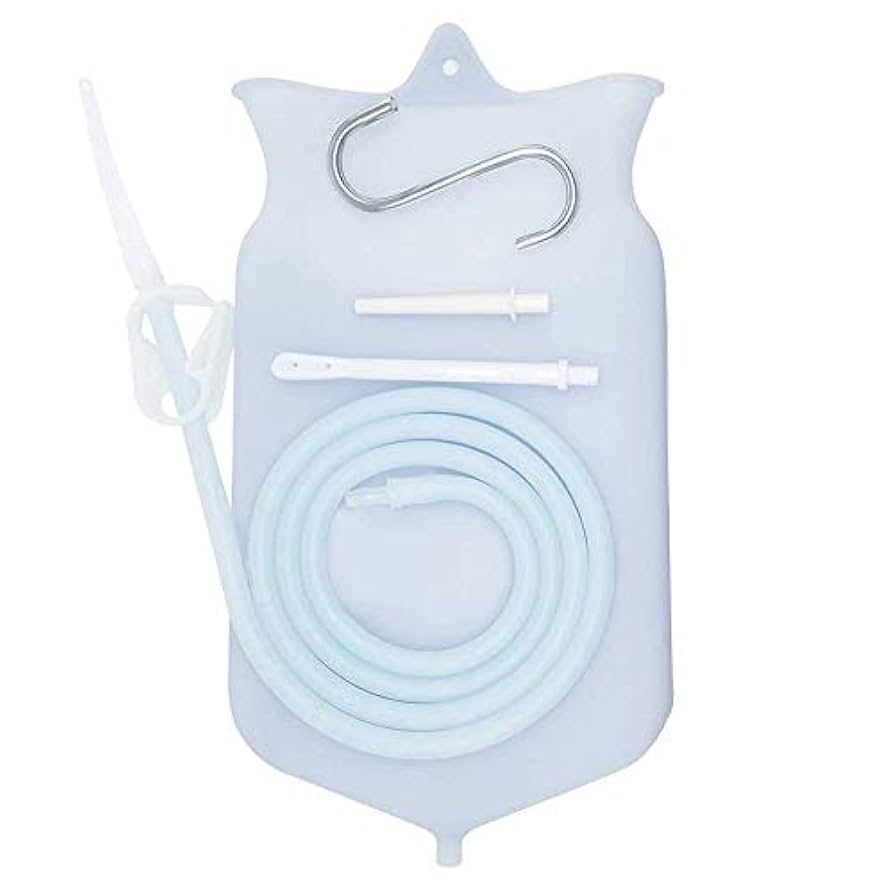
Silicone bags require specific care to avoid damage.
Diagnosing the Issue
Silicone is generally more resistant to chemicals, but still needs regular cleaning to prevent biofilm buildup.
Fix Steps
- Gentle Soap & Water: Use a mild, unscented dish soap and warm water. Avoid harsh chemicals or abrasive cleaners.
- Soft Brush: Use a very soft-bristled brush to avoid scratching the silicone.
- Thorough Rinsing: Rinse extremely well to remove all soap residue.
- Air Dry: Allow to air dry completely, avoiding direct sunlight.
Prevention Tips and Maintenance Advice
- Rinse Immediately After Use: Rinse the bag with warm water immediately after each use to prevent residue buildup.
- Proper Storage: Store the bag in a clean, dry, and dust-free environment. Avoid storing it in direct sunlight.
- Regular Cleaning Schedule: Establish a regular cleaning schedule – at least once a week for frequent users, and after each use for those with compromised immune systems.
- Handle with Clean Hands: Always wash your hands thoroughly before handling the enema bag or any of its components.
- Inspect for Damage: Regularly inspect the bag for cracks, leaks, or signs of deterioration. Replace the bag if any damage is found.
Pro Tips
- Vinegar’s Power: White vinegar is a natural disinfectant and deodorizer, making it an excellent choice for enema bag cleaning.
- Baking Soda’s Gentle Scrub: Baking soda is a mild abrasive that can help remove stubborn residue without damaging the bag.
- Avoid Harsh Chemicals: Steer clear of bleach, alcohol, and other harsh chemicals, as they can damage the bag material and leave harmful residues.
- UV Sanitization: Consider using a UV sanitizer designed for medical equipment for an extra layer of disinfection.
- Dedicated Cleaning Tools: Use dedicated cleaning brushes and tools specifically for the enema bag to prevent cross-contamination.
- Proper Drying is Key: Ensure the bag is completely dry before storing to prevent mold and bacteria growth.
- Replace Regularly: Even with meticulous cleaning, enema bags should be replaced every 6-12 months, or as recommended by the manufacturer.
Professional Help Section
- Signs to Seek Professional Advice: If you suspect persistent contamination, notice mold growth, or the bag develops leaks, consult a medical professional.
- What to Look for in a Service Provider: If you need a bag professionally sanitized or assessed, look for a medical equipment cleaning service with a proven track record.
- Cost Ranges: Professional cleaning services can range from $20-$50 per bag, depending on the service provider and the level of cleaning required.
FAQ Section
Q: Can I put my enema bag in the dishwasher?
A: Generally, no. Most enema bags are not designed to withstand the high temperatures and harsh detergents of a dishwasher. Hand washing is recommended.
Q: How often should I replace my enema bag?
A: It’s recommended to replace your enema bag every 6-12 months, even with regular cleaning.
Q: Can I use essential oils to clean my enema bag?
A: While some essential oils have antibacterial properties, it’s best to avoid them as they can leave residues and potentially irritate the colon.
Q: What if my enema bag smells even after cleaning?
A: This could indicate biofilm buildup. Try soaking the bag in a stronger vinegar solution or consider replacing it.
Alternative Solutions Section
| Solution | Pros | Cons | Best For |
|---|---|---|---|
| Disposable Enema Bags | Convenient, eliminates cleaning | Creates more waste, potentially less durable | Occasional users, travel |
| Silicone Enema Kits with Rigid Bottles | Durable, easy to clean, reusable | More expensive upfront | Frequent users, long-term use |
Keep Your Enema Bag Running Smoothly
By following these detailed cleaning and maintenance guidelines, you can ensure your enema bag remains hygienic, safe, and effective for years to come. Remember to prioritize regular cleaning, proper storage, and careful handling to prevent contamination and protect your health.
Have you found these cleaning methods helpful? Share your experiences and tips in the comments below!


