
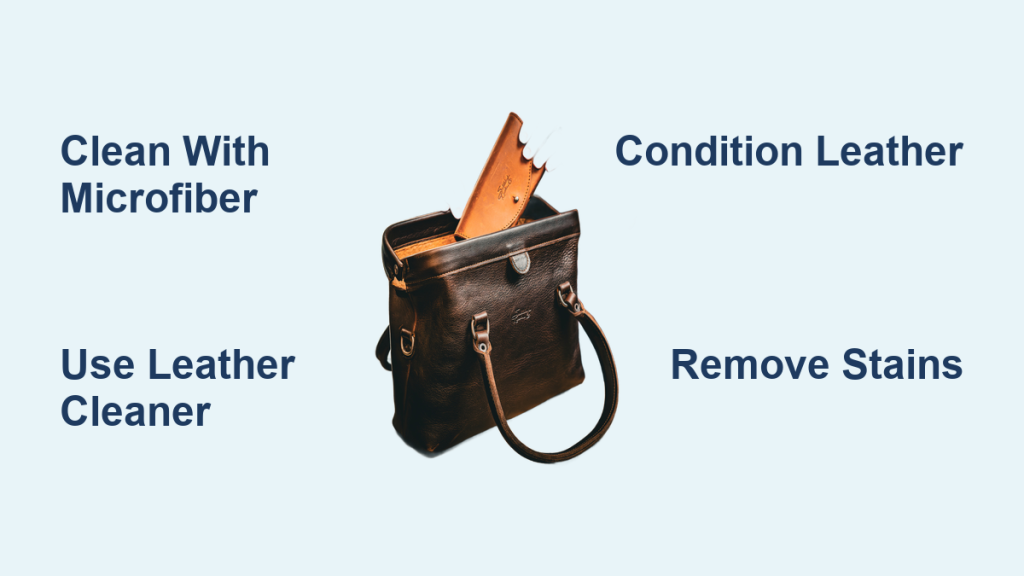
Leather handbags are a timeless investment, but they require proper care to maintain their beauty and longevity. If your beloved bag is looking dull, stained, or simply needs a refresh, you’re in the right place. This guide will walk you through everything you need to know to clean your leather handbag, from quick fixes for minor issues to deeper cleaning methods for more stubborn dirt and stains.
Dealing with a dirty handbag can be frustrating, especially when it’s a cherished item. But don’t worry – with the right techniques and products, you can restore your leather bag to its former glory. This comprehensive guide will cover everything from identifying different leather types to choosing the right cleaning solutions, and provide step-by-step instructions for a thorough cleaning. By the end of this article, you’ll have the confidence and knowledge to keep your leather handbag looking its best for years to come.
Identifying Your Leather Type

Before diving into cleaning, it’s crucial to identify the type of leather your handbag is made of. Different leathers require different approaches.
- Full-Grain Leather: The highest quality, most durable leather. Shows natural markings.
- Top-Grain Leather: Slightly sanded to remove imperfections, making it more uniform. Still durable.
- Genuine Leather: A broad term for lower-quality leather, often made from scraps.
- Suede/Nubuck: Soft, velvety leather with a brushed finish. Requires specialized cleaning.
- Patent Leather: Coated with a glossy finish, making it water-resistant.
If you’re unsure, check the handbag’s label or consult the manufacturer’s website. Knowing your leather type will prevent damage during cleaning.
Materials You’ll Need
| Item | Quantity | Specifications |
|---|---|---|
| Microfiber Cloths | 3-5 | Soft, lint-free |
| Leather Cleaner | 1 Bottle | Specifically formulated for leather (avoid harsh chemicals) |
| Leather Conditioner | 1 Bottle | To replenish oils and prevent cracking |
| Soft-Bristled Brush | 1 | For gently removing dirt |
| Distilled Water | As needed | Avoids mineral buildup |
| Saddle Soap (Optional) | 1 Bar | For heavily soiled leather |
| Leather Protector Spray (Optional) | 1 Can | For stain resistance |
Step-by-Step Cleaning Process
Phase 1: Preparation
- Empty the Bag: Remove all contents from your handbag.
- Dust Removal: Use a soft-bristled brush or a clean, dry microfiber cloth to remove loose dirt and dust from the exterior and interior of the bag. Pay attention to seams and crevices.
- Surface Test: Before applying any cleaner, test it on an inconspicuous area of the bag (like the bottom or inside a pocket) to ensure it doesn’t cause discoloration or damage.
Phase 2: Cleaning
Method 1: Gentle Cleaning (For Routine Maintenance)
- Damp Cloth Wipe: Lightly dampen a microfiber cloth with distilled water. Wring it out thoroughly so it’s not dripping wet.
- Wipe Down: Gently wipe down the exterior of the handbag in circular motions.
- Dry Immediately: Use a clean, dry microfiber cloth to dry the bag immediately after wiping.
Method 2: Leather Cleaner Application (For Deeper Cleaning)
- Apply Cleaner: Apply a small amount of leather cleaner to a clean microfiber cloth.
- Gentle Rubbing: Gently rub the cleaner onto the leather in circular motions. Avoid applying too much pressure.
- Wipe Away Residue: Use a clean, damp microfiber cloth to wipe away any cleaner residue.
- Dry Thoroughly: Dry the bag with a clean, dry microfiber cloth.
Method 3: Saddle Soap (For Heavily Soiled Leather)
- Dampen Sponge: Slightly dampen a sponge with distilled water.
- Apply Saddle Soap: Rub the sponge on the saddle soap to create a lather.
- Apply to Leather: Apply the lather to the leather in circular motions.
- Wipe Clean: Wipe away the lather with a clean, damp microfiber cloth.
- Dry Thoroughly: Dry the bag with a clean, dry microfiber cloth. Important: Saddle soap can be drying, so always follow with a leather conditioner.
Phase 3: Conditioning & Protection
- Apply Conditioner: Apply a small amount of leather conditioner to a clean microfiber cloth.
- Rub into Leather: Gently rub the conditioner into the leather in circular motions. This replenishes oils and prevents cracking.
- Buff: Allow the conditioner to absorb for 15-30 minutes, then buff the bag with a clean, dry microfiber cloth to remove any excess.
- Leather Protector (Optional): Apply a leather protector spray to help repel water and stains. Follow the product’s instructions.
Specific Stain Removal
:max_bytes(150000):strip_icc()/remove-ink-from-leather-6274276-final-f12c4b70fe2c43279a8e45dcb3ce661b.png)
- Ink: Dab the stain with a cotton swab dipped in rubbing alcohol. Blot gently; do not rub.
- Oil/Grease: Sprinkle cornstarch on the stain and let it sit overnight. Brush off the cornstarch the next day.
- Water Spots: Wipe the entire surface of the bag with a damp cloth to even out the moisture. Dry thoroughly.
Cleaning Suede & Nubuck
Suede and nubuck require specialized care. Use a suede brush to remove dirt and dust. For stains, use a suede cleaner specifically designed for these materials. Avoid water as much as possible.
How to Prevent Future Damage
- Regular Dusting: Dust your handbag regularly to prevent dirt buildup.
- Storage: Store your handbag in a dust bag in a cool, dry place. Avoid direct sunlight and heat.
- Avoid Overfilling: Overfilling can stretch and damage the leather.
- Water Protection: Avoid getting your handbag wet. If it does get wet, dry it immediately with a clean cloth.
- Professional Cleaning: Consider professional cleaning once or twice a year for deep cleaning and maintenance.
Pro Tips
- Color Transfer: To prevent color transfer from dark clothing, use a leather protector spray.
- Hardware Care: Clean metal hardware with a metal polish to restore shine.
- Interior Cleaning: Vacuum the interior of your bag regularly to remove crumbs and dust.
- Avoid Harsh Chemicals: Never use harsh chemicals like bleach or ammonia on leather.
- Condition Regularly: Conditioning is crucial for maintaining the leather’s suppleness and preventing cracking.
- Test in Hidden Area: Always test any cleaning product in a hidden area before applying it to the entire bag.
- Don’t Over-Saturate: Avoid getting the leather overly wet during the cleaning process.
Professional Help
If your handbag has significant damage, stubborn stains, or you’re unsure about cleaning it yourself, it’s best to seek professional help. A leather restoration specialist can provide expert cleaning and repair services. Costs can range from $50 to $300+ depending on the extent of the damage and the bag’s value.
FAQ
Q: How often should I clean my leather handbag?
A: It depends on how often you use it. A gentle cleaning every 1-2 months is generally recommended, with a deeper cleaning every 6-12 months.
Q: Can I use baby wipes to clean my leather handbag?
A: While some people do, it’s not recommended. Baby wipes often contain chemicals that can damage leather over time.
Q: What’s the best way to store my leather handbag?
A: Store it in a dust bag in a cool, dry place away from direct sunlight and heat. Stuff it with acid-free tissue paper to maintain its shape.
Q: How do I remove a dark stain from light-colored leather?
A: Try a leather stain remover specifically designed for dark stains. Test in a hidden area first. If the stain persists, consult a professional.
Alternative Solutions
If you’re hesitant to use commercial leather cleaners, you can try a DIY solution of equal parts white vinegar and water, but always test it in a hidden area first. Another option is using a mild soap like castile soap diluted in water.
Keep Your Leather Handbag Looking Its Best
Now that you’ve learned how to clean and care for your leather handbag, you can enjoy its beauty and style for years to come. Remember to follow these steps regularly to prevent damage and maintain its pristine condition.
Have you successfully cleaned your leather handbag using these methods? Share your experience and any tips you have in the comments below!


