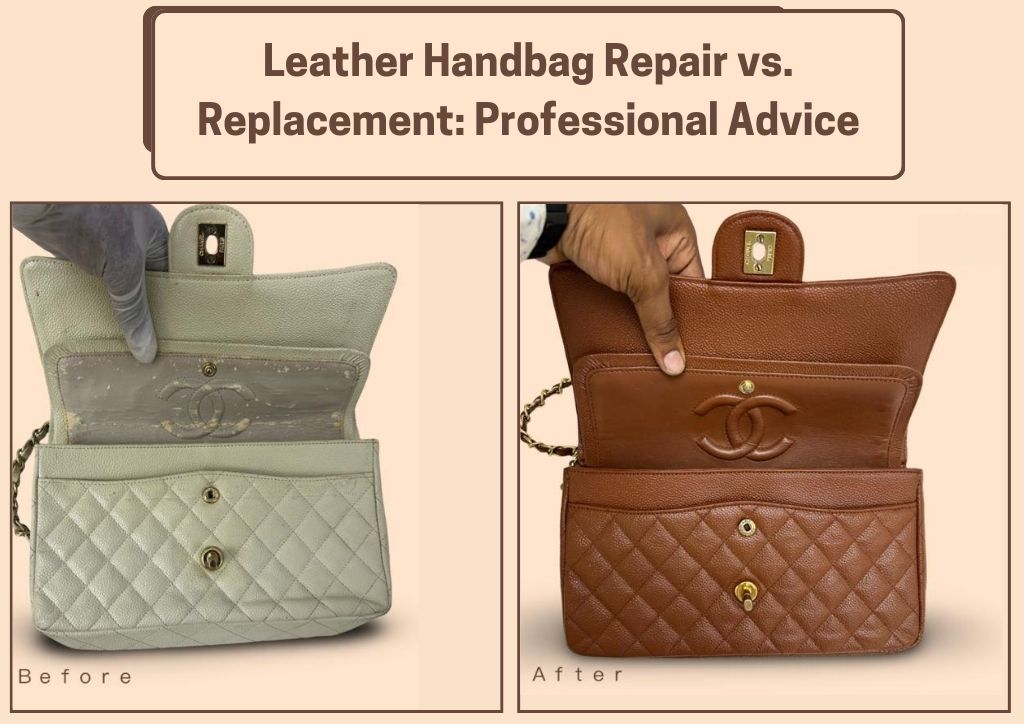
Leather bags are a timeless investment, but spills and stains are inevitable. Discovering a mark on your favorite leather bag can be disheartening, but don’t panic! Often, you can successfully remove the stain yourself. This guide will walk you through quick fixes for common stains and provide comprehensive cleaning solutions to restore your leather bag to its former glory.
This isn’t just a quick wipe-down guide. We’ll cover everything from identifying the type of stain to choosing the right cleaning products, plus preventative measures to keep your bag looking its best. By the end of this article, you’ll have the knowledge and confidence to tackle most leather bag stains and maintain the beauty of your prized possession.
Common Causes of Leather Stains
Understanding what caused the stain can significantly impact how you treat it. Here’s a breakdown of typical culprits:
Oil-Based Stains
These include things like grease, makeup, lotion, or food oils. Oil penetrates leather easily, leaving a dark mark.
Water-Based Stains
Water itself, coffee, tea, juice, or ink fall into this category. While water seems harmless, it can discolor leather if left untreated.
Dye Transfer
This happens when the color from clothing (like dark jeans) rubs off onto a lighter-colored leather bag.
Scuffs and Marks
These are surface imperfections, not necessarily stains, but they detract from the bag’s appearance.
How to Clean Stains from a Leather Bag: Multiple Solutions

Here are several methods, starting with gentle approaches and progressing to more intensive cleaning. Always test any cleaning solution in an inconspicuous area first!
Method 1: Gentle Soap and Water (For Fresh, Water-Based Stains)

This is your first line of defense for recent spills.
Diagnosing the Issue
This method is best for immediately addressing spills like water, juice, or light coffee splashes. Don’t let the stain sit and dry.
Fix Steps
- Blot, Don’t Rub: Immediately blot the stain with a clean, soft cloth. Rubbing will spread the stain.
- Prepare Solution: Mix a few drops of mild dish soap (like Dawn) with lukewarm water.
- Apply & Wipe: Dampen a clean cloth with the soapy water and gently wipe the stained area.
- Rinse: Use a separate damp cloth (with just water) to remove any soap residue.
- Dry: Pat dry with a clean, dry cloth and allow to air dry completely, away from direct heat.
Testing
Check the area after drying. Repeat if necessary.
Method 2: Leather Cleaner (For Most Stains)
A dedicated leather cleaner is a safer and more effective option for various stains.
Diagnosing the Issue
Suitable for a wide range of stains, including oil-based, water-based, and dye transfer (though dye transfer can be stubborn).
Fix Steps
- Choose a Cleaner: Select a cleaner specifically designed for the type of leather your bag is made of (aniline, semi-aniline, pigmented, etc.).
- Apply: Follow the cleaner’s instructions. Generally, you’ll apply a small amount to a clean cloth and gently wipe the stained area.
- Buff: After cleaning, buff the area with a clean, dry cloth to restore shine.
Testing
Crucially, test the cleaner on a hidden area of the bag (like the bottom) before applying it to the visible stain.
Method 3: Cornstarch or Baking Soda (For Oil-Based Stains)
These powders absorb oil effectively.
Diagnosing the Issue
Best for fresh oil or grease stains.
Fix Steps
- Apply Powder: Generously cover the stain with cornstarch or baking soda.
- Let Sit: Allow the powder to sit for several hours, or even overnight, to absorb the oil.
- Brush Away: Gently brush away the powder with a soft brush.
- Repeat: Repeat if necessary until the oil is absorbed.
Testing
This method is generally safe, but test a small area first to ensure it doesn’t alter the leather’s color.
Method 4: Rubbing Alcohol (For Ink Stains – Use with Extreme Caution)
This is a last resort, as rubbing alcohol can be harsh on leather.
Diagnosing the Issue
For stubborn ink stains that haven’t responded to other methods.
Fix Steps
- Dab, Don’t Rub: Dip a cotton swab in rubbing alcohol (isopropyl alcohol). Gently dab the ink stain, being careful not to spread it.
- Blot: Immediately blot with a clean cloth.
- Condition: Immediately follow with a leather conditioner to rehydrate the leather.
Testing
Absolutely essential to test in a hidden area. Rubbing alcohol can strip the color from leather.
Prevention Tips and Maintenance Advice
Preventing stains is always easier than removing them.
- Leather Protector: Apply a leather protector spray regularly to create a barrier against stains.
- Avoid Overfilling: Don’t overstuff your bag, as this can cause friction and wear.
- Storage: Store your bag in a dust bag when not in use.
- Regular Cleaning: Wipe down your bag with a soft, dry cloth weekly to remove dust and dirt.
- Condition Regularly: Use a leather conditioner every few months to keep the leather supple and prevent cracking.
Pro Tips
- Act Fast: The sooner you address a stain, the easier it will be to remove.
- Avoid Harsh Chemicals: Never use bleach, ammonia, or abrasive cleaners on leather.
- Use Distilled Water: Distilled water is free of minerals that can leave residue.
- Leather Type Matters: Different leather types require different cleaning approaches. Research your bag’s leather before cleaning.
- Condition After Cleaning: Always condition your leather after cleaning to restore moisture and prevent cracking.
- Professional Cleaning: For valuable or delicate bags, consider professional cleaning.
Professional Help

- Signs You Need a Pro: Extensive staining, cracked leather, or if you’ve tried multiple methods without success.
- Finding a Provider: Look for a leather specialist or a reputable shoe repair shop.
- Cost: Professional leather cleaning can range from $50 to $200+, depending on the extent of the damage and the service provider.
- Warranty: Check if your bag has a warranty that covers stain removal or repair.
FAQ
Q: What’s the best way to clean a suede leather bag?
A: Suede requires specialized cleaning. Use a suede brush to remove dirt, and a suede eraser for minor stains. Avoid getting suede wet.
Q: Can I use baby wipes to clean my leather bag?
A: While some people use baby wipes, they often contain chemicals that can damage leather over time. It’s best to use a dedicated leather cleaner.
Q: How do I remove dye transfer from a light-colored leather bag?
A: Dye transfer is tricky. Try a leather cleaner specifically designed for dye removal. If that doesn’t work, a professional may be needed.
Q: How often should I condition my leather bag?
A: Every 3-6 months, or more frequently if you live in a dry climate.
Alternative Solutions
If the above methods don’t work, consider a leather restoration kit. These kits often contain a range of cleaning, repairing, and recoloring products. However, they require careful application and are best suited for those with some experience.
Get Your Leather Bag Working Again
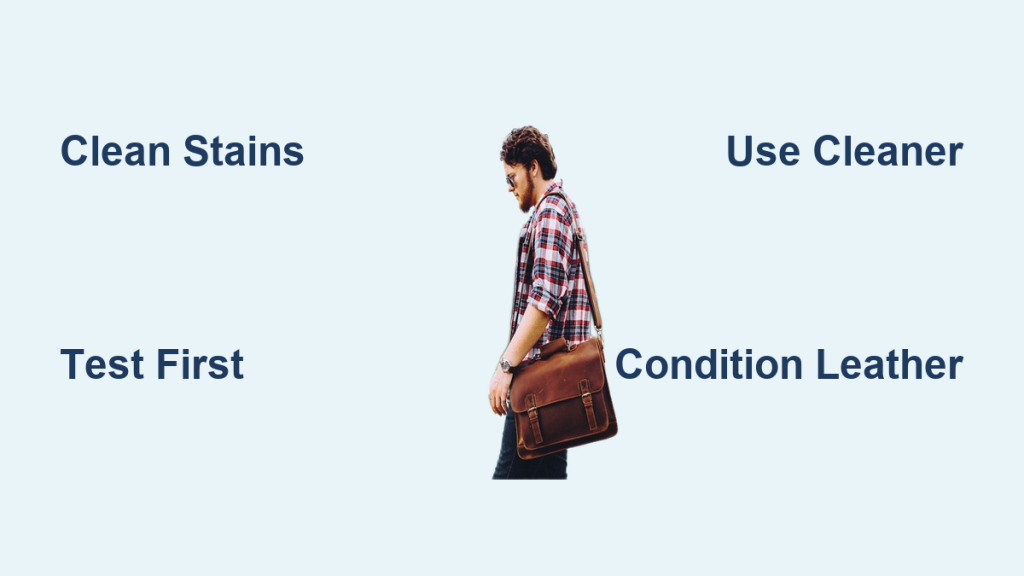
You now have a comprehensive toolkit for tackling leather bag stains. Remember to identify the stain, choose the appropriate cleaning method, always test first, and follow up with conditioning. Don’t let a stain ruin your beautiful bag – with a little effort, you can restore it to its former glory.
Have you successfully removed a stain from your leather bag using one of these methods? Share your experience and any tips in the comments below!


