
Is your camera bag looking a little worse for wear? Do you cringe every time you have to pull your gear out, fearing it’s covered in dust, dirt, or even crumbs? A dirty camera bag not only looks unprofessional, but it can also damage your valuable equipment. Luckily, a thorough cleaning doesn’t have to be daunting. This guide will walk you through a simple quick clean and then provide a comprehensive approach to deep cleaning your camera bag, ensuring your gear stays protected and your bag looks its best.
This guide isn’t just about surface-level cleaning. We’ll cover everything from removing loose debris to tackling stubborn stains, choosing the right cleaning products, and even preventing future messes. By the end of this article, you’ll be equipped with the knowledge to confidently clean and maintain your camera bag, preserving its lifespan and safeguarding your photography investment.
Common Causes of a Dirty Camera Bag
Before diving into cleaning, understanding why your bag gets dirty can help you prevent future build-up.
Debris Accumulation
The most common culprit. Sand, dust, crumbs, and small particles find their way into every nook and cranny during travel and shoots.
Stains from Gear
Oils from hands, residue from cleaning solutions used on lenses, or even accidental spills can leave unsightly stains.
Moisture & Mildew
Humidity, rain, or leaving damp gear inside can lead to mildew growth, creating a musty odor and potentially damaging the bag’s materials.
Wear and Tear
Repeated use and rubbing against surfaces can cause discoloration and abrasion, especially on darker colored bags.
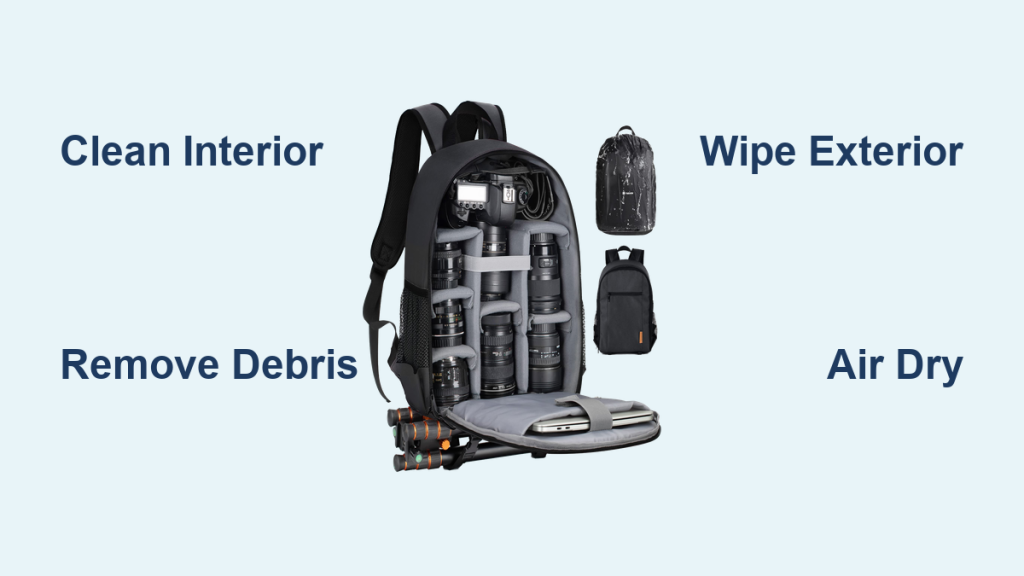
How to Clean Your Camera Bag: A Step-by-Step Guide
This section covers a deep cleaning process, but will also provide quick fix steps for immediate relief.
Method 1: Quick Clean for Everyday Maintenance
This is perfect for a weekly refresh to prevent build-up.
Diagnosing the Issue
Assess the level of dirt. Is it mostly loose debris, or are there noticeable stains?
Fix Steps
- Empty the Bag: Remove all camera gear and accessories.
- Shake It Out: Turn the bag upside down and vigorously shake out any loose debris.
- Vacuum: Use a brush attachment on your vacuum cleaner to remove dust and particles from the interior and exterior. Pay attention to seams and pockets.
- Wipe Down: Use a slightly damp (not wet!) microfiber cloth to wipe down the exterior surfaces.
Testing
Inspect the bag for remaining debris and repeat steps if necessary.
Method 2: Deep Cleaning – Interior & Exterior
This is for a more thorough clean, recommended every few months or as needed.
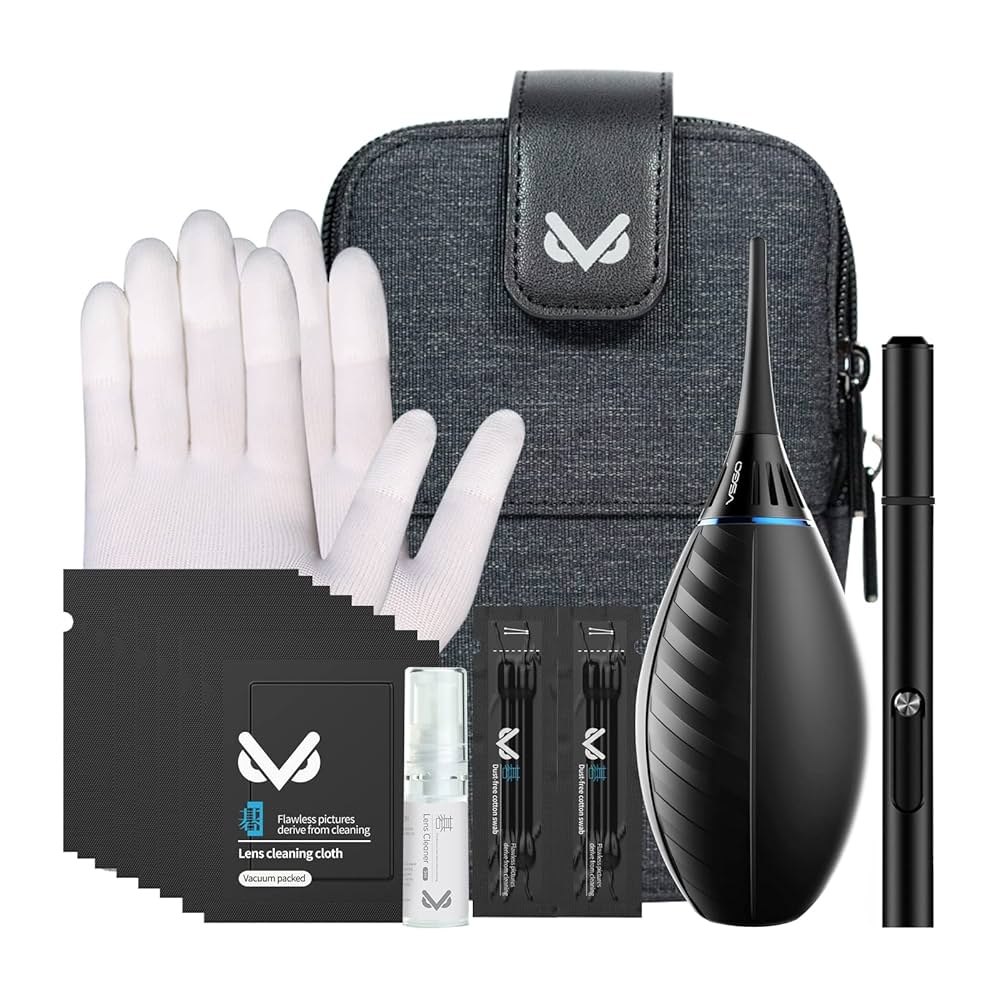
Materials You’ll Need
| Item | Quantity | Specifications |
|---|---|---|
| Soft-bristled brush | 1 | Toothbrush or detailing brush |
| Microfiber cloths | 3-5 | Lint-free |
| Mild soap | 1 tbsp | Dish soap or specialized bag cleaner |
| Warm water | 1 cup | Distilled preferred |
| Spray bottle | 1 | For diluted cleaning solution |
| Leather conditioner (if applicable) | 1 | For leather accents |
| Vacuum cleaner | 1 | With brush attachment |
| Stain remover (optional) | 1 | Specific to fabric type |
Phase 1: Preparation
- Empty the Bag: Completely remove all contents.
- Remove Inserts: Take out any padded dividers or inserts. These will be cleaned separately.
- Read the Label: Check the bag’s care label for specific cleaning instructions.
Phase 2: Cleaning the Interior
- Vacuum: Use the brush attachment to vacuum the entire interior, removing loose debris.
- Prepare Cleaning Solution: Mix mild soap with warm water in a spray bottle.
- Spot Clean: Lightly spray the cleaning solution onto a microfiber cloth (never directly onto the bag!). Gently wipe down the interior surfaces.
- Brush Stubborn Areas: Use a soft-bristled brush to loosen dirt from seams and corners.
- Rinse (Carefully): Dampen a clean microfiber cloth with plain water and wipe away any soap residue.
- Air Dry: Allow the interior to air dry completely before reassembling. Never use a hairdryer or direct heat.
Phase 3: Cleaning the Exterior
- Brush: Use a soft-bristled brush to remove loose dirt.
- Wipe Down: Dampen a microfiber cloth with the cleaning solution and wipe down the exterior.
- Stain Removal (Optional): For stubborn stains, use a stain remover specifically designed for the bag’s fabric type. Test in an inconspicuous area first!
- Leather Conditioning (If Applicable): Apply leather conditioner to any leather accents to keep them supple and prevent cracking.
- Air Dry: Allow the exterior to air dry completely.
Phase 4: Cleaning Inserts & Dividers
- Spot Clean: Use the same mild soap and water solution to spot clean the inserts.
- Air Dry: Allow the inserts to air dry completely before placing them back into the bag.
How to Prevent Future Messes & Maintain Your Bag
Prevention is key! Here’s how to keep your camera bag clean longer.
Regular Emptying
Empty the bag after each shoot to prevent debris from accumulating.
Protective Covers
Use a rain cover during inclement weather.
Gear Protection
Use lens caps, body caps, and protective pouches for your gear to minimize residue transfer.
Gentle Handling
Avoid placing the bag on dirty surfaces.
Storage
Store the bag in a clean, dry place when not in use.
Pro Tips for Camera Bag Cleaning
- Avoid Harsh Chemicals: Never use bleach, ammonia, or harsh detergents, as they can damage the fabric and potentially harm your gear.
- Test Cleaning Solutions: Always test any cleaning solution in an inconspicuous area before applying it to the entire bag.
- Don’t Over-Saturate: Avoid getting the bag too wet, as this can damage the materials and potentially harm your equipment.
- Address Spills Immediately: Wipe up spills as soon as they happen to prevent staining.
- Consider a Bag Liner: A removable liner can provide an extra layer of protection and make cleaning easier.
- Use Silica Gel Packets: Place silica gel packets inside the bag to absorb moisture and prevent mildew.
- Don’t Machine Wash: Most camera bags are not machine washable.
Professional Help
When to Seek Professional Cleaning
- Extensive mildew damage
- Stubborn stains you can’t remove
- Delicate materials like exotic leather or suede
What to Look for in a Service Provider
- Experience cleaning camera bags
- Specialization in the bag’s material (e.g., leather cleaning)
- Positive reviews and reputation
Typical Cost Ranges
Professional cleaning can range from $30 to $150+, depending on the bag’s size, material, and the extent of cleaning required.
FAQ
Q: Can I use baby wipes to clean my camera bag?
A: While convenient, baby wipes can sometimes leave a residue. Microfiber cloths and a mild soap solution are generally preferred.
Q: How do I remove a musty smell from my camera bag?
A: Airing out the bag in sunlight and using a fabric deodorizer can help. Baking soda can also absorb odors; place an open box inside the bag for a few days.
Q: What’s the best way to clean a leather camera bag?
A: Use a leather cleaner and conditioner specifically designed for the type of leather. Avoid harsh chemicals and excessive moisture.
Q: Can I use a steam cleaner on my camera bag?
A: Generally, no. The high heat and moisture can damage the fabric and materials.
Alternative Solutions
| Solution | Pros | Cons | Best For |
|---|---|---|---|
| Specialized Bag Cleaner | Effective, designed for fabric | Can be expensive | Heavy dirt, stubborn stains |
| Saddle Soap (for Leather) | Cleans and conditions leather | Requires proper application | Leather accents |
| DIY Vinegar Solution (diluted) | Natural, inexpensive | May not be effective on all stains | Light cleaning, odor removal |
Keep Your Camera Bag Running Smoothly
By following this guide, you can keep your camera bag clean, protected, and looking its best for years to come. Remember to incorporate regular maintenance into your routine and address spills and stains promptly.
Have you tried any of these cleaning methods? Share your experience and any additional tips in the comments below!


