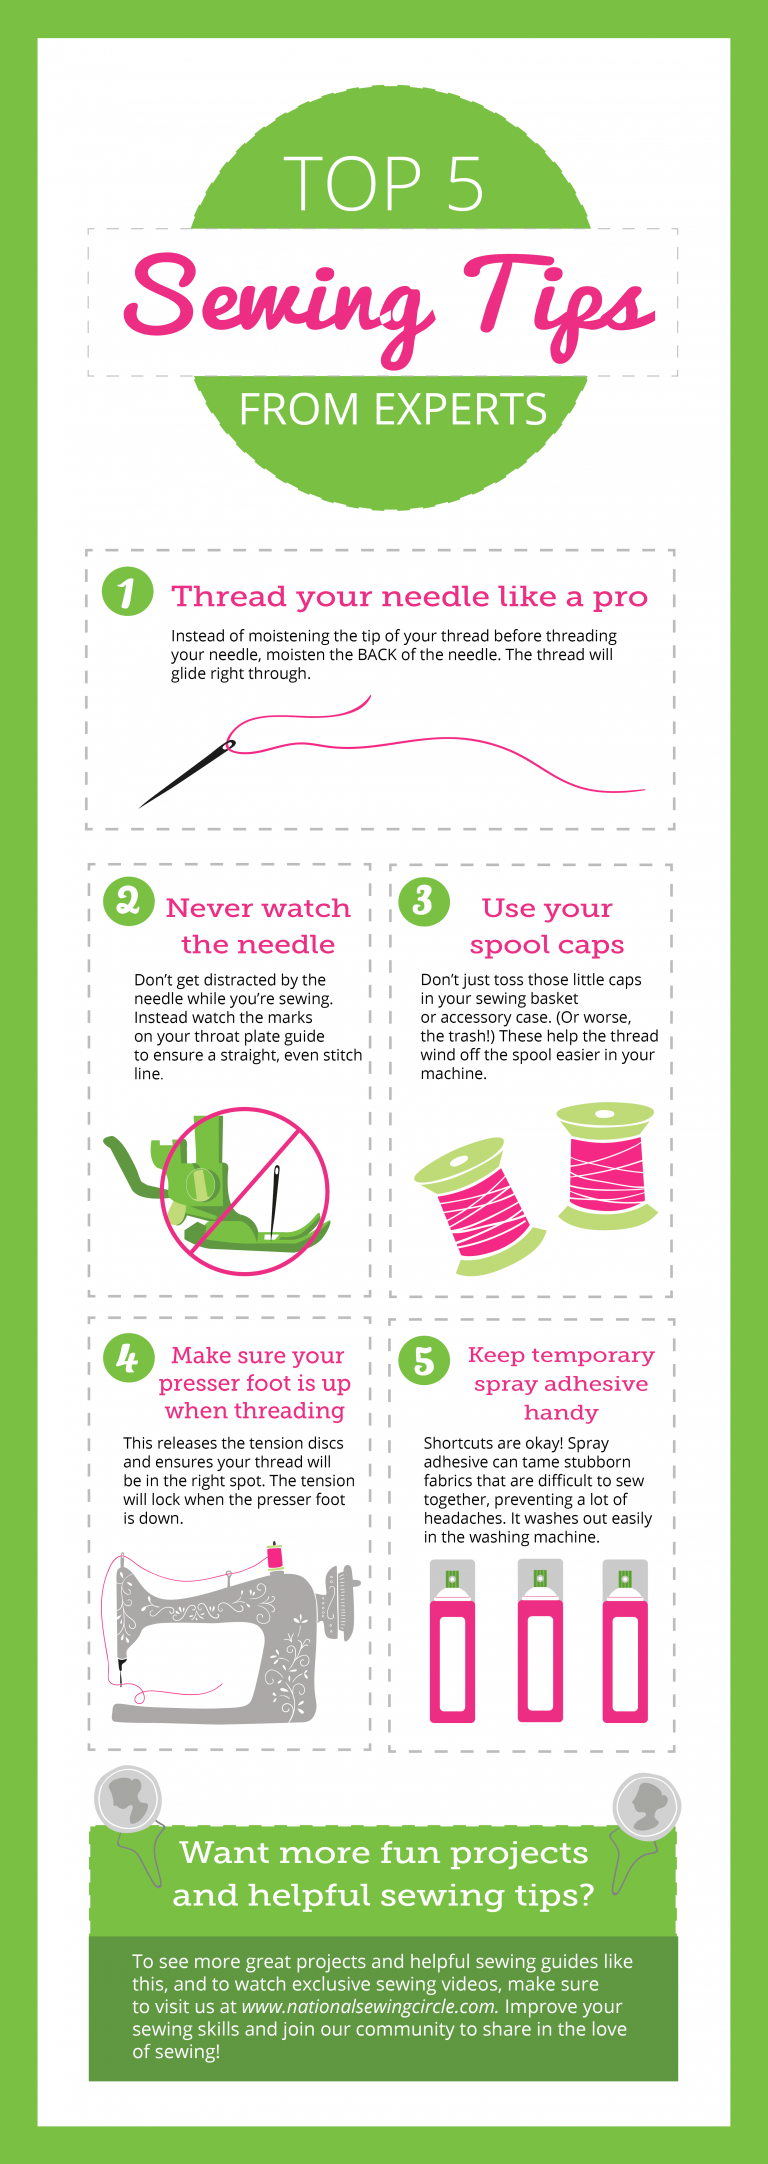
Are you tired of using plastic bags and looking for a sustainable, reusable alternative? Sewing your own cloth bag is a fantastic way to reduce waste and express your creativity! It might seem daunting, but with a little guidance, you can quickly whip up a sturdy and stylish bag. This guide will walk you through the process, starting with a simple method for beginners.
This comprehensive guide will cover everything you need to know to sew a cloth bag, from choosing the right fabric and tools to step-by-step instructions for creating a basic tote bag. We’ll also explore different variations, embellishments, and tips for making your bag truly unique. By the end of this article, you’ll be confidently sewing your own reusable bags for years to come!
What You’ll Need for Sewing a Cloth Bag

| Item | Quantity | Specifications |
|---|---|---|
| Fabric | 1 Yard | Cotton, Canvas, Linen, or Denim (Medium Weight Recommended) |
| Scissors | 1 Pair | Fabric Scissors (Sharp!) |
| Sewing Machine | 1 | Basic Sewing Machine with Straight Stitch |
| Thread | 1 Spool | Matching Fabric Color |
| Pins | 1 Box | Straight Pins |
| Measuring Tape | 1 | For Accurate Measurements |
| Iron & Ironing Board | 1 Each | For Pressing Seams |
| Seam Ripper | 1 | For Correcting Mistakes |
| Chalk or Fabric Marker | 1 | For Marking Fabric |
Preparing Your Fabric and Pattern
Choosing the Right Fabric
The best fabric for your cloth bag depends on how you plan to use it.
- Cotton: Lightweight, easy to sew, and affordable. Good for grocery shopping or carrying lighter items.
- Canvas: Durable and sturdy, ideal for heavier loads. Great for everyday use and can withstand wear and tear.
- Linen: Breathable and eco-friendly, with a lovely texture. A good option for a more stylish and sophisticated bag.
- Denim: Very durable and long-lasting. Perfect for heavy-duty bags or those needing extra reinforcement.
Cutting Your Fabric
For a basic tote bag, you’ll need two rectangular pieces of fabric. Here’s a common size:
- Width: 16 inches
- Height: 18 inches
Add 1/2 inch seam allowance on all sides. Therefore, cut two pieces of fabric measuring 17 inches wide and 19 inches high.
Step-by-Step Sewing Process
Phase 1: Preparing the Bag Body
- Press the Fabric: Iron both fabric pieces to remove any wrinkles. This will make sewing easier and result in a cleaner finish.
- Fold and Press Side Seams: Fold each piece of fabric in half widthwise (so the 17-inch side is folded to meet itself), wrong sides together, and press a crease along the fold. This will mark the side seams.
- Pin the Side Seams: Pin along the creases you just made on both pieces of fabric.
Phase 2: Sewing the Bag Body
- Sew the Side Seams: Using a straight stitch, sew along the pinned side seams of both fabric pieces, leaving a 1/2 inch seam allowance.
- Finish the Seams: To prevent fraying, finish the raw edges of the side seams. You can use a zigzag stitch, serger, or pinking shears.
- Pin the Bag Pieces Together: Place the two fabric pieces right sides together, aligning the side seams. Pin around the bottom and sides, leaving the top open.
Phase 3: Assembling and Finishing
- Sew the Bottom and Sides: Sew around the bottom and sides of the bag with a 1/2 inch seam allowance, leaving the top open. Reinforce the corners by backstitching a few times.
- Box the Corners (Optional): To give your bag a more structured base, box the corners. Flatten one corner so the side seam and bottom seam meet. Measure 2 inches down from the point and draw a line across. Sew along the line. Repeat for the other corner. Trim away the excess fabric.
- Turn Right Side Out: Turn the bag right side out and press the seams neatly.
- Create the Handles: Cut two strips of fabric approximately 2.5 inches wide and 24 inches long. Fold each strip in half lengthwise, wrong sides together, and press. Open the fold and fold each long edge toward the center crease, then fold in half again. Press.
- Sew the Handles: Sew along both long edges of each handle to secure the folds.
- Attach the Handles: Position the handles on the top edge of the bag, evenly spaced apart. Pin securely. Sew the handles to the bag, backstitching at the beginning and end for extra strength.
- Finish the Top Edge: Fold the top edge of the bag down 1/2 inch to the wrong side and press. Fold down another 1 inch and press again. Pin in place and sew around the entire top edge to create a clean, finished hem.
Pro Tips for Sewing Cloth Bags

- Pre-wash your fabric: This prevents shrinkage after the bag is sewn.
- Use a walking foot: Especially helpful when sewing multiple layers of fabric or slippery materials.
- Reinforce stress points: Backstitch at the beginning and end of seams, especially where the handles attach.
- Add pockets: Incorporate interior or exterior pockets for added functionality.
- Experiment with embellishments: Use fabric paint, embroidery, or applique to personalize your bag.
- Use contrasting thread: For a more visually interesting look.
- Consider lining: For added durability and a more professional finish.
Professional Help Section
If you’re struggling with a specific step or don’t have a sewing machine, consider:
- Local Sewing Classes: Many community centers and fabric stores offer sewing classes for all skill levels.
- Seamstress/Tailor: A professional can sew the bag for you or provide guidance and assistance.
- Cost: Hiring a seamstress typically ranges from $20 – $50 depending on the complexity of the bag.
FAQ Section
Q: What type of sewing machine do I need?
A: A basic sewing machine with a straight stitch is sufficient for this project. More advanced machines with features like zigzag stitch and buttonholes can be helpful for finishing seams and adding embellishments.
Q: Can I use fabric scraps?
A: Yes! Sewing a cloth bag is a great way to use up fabric scraps. You can piece together different fabrics to create a unique patchwork bag.
Q: How do I prevent fraying?
A: Finishing the raw edges of the seams with a zigzag stitch, serger, or pinking shears will help prevent fraying.
Q: Can I make a larger or smaller bag?
A: Absolutely! Adjust the dimensions of the fabric pieces to create a bag of your desired size.
Alternative Solutions Section

| Solution | Pros | Cons | Best For |
|---|---|---|---|
| No-Sew Fleece Bag | Quick and easy, requires no sewing machine | Less durable than sewn bags | Beginners, quick projects |
| Upcycled T-Shirt Bag | Eco-friendly, uses existing materials | Can be less sturdy | Reducing waste, easy project |
Keep Your New Bag Running Smoothly
Congratulations on sewing your own cloth bag! By following these steps, you’ve created a sustainable and stylish alternative to plastic bags. Remember to wash your bag regularly to keep it clean and fresh. With proper care, your handmade cloth bag will last for years to come.
What designs did you add to your bag? Share your creations and tips in the comments below!


