
Are you tired of fumbling with your bingo cards and dabbers? Do you dream of a stylish and functional bag to carry all your essentials? Learning how to sew a bingo bag is a fantastic project, and with this guide, you can create a custom bag perfect for your next bingo night. We’ll start with a quick fix – repurposing an existing bag – and then dive into a complete sewing tutorial.
This comprehensive guide will walk you through everything you need to know to sew a bingo bag, from choosing fabrics and tools to the final finishing touches. We’ll cover different construction methods, customization options, and pro tips to ensure your bag is both beautiful and practical. By the end of this article, you’ll be confidently crafting bingo bags for yourself and friends!
Materials and Tools Needed
| Item | Quantity | Specifications |
|---|---|---|
| Fabric (Outer) | 1 yard | Quilting cotton, canvas, or denim – choose a durable fabric |
| Fabric (Lining) | 1 yard | Cotton or quilting cotton – lighter weight than outer fabric |
| Interfacing | 1 yard | Pellon SF101 Shape-Flex – for structure |
| Bingo Card Holder | 1 | Plastic bingo card holder with slots |
| Dabber Holder | 1 | Elastic or fabric loop for securing a dabber |
| Strap Fabric | 1.5 yards | Cotton webbing, canvas, or coordinating fabric |
| Zipper | 14-16 inches | Coordinating color |
| Thread | 1 spool | Matching outer fabric color |
| Sewing Machine | 1 | Standard sewing machine |
| Scissors | 1 pair | Fabric scissors |
| Rotary Cutter & Mat | Optional | For precise fabric cutting |
| Iron & Ironing Board | 1 | Essential for pressing seams |
| Pins | 1 box | For securing fabric layers |
| Measuring Tape | 1 | For accurate measurements |
| Seam Ripper | 1 | Just in case! |
Preparing Your Fabric and Pattern

Cutting the Fabric
- Outer Fabric: Cut two rectangles measuring 16″ x 12″.
- Lining Fabric: Cut two rectangles measuring 16″ x 12″.
- Interfacing: Cut two rectangles measuring 15″ x 11″. Apply interfacing to the wrong side of the outer fabric pieces.
- Strap: Cut one strip of strap fabric 4″ x 45″ (adjust length for desired strap length).
- Pocket (Optional): Cut two rectangles for a pocket (e.g., 8″ x 6″) and one for the pocket facing (8″ x 2″).
Assembling the Pocket (Optional)
- Pocket Facing: Fold the pocket facing rectangle in half lengthwise, wrong sides together, and press.
- Attach Facing: Place the pocket facing right side down along the top edge of one pocket piece, aligning raw edges. Stitch with a ¼” seam allowance.
- Finish Pocket: Turn the pocket right side out and press. Topstitch along the top edge.
- Attach to Outer Fabric: Position the pocket on the right side of one outer fabric piece and stitch around three sides, leaving the bottom open.
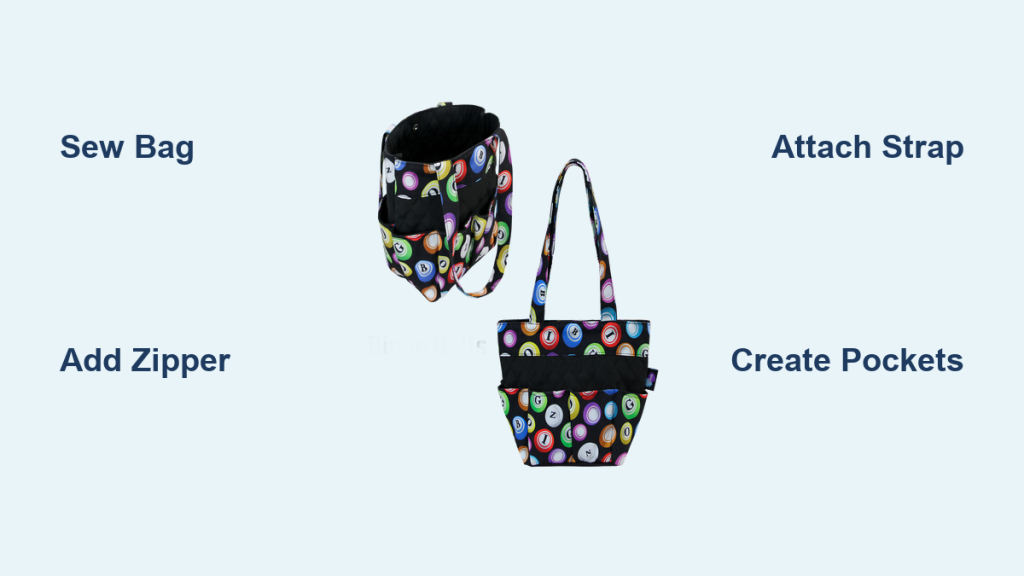
Constructing the Bag Body
Sewing the Bag Sides
- Outer Fabric: Place the two outer fabric pieces right sides together and pin along the sides and bottom.
- Stitch: Sew along the pinned edges with a ½” seam allowance, leaving the top open.
- Lining Fabric: Repeat steps 1 & 2 with the lining fabric pieces, but leave a 4″ opening in the bottom seam for turning.
- Box Corners: To create a boxed bottom, flatten each corner of both the outer and lining fabrics so the side and bottom seams align, forming a triangle. Measure 2″ down from the point of the triangle and draw a line across. Stitch along this line and trim away the excess fabric.
Attaching the Zipper
- Prepare Zipper: Place the zipper face down along the top edge of the outer fabric, right sides together. Pin in place.
- Stitch Zipper: Stitch the zipper to the outer fabric using a zipper foot.
- Repeat for Lining: Repeat the process with the lining fabric, ensuring the zipper is aligned with the outer fabric zipper.
Joining Outer and Lining
- Turn Right Side Out: Turn the outer fabric bag right side out.
- Insert Lining: Place the lining inside the outer fabric bag, wrong sides together.
- Align Top Edges: Align the top edges of the outer and lining bags, ensuring the zipper is evenly distributed.
- Pin and Stitch: Pin around the entire top edge and stitch with a ¼” seam allowance.
Creating and Attaching the Strap
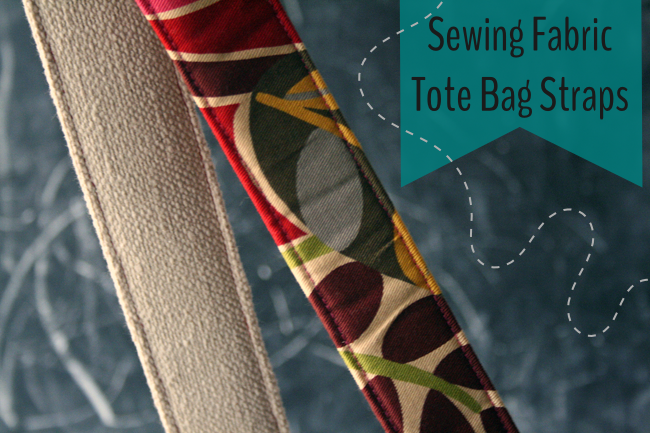
Preparing the Strap
- Fold Strap: Fold the strap fabric in half lengthwise, wrong sides together, and press.
- Fold Again: Fold the edges towards the center crease and press again.
- Fold One Last Time: Fold the strap in half again, enclosing the raw edges, and press.
- Stitch: Stitch along all edges of the strap to secure.
Attaching to the Bag
- Position Strap: Determine the desired strap attachment points on the bag.
- Pin Strap: Pin the ends of the strap to the bag, ensuring they are securely attached.
- Stitch: Stitch the strap securely to the bag, reinforcing the stitching with a box-and-X pattern for added durability.
Adding Bingo Card and Dabber Holders
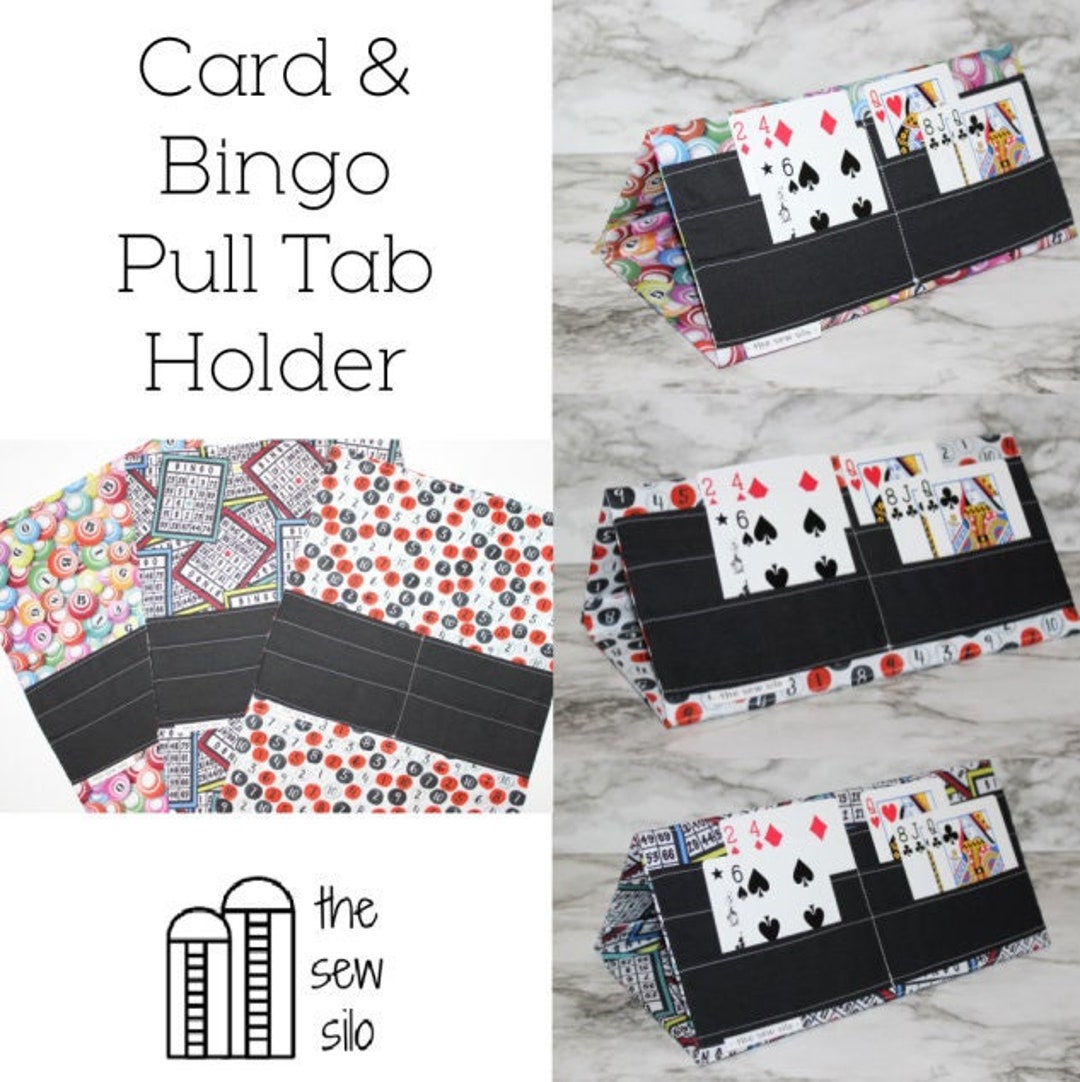
Bingo Card Holder Attachment
- Position Holder: Place the bingo card holder on the front of the bag, centered and at a comfortable height.
- Secure Holder: Hand-stitch or machine-stitch the holder securely to the bag, using strong thread.
Dabber Holder Creation
- Elastic Loop: Cut a piece of elastic approximately 6″ long.
- Secure Elastic: Fold the elastic in half and stitch the ends to the inside of the bag, creating a loop for the dabber. Alternatively, create a fabric loop and stitch securely.
Final Touches and Troubleshooting
Finishing Touches
- Press: Press the finished bag to remove any wrinkles.
- Check Stitching: Inspect all stitching for any loose threads or imperfections.
- Enjoy: Your bingo bag is now complete!
Troubleshooting
- Zipper Issues: If the zipper is difficult to close, check for fabric caught in the teeth.
- Strap Slipping: Reinforce the strap attachment points with additional stitching.
- Bag Shape: If the bag lacks structure, use a heavier interfacing or add more layers of fabric.
Pro Tips
- Use contrasting fabric for the lining to add a pop of color.
- Add decorative quilting or embroidery to personalize your bag.
- Consider adding interior pockets for extra organization.
- Experiment with different strap styles, such as adjustable straps or crossbody straps.
- Pre-wash your fabric to prevent shrinkage after sewing.
Professional Help
If you are struggling with any part of this project, consider taking a sewing class or seeking assistance from a local seamstress.
FAQ
Q: What type of fabric is best for a bingo bag?
A: Durable fabrics like quilting cotton, canvas, or denim are ideal. They can withstand the wear and tear of frequent use.
Q: Can I use a different type of closure instead of a zipper?
A: Yes, you can use a magnetic snap, button closure, or Velcro instead of a zipper.
Q: How can I customize my bingo bag?
A: Add pockets, embroidery, quilting, or decorative patches to personalize your bag.
Get Your Bingo Bag Working For You!
Congratulations on learning how to sew a bingo bag! You’ve now got a stylish and functional way to carry all your bingo essentials. Remember to follow the steps carefully, and don’t be afraid to get creative with your fabric choices and embellishments.
Share a picture of your finished bingo bag in the comments below – we’d love to see your creations!


