
Are you tired of lugging your drum kit around in multiple trips? A well-made drum bag can significantly simplify transportation and protect your valuable instruments. While purchasing a bag is an option, sewing your own allows for customization, cost savings, and the satisfaction of a DIY project. This guide will walk you through the process of sewing a robust and functional drum bag, even if you’re a beginner.
This comprehensive guide doesn’t just cover the basics; we’ll delve into pattern creation, material selection, construction techniques, and even customization options to create a drum bag tailored to your specific needs. By the end of this article, you’ll have the knowledge and confidence to build a drum bag that will serve you for years to come.
Materials and Tools Needed
| Item | Quantity | Specifications |
|---|---|---|
| Heavy-Duty Fabric | 3-4 yards | Canvas, Cordura, or ballistic nylon – 10oz or higher weight |
| Quilting Batting | 2-3 yards | For padding and protection |
| Bag Lining Fabric | 2-3 yards | Durable cotton or nylon lining |
| Heavy-Duty Thread | 2 spools | Polyester or nylon thread |
| Heavy-Duty Zipper | 24-36 inches | #5 or #8 coil zipper |
| Webbing | 5-10 yards | 1-inch or 2-inch width for handles and straps |
| Buckles | 2-4 | For adjustable shoulder strap |
| D-Rings | 2-4 | For attaching shoulder strap |
| Velcro | 1-2 yards | For securing drumsticks or accessories |
| Pattern Paper | Sufficient for pattern drafting | Large format paper is helpful |
| Sewing Machine | 1 | Heavy-duty machine recommended |
| Scissors | 1 | Fabric scissors |
| Measuring Tape | 1 | Accurate measurements are crucial |
| Pins | 1 box | For holding fabric layers together |
| Marking Tools | 1 set | Fabric chalk or disappearing ink pen |
| Seam Ripper | 1 | For correcting mistakes |
| Ruler/Straight Edge | 1 | For accurate cutting and measuring |
Designing Your Drum Bag Pattern
There isn’t a one-size-fits-all pattern, as drum sizes vary. The best approach is to measure your drums and create a custom pattern.
Determining Dimensions
- Measure Your Drums: Measure the diameter and depth of each drum you intend to carry in the bag. Add 2-3 inches to each dimension for padding and ease of access.
- Sketch a Basic Shape: Draw a rectangular or cylindrical shape on pattern paper, based on your drum measurements. This will be the main body of the bag.
- Add End Caps: For cylindrical bags, create circular or semi-circular end caps. These will be sewn onto the main body.
- Account for Pockets: Design pockets for drumsticks, cymbals, and accessories. Consider the size and placement of these pockets.
- Create a Pattern: Transfer your sketch to pattern paper, refining the shape and adding seam allowances (typically ½ inch). You’ll need pieces for:
- Main bag body (front and back)
- End caps (if applicable)
- Pockets
- Lining pieces (cut from the lining pattern)
- Reinforcement panels (optional, for added durability)
Constructing the Drum Bag
Phase 1: Cutting Fabric
- Lay Out Pattern Pieces: Place your pattern pieces on the chosen fabric, ensuring efficient fabric usage.
- Pin and Cut: Pin the pattern pieces securely to the fabric and carefully cut around them. Remember to cut two pieces for the main bag body (front and back) and the lining.
- Cut Padding: Cut the quilting batting to the same dimensions as the main bag body pieces.
Phase 2: Assembling the Bag Body

- Quilt the Fabric: Layer the fabric, batting, and lining (right sides together) and quilt them together. This adds padding and structure. Stitch in a straight line or create a decorative quilted pattern.
- Sew Side Seams: With right sides together, sew the side seams of the main bag body. Reinforce the seams with a second row of stitching.
- Attach End Caps (if applicable): Sew the end caps to the main bag body, ensuring a secure and watertight seal.
Phase 3: Adding Pockets and Features
- Sew Pockets: Construct the pockets according to your pattern. Attach them to the exterior of the bag body, reinforcing the seams.
- Install Zipper: Attach the heavy-duty zipper to the top opening of the bag. Use a zipper foot for precise stitching.
- Reinforce Stress Points: Add reinforcement panels to areas prone to wear and tear, such as the bottom corners and handle attachment points.
- Attach Velcro: Sew Velcro strips to designated areas for securing drumsticks or accessories.
Phase 4: Creating Handles and Straps
- Cut Webbing: Cut lengths of webbing for the handles and shoulder strap.
- Attach Handles: Sew the handles securely to the bag body, reinforcing the attachment points. Consider using box stitching for extra strength.
- Create Adjustable Shoulder Strap: Attach D-rings to the bag body. Thread the webbing through the D-rings and secure it with buckles to create an adjustable shoulder strap.
Pro Tips
- Reinforce Seams: Use a zigzag stitch or a second row of straight stitching to reinforce all seams, especially those under stress.
- Use Heavy-Duty Hardware: Invest in high-quality zippers, buckles, and D-rings to ensure durability.
- Waterproofing: Consider applying a waterproofing spray to the exterior fabric for added protection.
- Customization: Add your personal touch with embroidery, patches, or custom fabric choices.
- Practice on Scrap Fabric: Before cutting into your expensive fabric, practice your sewing techniques on scrap material.
- Consider a Bottom Reinforcement: A layer of thicker material on the bottom will greatly extend the bag’s lifespan.
Professional Help
If you encounter difficulties or lack the necessary equipment, consider seeking help from a professional seamstress or tailor. A professional can assist with pattern alterations, complex stitching, or hardware installation. The cost will vary depending on the complexity of the project, ranging from $50 to $200.
FAQ
Q: What fabric is best for a drum bag?
A: Cordura or ballistic nylon are excellent choices due to their durability and water resistance. Heavy-duty canvas is also a viable option.
Q: Can I use a regular sewing machine?
A: While possible, a heavy-duty sewing machine is highly recommended for working with thick fabrics and multiple layers.
Q: How do I adjust the shoulder strap length?
A: Use buckles on the shoulder strap to easily adjust the length to your preference.
Q: What size zipper should I use?
A: A #5 or #8 coil zipper is ideal for a drum bag, providing strength and durability.
Alternative Solutions
If sewing feels daunting, consider modifying a pre-made duffel bag or backpack. You can add padding, pockets, and reinforcement to create a functional drum bag. This option requires less sewing skill but may not offer the same level of customization.
Enjoy Your New Drum Bag
Congratulations! You’ve successfully sewn a durable and functional drum bag. This bag will not only protect your valuable instruments but also make transportation much easier.
Recap of key steps:
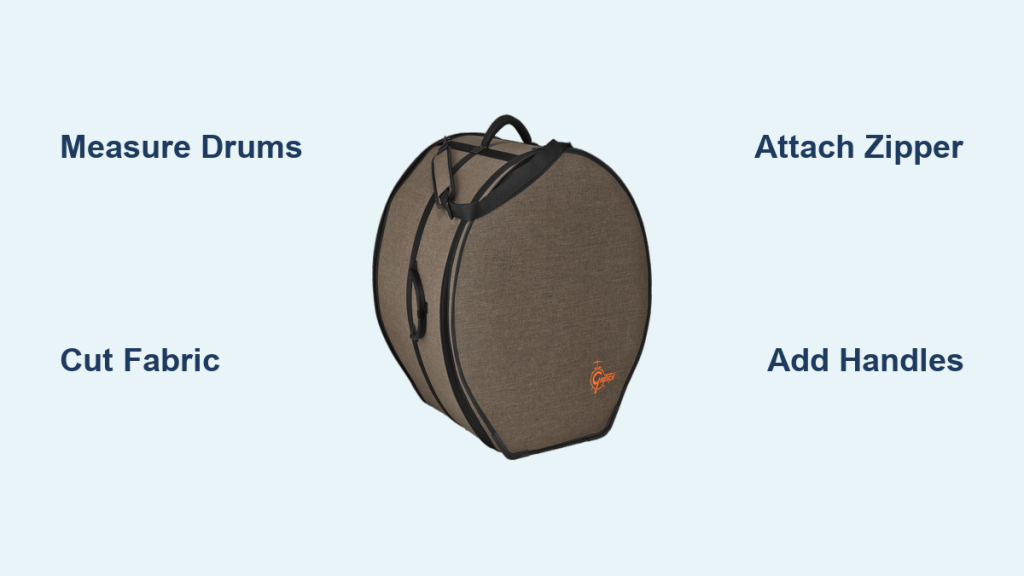
– Custom Pattern Creation
– Fabric Cutting and Quilting
– Bag Assembly and Feature Installation
– Handle and Strap Attachment
Remember to regularly inspect your bag for wear and tear, and make any necessary repairs to ensure its longevity.
Share your drum bag creation with us in the comments below! We’d love to see your designs and hear about your experience.


