
Are you tired of flimsy computer bags that don’t offer enough protection or style? Do you dream of a custom bag perfectly suited to your needs and aesthetic? Sewing your own computer bag might seem daunting, but it’s a surprisingly achievable project! A quick fix for a broken strap or inadequate padding is a simple patch or adding extra interfacing, but this guide will take you through creating a bag from scratch.
This comprehensive guide will walk you through every step of sewing a durable and stylish computer bag, from choosing the right materials to the final finishing touches. We’ll cover pattern options, essential tools, detailed sewing instructions, and even customization ideas, ensuring you end up with a bag you’ll be proud to carry for years to come. You’ll learn how to construct a bag that’s not only functional but also reflects your personal style.
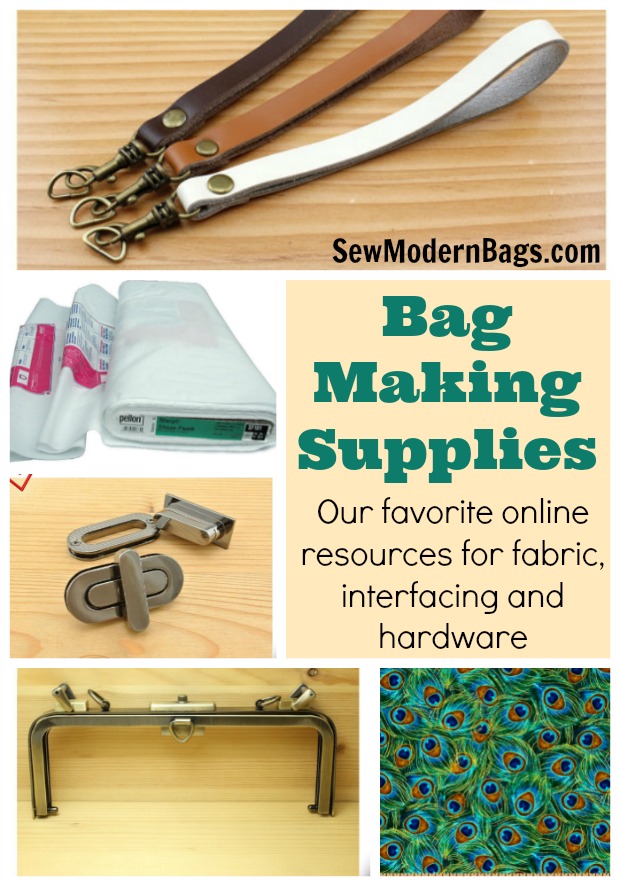
Materials and Tools Needed
| Item | Quantity | Specifications |
|---|---|---|
| Outer Fabric | 1.5 – 2 yards | Durable fabric like canvas, cordura, or waxed canvas |
| Lining Fabric | 1.5 – 2 yards | Quilting cotton, nylon, or similar lightweight fabric |
| Interfacing | 2+ yards | Fusible fleece, woven interfacing (weight depends on fabric) |
| Padding | 1-2 yards | Polyester batting, foam padding (1/4″ – 1/2″ thickness) |
| Zipper | 18-24″ | Heavy-duty zipper suitable for bags |
| Webbing | 2-3 yards | 1″ – 1.5″ width for straps & handles |
| Buckles/Hardware | As needed | For adjustable straps, closures, or decorative elements |
| Thread | 1 spool | Heavy-duty thread matching fabric color |
| Sewing Machine | 1 | With appropriate needle for chosen fabrics |
| Rotary Cutter & Mat | 1 set | For precise fabric cutting |
| Fabric Scissors | 1 pair | For general fabric cutting |
| Pins/Clips | 1 box/pack | For holding fabric layers together |
| Measuring Tape | 1 | For accurate measurements |
| Iron & Ironing Board | 1 set | For fusing interfacing and pressing seams |
| Seam Ripper | 1 | For correcting mistakes |
Preparation Steps and Safety Considerations
Before you begin, choose a pattern. Many free and paid patterns are available online, ranging from simple tote-style bags to more complex designs with multiple pockets and compartments. Consider your computer’s size and desired features when selecting a pattern. Print and assemble your pattern pieces carefully.
Safety First:
- Sewing Machine Safety: Always follow your sewing machine’s manual and use the correct needle for your fabric. Be mindful of your fingers!
- Cutting Safety: Use a rotary cutter with a mat and ruler for precise cuts. Keep fingers away from the blade.
- Ironing Safety: Use an ironing board and be careful not to burn yourself.
- Hardware Safety: When working with buckles or hardware, avoid sharp edges and use appropriate tools.
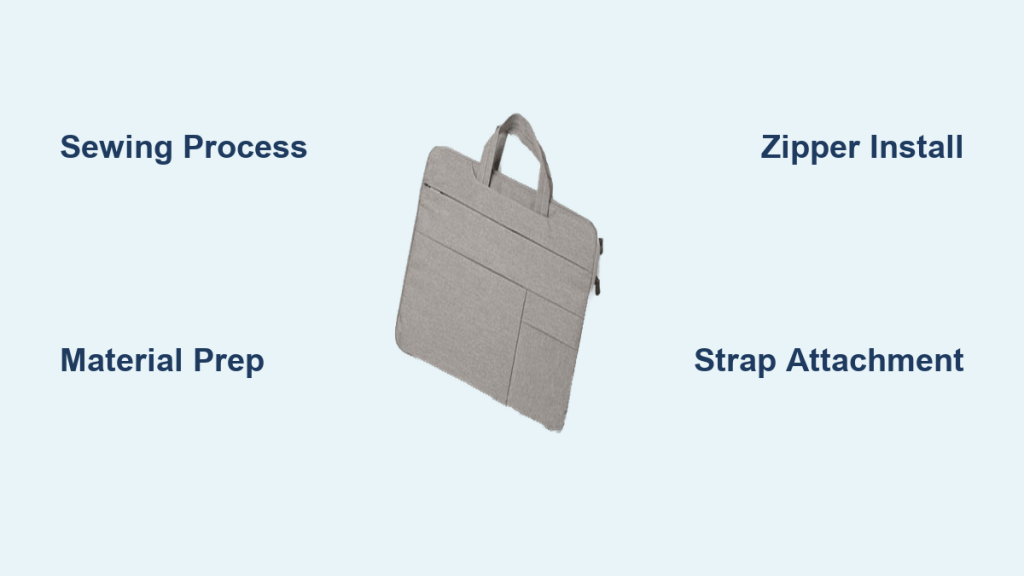
Step-by-Step Sewing Process
Phase 1: Cutting and Interfacing
- Cut Fabric: Using your pattern pieces, cut out all fabric pieces from the outer fabric, lining fabric, and padding. Remember to add seam allowances (usually 1/2 inch) unless the pattern specifies otherwise.
- Apply Interfacing: Fuse interfacing to the outer fabric pieces as directed by the pattern. This adds structure and durability to the bag. Pay close attention to areas that need extra support, like the bottom and handle attachment points.
- Prepare Padding: Cut padding pieces to match the dimensions of specific sections where you want extra cushioning (e.g., computer compartment).
Phase 2: Constructing the Bag Body
- Sew Outer Bag Panels: Assemble the outer bag panels according to the pattern instructions. This usually involves sewing side seams and the bottom seam.
- Sew Lining Panels: Repeat step 1 for the lining panels, leaving a turning gap of about 6-8 inches in the bottom seam.
- Attach Padding: Baste or pin the padding pieces to the inside of the outer bag panels where desired.
- Attach Zipper: Install the zipper along the top edge of the outer and lining bags. This often involves sewing zipper tape to the fabric edges.
Phase 3: Assembling and Finishing
- Join Outer and Lining: With right sides together, sew the outer bag and lining together around the top edge, leaving the turning gap in the lining open.
- Turn Right Side Out: Carefully turn the bag right side out through the turning gap in the lining.
- Close Turning Gap: Hand-stitch or machine-stitch the turning gap closed in the lining.
- Topstitch: Topstitch around the top edge of the bag for a clean finish and added durability.
- Create and Attach Handles/Straps: Cut webbing to the desired length for the handles and/or shoulder straps. Fold and sew the ends to create loops, or attach buckles for adjustable straps. Securely attach the handles/straps to the bag body using reinforced stitching.
- Add Interior Pockets (Optional): Sew in interior pockets for small accessories, using lining fabric or remnants.
Pro Tips

- Reinforced Stitching: Use a backstitch at the beginning and end of each seam to secure the stitching. Reinforce stress points, like handle attachments, with multiple rows of stitching.
- Boxed Corners: To give your bag a more professional look and increase its capacity, consider boxing the corners of the bag base.
- Fabric Choice: Waxed canvas is an excellent choice for water resistance and durability. Cordura is known for its abrasion resistance.
- Zipper Foot: Use a zipper foot on your sewing machine for easier and more precise zipper installation.
- Test Stitching: Always test your stitch settings on scrap fabric before sewing the actual bag.
- Pattern Adjustments: Don’t be afraid to adjust the pattern to fit your needs. Add or remove pockets, change the strap length, or modify the overall shape.
- Consider a Laptop Sleeve: Adding a padded laptop sleeve inside the bag provides extra protection for your computer.
Professional Help

If you encounter significant difficulties or lack the necessary tools, consider seeking help from a professional seamstress or tailor.
Signs you might need professional help:
- Difficulty installing the zipper
- Complex pattern with intricate details
- Lack of confidence in your sewing skills
Typical Cost Ranges:
- Minor repairs (strap replacement, zipper fix): $20 – $50
- Full bag construction: $100 – $300+ (depending on complexity and materials)
FAQ
Q: What type of fabric is best for a computer bag?
A: Durable fabrics like canvas, cordura, or waxed canvas are ideal. They offer protection and longevity.
Q: How much padding do I need for a computer compartment?
A: 1/4″ to 1/2″ of polyester batting or foam padding is usually sufficient.
Q: Can I use a regular sewing machine for this project?
A: Yes, but a heavy-duty machine is recommended for thicker fabrics. Using the correct needle is crucial.
Q: How do I make the bag water-resistant?
A: Use waxed canvas or apply a water-repellent spray to the finished bag.
Alternative Solutions
If sewing a bag from scratch feels too ambitious, consider upcycling an old backpack or messenger bag. You can add padding, new lining, and updated straps to create a custom computer bag. Alternatively, purchase a plain canvas bag and personalize it with embroidery, patches, or fabric paint.
| Solution | Pros | Cons | Best For |
|---|---|---|---|
| Upcycling | Eco-friendly, cost-effective | Limited design options | Those comfortable with basic alterations |
| Personalizing a plain bag | Quick, easy, affordable | Limited structural changes | Adding a unique touch to a basic bag |
Enjoy Your New Computer Bag!
Now that you’ve completed your handmade computer bag, you can enjoy the satisfaction of carrying a unique and functional accessory! You’ve learned valuable sewing skills and created a bag that perfectly suits your needs.
Remember these key takeaways:
* Careful pattern selection is vital.
* Interfacing adds essential structure.
* Reinforced stitching ensures durability.
Share your creation! Post a picture of your finished computer bag in the comments below and let us know how this guide helped you. We’d love to see your personalized designs!


