Are you tired of clutter? Do you need a simple, effective way to organize your belongings? Learning how to sew a storage bag is a fantastic solution, and it’s easier than you think! A quick fix for many storage needs is simply repurposing existing fabric, but this guide will walk you through creating a durable and attractive storage bag from scratch.
This comprehensive guide will take you through every step of sewing a storage bag, from gathering materials to finishing touches. We’ll cover different fabric options, essential sewing techniques, and even how to customize your bag with pockets and closures. By the end of this article, you’ll have the skills and confidence to create a variety of storage bags for all your organizational needs.
Materials and Tools Needed

| Item | Quantity | Specifications |
|---|---|---|
| Fabric | 1 yard | Cotton, linen, canvas, or denim (depending on desired durability) |
| Lining Fabric | 1 yard | Lightweight cotton or quilting fabric |
| Interfacing | 1 yard | Medium-weight fusible interfacing (optional, for added structure) |
| Thread | 1 spool | Matching your fabric color |
| Sewing Machine | 1 | With standard presser foot |
| Fabric Scissors | 1 | Sharp and dedicated for fabric |
| Measuring Tape | 1 | For accurate measurements |
| Pins | 1 box | To hold fabric layers together |
| Iron | 1 | For pressing seams |
| Seam Ripper | 1 | For correcting mistakes |
| Cutting Mat | 1 | Protects your work surface |
| Rotary Cutter | 1 | Optional, for precise fabric cuts |
Preparation Steps and Safety Considerations

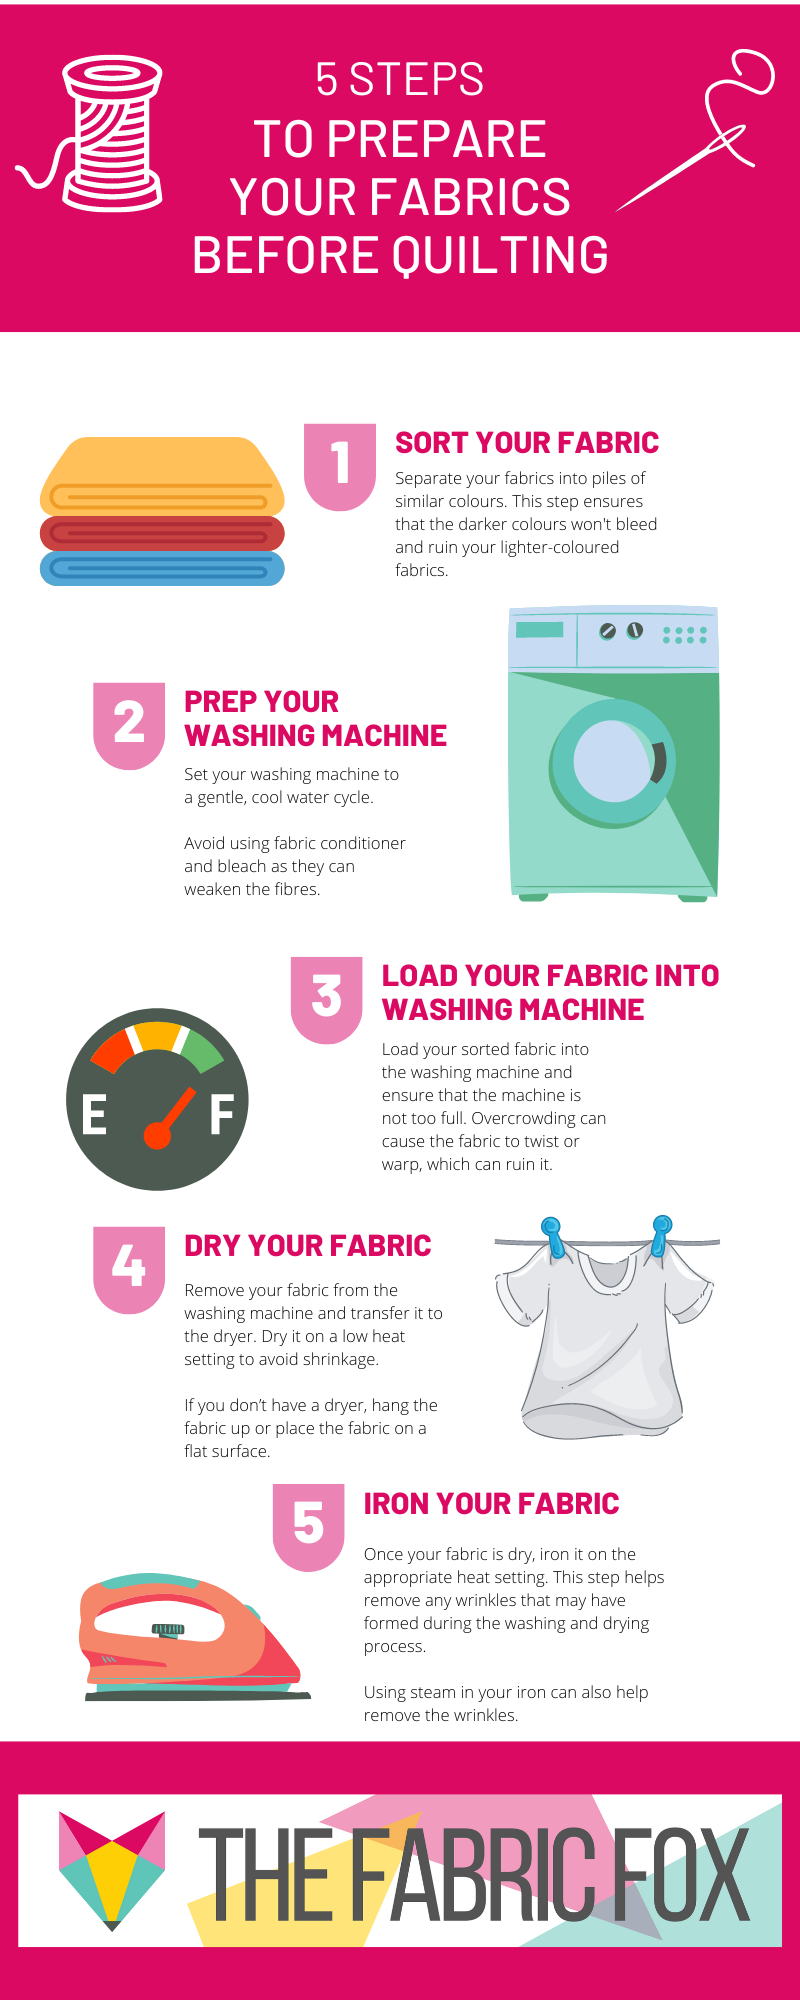
Before you begin, pre-wash and iron your fabric to prevent shrinkage after sewing. This is crucial, especially when using cotton. Carefully measure and cut your fabric pieces according to your desired bag size. A common size for a medium storage bag is 18″ x 20″, but feel free to adjust it. Remember to add seam allowances (typically ½ inch) to all sides.
Safety First: Always exercise caution when using sharp tools like scissors and rotary cutters. Keep your fingers away from the sewing machine needle and unplug the machine when not in use. Ironing boards can get hot, so use them with care.
Step-by-Step Sewing Process
Phase 1: Cutting the Fabric
- Cut two pieces of fabric for the outer bag to your desired dimensions (e.g., 18″ x 20″).
- Cut two pieces of lining fabric to the same dimensions.
- If using interfacing, cut two pieces to the same dimensions and fuse them to the wrong side of the outer bag fabric. This adds structure and prevents stretching.
Phase 2: Sewing the Bag Body
- Place the two outer bag pieces right sides together and pin along the sides and bottom edges.
- Sew along the pinned edges with a ½ inch seam allowance. Backstitch at the beginning and end of each seam to secure the stitching.
- Repeat this process with the two lining fabric pieces, leaving a 4-6 inch opening at the bottom of one side for turning the bag right side out. Do not sew this opening closed.
- Clip the corners of both the outer bag and the lining bag to reduce bulk when turned right side out.
Phase 3: Assembling the Bag
- Turn the outer bag right side out.
- Place the outer bag inside the lining bag, with right sides together. Align the top edges.
- Pin around the top edge.
- Sew around the top edge with a ½ inch seam allowance, leaving a small section open for turning.
Phase 4: Finishing Touches
- Through the opening you left in the lining, turn the entire bag right side out.
- Push the lining down into the outer bag, ensuring the seams are aligned.
- Close the opening in the lining with a hand stitch (slip stitch) or carefully machine stitch.
- Press the top edge of the bag to create a clean finish.
- Topstitch around the top edge of the bag, about ¼ inch from the edge, for added durability and a professional look.
Additional Options: Adding Pockets and Closures
Adding a Pocket:
Cut a piece of fabric for the pocket to your desired size. Fold over the top edge and press. Pin the pocket to the inside of the outer bag before sewing the side seams. Sew around the sides and bottom of the pocket, leaving the top edge open.
Adding a Closure:
- Drawstring: Create casing by folding over the top edge twice and stitching it down, leaving an opening to insert the drawstring. Thread a drawstring (ribbon, cord, etc.) through the casing.
- Button and Loop: Sew a loop of fabric or ribbon to one side of the bag opening and a button to the other.
- Velcro: Attach Velcro strips to the inside of the bag opening.
Pro Tips
- Fabric Choice: Canvas and denim are great for heavy-duty storage, while cotton and linen are ideal for lighter items.
- Interfacing: Using interfacing adds structure and prevents the bag from stretching.
- Seam Finishes: Consider using a serger or zigzag stitch to finish raw edges and prevent fraying.
- Reinforced Handles: If you plan to carry heavy items, reinforce the handles with extra stitching or webbing.
- Pattern Variations: Experiment with different bag shapes and sizes.
- Pre-Washing: Always pre-wash your fabric before cutting to prevent shrinkage.
- Practice: Practice sewing straight lines on scrap fabric before starting your project.
Professional Help
If you’re struggling with a particular step or don’t have access to a sewing machine, consider taking a sewing class or hiring a seamstress. A professional can provide guidance and ensure a high-quality finish. The cost of hiring a seamstress can vary depending on the complexity of the bag and your location, but typically ranges from $30-$80 per hour.
FAQ
Q: What type of fabric is best for a storage bag?
A: The best fabric depends on what you’ll be storing. Canvas and denim are durable for heavier items, while cotton and linen are good for lighter items.
Q: Can I use a rotary cutter and cutting mat?
A: Yes, a rotary cutter and cutting mat can make cutting fabric much faster and more accurate.
Q: How do I prevent the fabric from fraying?
A: You can use a serger, zigzag stitch, or pinking shears to finish the raw edges of the fabric.
Q: What if I make a mistake?
A: Don’t worry! A seam ripper is your friend. Carefully remove the stitches and try again.
Alternative Solutions
If sewing isn’t your forte, consider using pre-made fabric storage bins or baskets. These are readily available in various sizes and styles. However, sewing your own bag allows for complete customization and a handmade touch.
| Solution | Pros | Cons | Best For |
|---|---|---|---|
| Sewn Bag | Customizable, Durable, Cost-effective | Requires sewing skills, Time-consuming | Long-term storage, Personalized organization |
| Fabric Bins | Convenient, No sewing required | Limited customization, Can be expensive | Quick storage solution, Minimal effort |
Keep Your Belongings Organized
Congratulations! You’ve now successfully sewn a storage bag. Following these steps, you can create a variety of bags to suit your specific needs. Remember to take your time, be patient, and enjoy the process.
Have you sewn a storage bag before? Share your tips and experiences in the comments below! Don’t let clutter overwhelm you – start sewing and get organized today!


