

Are you staring at a stained or dusty bean bag pillow, wondering how to restore it to its former glory? Bean bags are comfy and fun, but they do get dirty. Luckily, cleaning a bean bag isn’t as daunting as it seems. A simple spot clean can often tackle fresh messes, but this guide will provide a comprehensive approach to deep cleaning your bean bag, leaving it fresh and inviting.
This guide will take you beyond a quick wipe-down. We’ll cover everything from identifying your bean bag’s material to tackling stubborn stains, removing odors, and preventing future messes. By the end, you’ll have the knowledge and confidence to keep your bean bag looking and feeling its best for years to come.
Identifying Your Bean Bag Material
Before you start cleaning, it’s crucial to know what your bean bag is made of. Different materials require different cleaning methods.
- Cotton/Polyester Blends: These are the most common and generally the easiest to clean.
- Velvet: Requires gentle cleaning to avoid damaging the nap.
- Faux Fur: Needs careful handling to prevent matting.
- Leather/Suede: Requires specialized leather cleaning products.
- Waterproof Materials (PVC/Vinyl): Simplest to clean, often just requiring a wipe-down.
Check the care label on your bean bag for specific instructions. If there’s no label, carefully examine the fabric to determine the material.
Gathering Your Cleaning Supplies
Once you know your material, gather these supplies:
- Vacuum cleaner with upholstery attachment
- Soft-bristled brush
- Mild dish soap or upholstery cleaner (ensure it’s appropriate for your fabric)
- Microfiber cloths
- Spray bottle
- Baking soda (for odor removal)
- Water
- Leather cleaner (if applicable)
- Stain remover (appropriate for your fabric)
Deep Cleaning Your Bean Bag: A Step-by-Step Guide
:max_bytes(150000):strip_icc()/How-to-Clean-a-Bean-Bag-Chair-0280-part-03-step-01-f4d6002c5e514e309f31348519febc77.jpg)
Phase 1: Preparation & Initial Cleanup
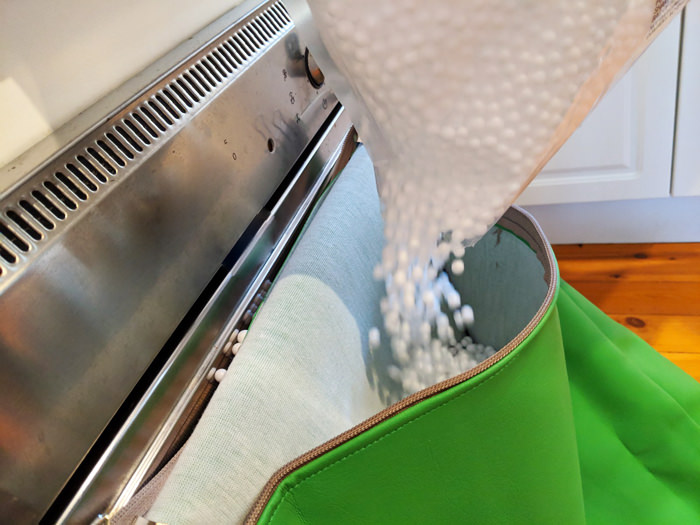
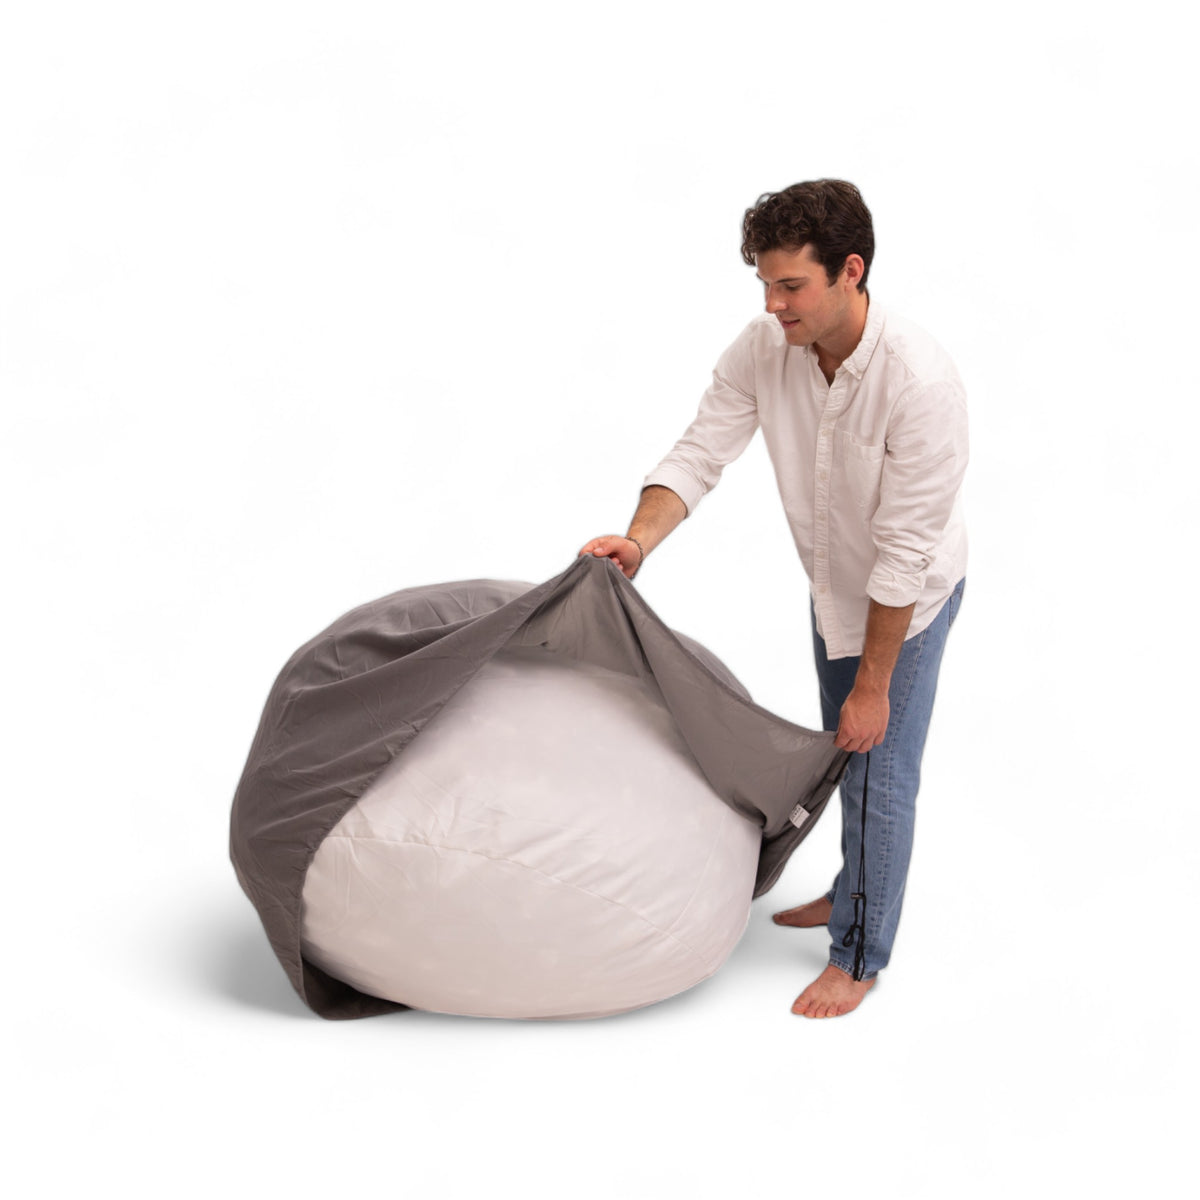
- Empty the Bean Bag: This is the most important step! Carefully empty all the beans into large, sturdy trash bags. This will make cleaning the cover significantly easier.
- Vacuum Thoroughly: Use the upholstery attachment to vacuum the entire bean bag cover, inside and out. Pay special attention to seams and crevices where dirt and debris accumulate.
- Spot Treat Stains: Address any visible stains before proceeding with a full clean.
- For fresh spills: Blot immediately with a clean microfiber cloth.
- For older stains: Apply a stain remover specifically designed for your fabric. Test in an inconspicuous area first! Let it sit for the recommended time, then blot (don’t rub!).
Phase 2: Cleaning the Bean Bag Cover
The cleaning process will vary based on your bean bag’s material:
Method 1: Cotton/Polyester Blend (Machine Washable)
- Check the Label: Confirm the cover is machine washable.
- Wash Gently: Place the cover in a large-capacity washing machine on a gentle cycle with cold water and a mild detergent.
- Air Dry: Do not put the cover in the dryer! Hang it to air dry completely. Heat can shrink or damage the fabric.
Method 2: Velvet/Faux Fur (Hand Wash Recommended)
- Prepare Cleaning Solution: Mix a small amount of mild dish soap with lukewarm water in a spray bottle.
- Lightly Mist: Lightly mist the surface of the bean bag cover with the cleaning solution. Avoid saturating the fabric.
- Gently Wipe: Use a clean microfiber cloth to gently wipe the surface in the direction of the nap.
- Rinse and Repeat: Rinse the cloth with clean water and wipe again to remove any soap residue. Repeat as needed.
- Air Dry: Allow the cover to air dry completely, brushing the nap with a soft-bristled brush to restore its texture.
Method 3: Leather/Suede (Specialized Cleaning)
- Apply Leather Cleaner: Use a leather cleaner specifically designed for your type of leather. Follow the product instructions carefully.
- Condition the Leather: After cleaning, apply a leather conditioner to keep the material supple and prevent cracking.
Phase 3: Addressing Odors & Refilling
- Baking Soda Treatment: Sprinkle baking soda generously over the inside of the clean bean bag cover. Let it sit for several hours (or overnight) to absorb odors.
- Vacuum Again: Vacuum up all the baking soda thoroughly.
- Refill the Bean Bag: Carefully pour the beans back into the cover. A funnel can be helpful for this process.
- Zip it Up: Securely zip up the bean bag cover.
Pro Tips for Bean Bag Cleaning
- Preventative Measures: Use a bean bag cover to protect the original fabric from dirt and stains.
- Regular Vacuuming: Vacuum your bean bag weekly to prevent dirt buildup.
- Spot Clean Immediately: Address spills and stains as soon as they happen.
- Avoid Harsh Chemicals: Harsh chemicals can damage the fabric and fade the color.
- Test Cleaning Solutions: Always test any cleaning solution in an inconspicuous area first.
- Sunlight Caution: Avoid prolonged exposure to direct sunlight, as it can fade the color of the fabric.
- Bean Quality: Consider upgrading to higher-quality beans for better support and longevity.
When to Call a Professional
- Severe Stains: If you’ve tried multiple methods and can’t remove a stubborn stain.
- Delicate Fabrics: If your bean bag is made of a very delicate or expensive material.
- Extensive Damage: If the bean bag cover is torn or damaged.
- Odor Persistence: If you can’t eliminate a lingering odor despite your best efforts.
FAQ
Q: Can I use a steam cleaner on my bean bag?
A: Generally, no. Steam cleaners can damage certain fabrics, especially velvet and faux fur. Always check the care label and test in an inconspicuous area first.
Q: How do I clean the beans themselves?
A: Cleaning the beans is difficult and often not recommended. If they’re heavily soiled, it’s usually more cost-effective to replace them.
Q: My bean bag smells musty. What can I do?
A: Baking soda is your best bet! A generous application, left overnight, can often eliminate musty odors. Ensure the bean bag is completely dry before refilling.
Enjoy Your Clean Bean Bag!
Now that you’ve successfully cleaned your bean bag, you can relax and enjoy its comfort once again! By following these steps, you’ve not only restored your bean bag to its former glory but also extended its lifespan.
Did this guide help you clean your bean bag? Share your experience and any tips you have in the comments below!


