
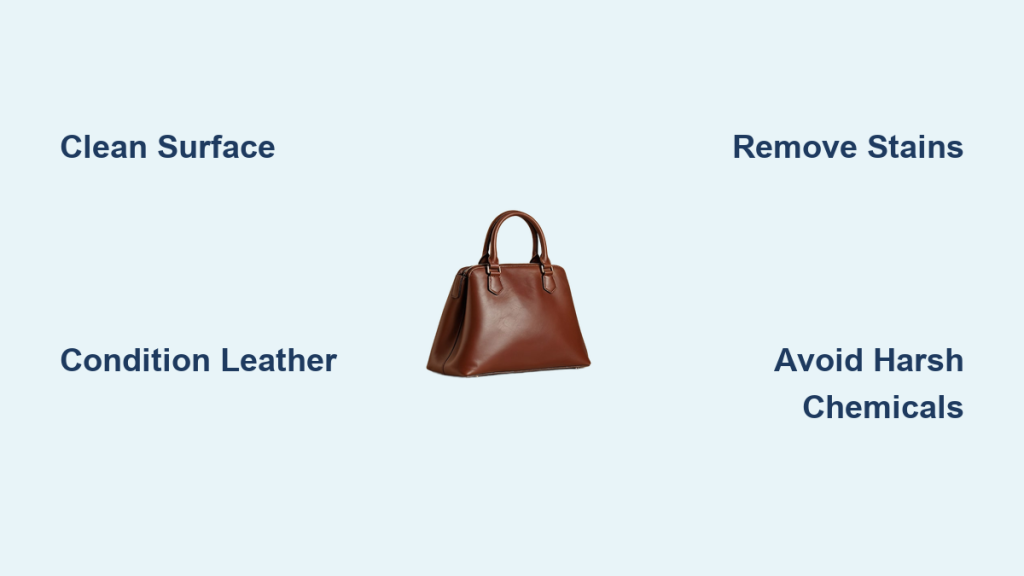
Calf leather bags are a timeless investment, offering both style and durability. But even the most well-cared-for bags can accumulate dirt, stains, and wear over time. If you’re noticing your beloved calf leather bag looking a little dull or dirty, don’t panic! This comprehensive guide will walk you through everything you need to know to safely and effectively clean your calf leather bag, restoring it to its former glory. We’ll start with a quick fix for light cleaning, then dive into more detailed methods for tackling tougher stains and maintaining your bag’s beautiful appearance.
This guide isn’t just about surface cleaning; we’ll cover everything from identifying your leather type to understanding the best cleaning products, preventative measures, and even when it’s time to call in a professional. By the end of this article, you’ll be equipped with the knowledge and confidence to keep your calf leather bag looking its best for years to come.
Understanding Calf Leather & Cleaning Considerations

Before diving into the cleaning process, it’s crucial to understand what calf leather is and how it reacts to different cleaning agents. Calf leather is known for its softness, strength, and fine grain. However, it’s still a natural material, meaning it’s susceptible to damage from harsh chemicals and improper cleaning techniques.
Types of Calf Leather Finishes
- Full-Grain Leather: The highest quality, showing natural markings. Requires gentle cleaning.
- Top-Grain Leather: Slightly sanded to remove imperfections. More durable, but still needs careful handling.
- Corrected-Grain Leather: Heavily sanded and often embossed with a synthetic grain. More resistant to stains but can lose its natural texture with aggressive cleaning.
- Suede/Nubuck Calf Leather: Has a velvety nap. Requires specialized suede/nubuck cleaners. This guide focuses on smooth calf leather, not suede/nubuck.
What Not To Use
- Harsh Chemicals: Avoid bleach, ammonia, alcohol-based cleaners, and strong detergents.
- Abrasive Cleaners: Steer clear of scouring powders, steel wool, or stiff brushes.
- Excessive Water: Leather doesn’t react well to being soaked.
- Baby Wipes: Often contain chemicals that can damage the leather.
Materials You’ll Need
| Item | Quantity | Specifications |
|---|---|---|
| Microfiber Cloths | 3-5 | Soft, lint-free |
| Leather Cleaner | 1 | Specifically formulated for calf leather |
| Leather Conditioner | 1 | To restore moisture and suppleness |
| Soft-Bristled Brush | 1 | For gentle scrubbing (optional) |
| Distilled Water | As needed | Avoids mineral deposits |
| Saddle Soap (Optional) | 1 | For stubborn stains, use with caution |
| Leather Protector Spray (Optional) | 1 | For preventative treatment |
Step-by-Step Cleaning Process
Phase 1: Preparation & Dust Removal
- Empty the Bag: Remove all contents from your bag.
- Surface Dusting: Use a clean, dry microfiber cloth to gently wipe down the entire surface of the bag, removing loose dust and debris. Pay attention to seams and crevices.
- Interior Dusting: Turn the bag inside out (if possible) and repeat the dusting process.
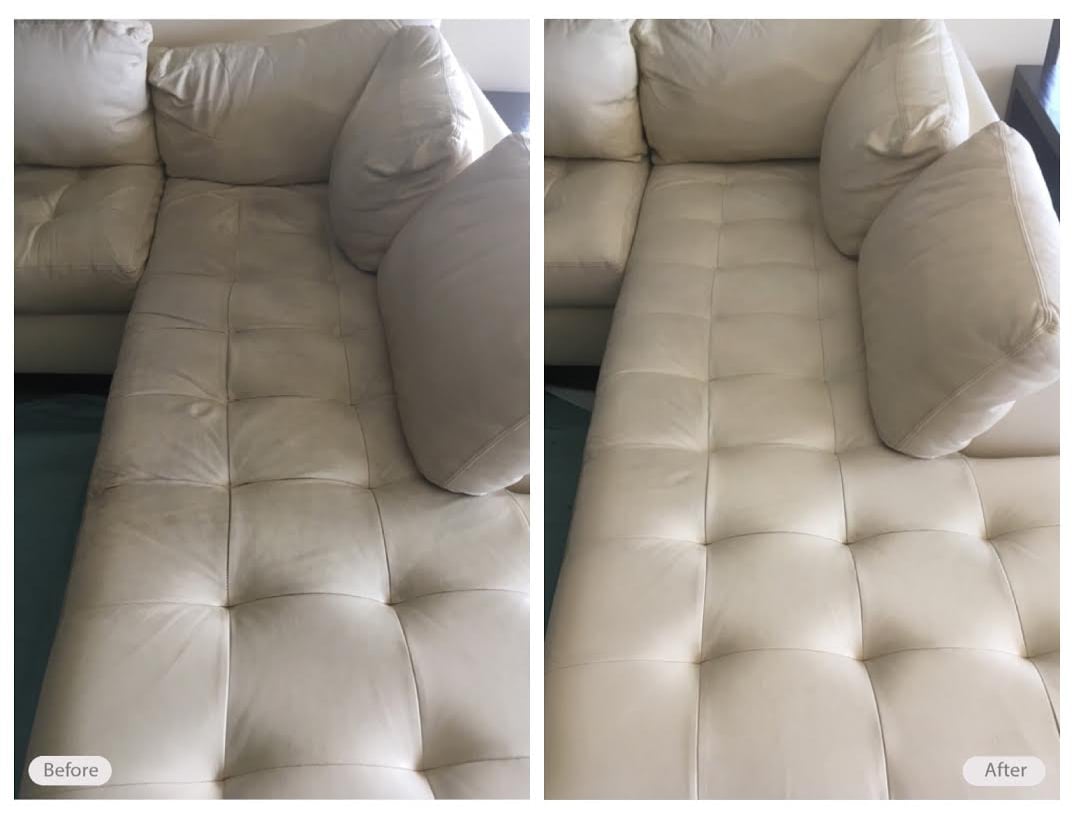
Phase 2: Gentle Cleaning with Leather Cleaner
- Spot Test: Always test the leather cleaner on an inconspicuous area of the bag (e.g., the bottom) to ensure it doesn’t cause discoloration or damage.
- Apply Cleaner: Apply a small amount of leather cleaner to a clean microfiber cloth. Do not apply the cleaner directly to the bag.
- Gentle Wipe: Gently wipe the bag in circular motions, working in small sections. Avoid applying excessive pressure.
- Remove Residue: Use a separate clean, damp (not wet!) microfiber cloth to wipe away any remaining cleaner residue.
- Air Dry: Allow the bag to air dry completely in a cool, well-ventilated area, away from direct sunlight or heat.
Phase 3: Conditioning & Protection
- Apply Conditioner: Once the bag is completely dry, apply a small amount of leather conditioner to a clean microfiber cloth.
- Condition in Circular Motions: Gently massage the conditioner into the leather, working in circular motions. This will help restore moisture and suppleness.
- Buff the Leather: Use a clean, dry microfiber cloth to buff the leather, removing any excess conditioner.
- Optional: Apply Protector Spray: For added protection against future stains, consider applying a leather protector spray according to the product instructions.
Tackling Specific Stains
:max_bytes(150000):strip_icc()/remove-ink-from-leather-6274276-final-f12c4b70fe2c43279a8e45dcb3ce661b.png)
Oil-Based Stains (Grease, Makeup)
- Blot Immediately: Blot the stain with a clean microfiber cloth to absorb as much oil as possible.
- Cornstarch Application: Apply a generous amount of cornstarch to the stain and let it sit for several hours (or overnight). Cornstarch absorbs oil.
- Brush Off & Clean: Brush off the cornstarch with a soft-bristled brush and then follow the gentle cleaning process outlined above.
Water Stains
- Dampen Entire Panel: Lightly dampen the entire panel of the bag with distilled water. This helps blend the water stain and prevent a ring from forming.
- Air Dry: Allow the bag to air dry completely.
- Condition: Apply leather conditioner to restore moisture.
Ink Stains
Ink stains are notoriously difficult to remove. Proceed with caution.
- Rubbing Alcohol (Spot Test First!): Dip a cotton swab in rubbing alcohol and very gently dab at the ink stain. Test in an inconspicuous area first!
- Leather Cleaner: Follow with a gentle cleaning using leather cleaner.
- Professional Help: If the ink stain persists, it’s best to consult a professional leather cleaner.
Pro Tips for Calf Leather Bag Care
- Regular Dusting: Dust your bag weekly to prevent dirt buildup.
- Storage: Store your bag in a dust bag in a cool, dry place, away from direct sunlight. Stuff the bag with acid-free tissue paper to maintain its shape.
- Avoid Overfilling: Overfilling your bag can stretch the leather.
- Rotate Bags: Don’t use the same bag every day. Rotating bags allows the leather to rest and recover.
- Condition Regularly: Condition your bag every 3-6 months, or more frequently if you live in a dry climate.
- Protect from Rain: If your bag gets wet, blot it dry immediately and allow it to air dry naturally.
When to Call a Professional
- Deep, Set-In Stains: If you’ve tried multiple methods and a stain persists.
- Significant Damage: Scratches, tears, or discoloration that you’re unable to repair yourself.
- Suede/Nubuck Leather: Always use a professional for cleaning suede or nubuck calf leather.
- Antique or Valuable Bags: If your bag is particularly valuable or sentimental, it’s best to leave the cleaning to a professional.
What to Look For in a Leather Cleaning Service:
– Experience with calf leather specifically.
– Positive reviews and testimonials.
– Proper insurance and licensing.
– Transparent pricing.
FAQ
Q: How often should I clean my calf leather bag?
A: It depends on how frequently you use it. A light cleaning every few weeks and a more thorough cleaning every 3-6 months is a good guideline.
Q: Can I use saddle soap on my calf leather bag?
A: Yes, but use it sparingly and with caution. Saddle soap can be drying, so always follow up with a leather conditioner.
Q: How can I prevent stains on my calf leather bag?
A: Apply a leather protector spray, avoid overfilling your bag, and store it properly.
Q: What’s the best way to store my bag when I’m not using it?
A: Store it in a dust bag, stuffed with acid-free tissue paper, in a cool, dry place away from direct sunlight.
Get Your Calf Leather Bag Working Again
By following these steps, you can effectively clean and maintain your calf leather bag, keeping it looking beautiful and extending its lifespan. Remember to always test products in an inconspicuous area first and to handle the leather with care.
Have you tried any of these methods? Share your experiences and tips in the comments below!


