Are you noticing a funky smell or taste in your CamelBak reservoir? A dirty hydration pack can ruin a hike or workout. Luckily, cleaning your CamelBak is straightforward and can be done quickly with a few simple steps. This guide will walk you through everything you need to know to keep your hydration reservoir fresh and clean.
This comprehensive guide will go beyond a quick rinse. We’ll cover everything from daily maintenance to deep cleaning, tackling mold, mildew, and stubborn stains. By the end of this article, you’ll be confident in keeping your CamelBak reservoir hygienic and ready for your next adventure.
Daily Maintenance for a Fresh CamelBak
The easiest way to keep your CamelBak clean is to prevent buildup in the first place. Daily maintenance goes a long way.
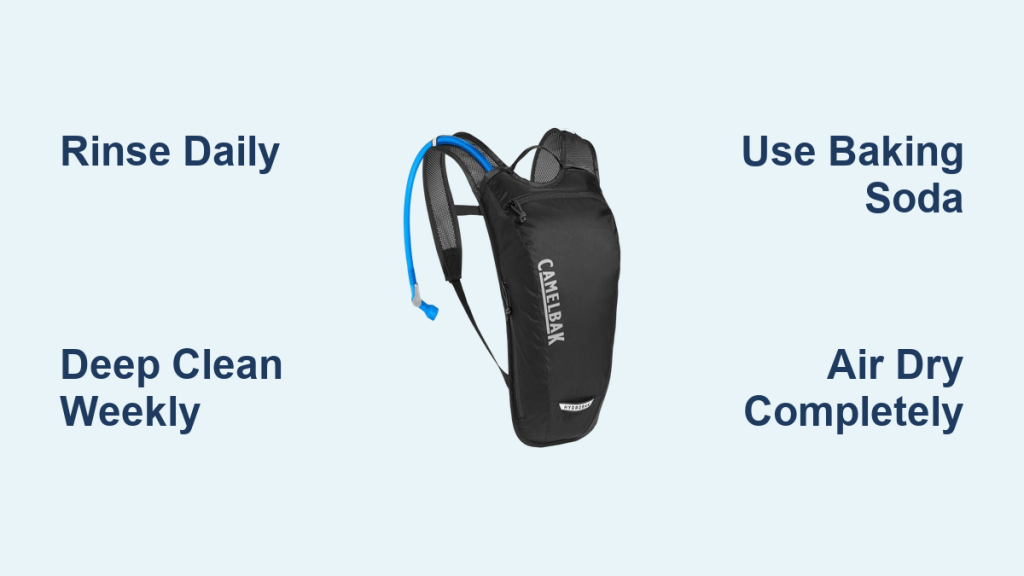
- Empty and Rinse: Always empty any remaining water after each use. Rinse thoroughly with clean water.
- Open Air Dry: Remove the cap and bite valve and allow the reservoir to dry completely in an open-air environment. Avoid storing it wet, as this encourages bacterial growth.
- Dedicated Storage: Store your CamelBak in a clean, dry place when not in use.
Deep Cleaning Your CamelBak Reservoir

While daily maintenance helps, a deep clean is necessary to eliminate bacteria and prevent mold.
Materials You’ll Need
| Item | Quantity | Specifications |
|---|---|---|
| Mild Dish Soap | Small amount | Antibacterial preferred |
| Warm Water | Several liters | Not hot – avoid damaging plastic |
| CamelBak Cleaning Tablets or Baking Soda | 1-2 tablets or 2 tbsp | Optional, for stubborn stains/odor |
| Long-Handled Cleaning Brush | 1 | Specifically designed for hydration reservoirs, or a bottle brush |
| Soft Cloth or Sponge | 1 | For wiping down exterior |
| Drying Rack | 1 | To allow for air drying |
Step 1: Disassembly
Carefully disassemble your CamelBak reservoir. This includes:
- Removing the hose from the reservoir.
- Removing the bite valve and cap.
- Separating any other detachable components.
Step 2: Initial Rinse
Rinse the reservoir thoroughly with warm water to remove any loose debris.
Step 3: Washing with Soap and Water
- Fill the reservoir with warm water and a small amount of mild dish soap.
- Gently swish the soapy water around, ensuring it reaches all interior surfaces.
- Use the long-handled cleaning brush to scrub the inside of the reservoir, paying attention to corners and crevices.
- Rinse the reservoir thoroughly with warm water until all soap residue is gone. Repeat if necessary.
Step 4: Addressing Stubborn Stains & Odors (Optional)
If you’re dealing with stubborn stains or odors, consider these options:
- CamelBak Cleaning Tablets: Follow the instructions on the tablet packaging. Typically, you’ll fill the reservoir with water, drop in a tablet, let it sit for a specified time, and then rinse thoroughly.
- Baking Soda Paste: Mix 2 tablespoons of baking soda with enough water to form a paste. Apply the paste to stained areas, let it sit for 30 minutes, then scrub with the cleaning brush and rinse thoroughly.
Step 5: Cleaning the Hose and Bite Valve
- Hose: Fill the hose with soapy water, swish it around, and then rinse thoroughly. A long brush can also be used to clean the inside of the hose.
- Bite Valve: Disassemble the bite valve (if possible) and soak all parts in soapy water. Use a small brush or toothpick to clean any small openings. Rinse thoroughly.
Step 6: Drying
Allow all components to air dry completely. This is crucial to prevent mold growth. Place the reservoir, hose, and bite valve on a drying rack in a well-ventilated area. Avoid direct sunlight, which can damage the plastic.
How Often to Clean Your CamelBak

| Frequency | Task | Duration |
|---|---|---|
| Daily | Empty & Rinse | 1 minute |
| After Every Use | Open Air Dry | Overnight |
| Weekly (or after sugary drinks) | Deep Clean with Soap & Water | 20-30 minutes |
| Monthly (or as needed) | Deep Clean with Cleaning Tablets/Baking Soda | 30-60 minutes |
Pro Tips for CamelBak Maintenance

- Avoid Sugary Drinks: Sugary drinks leave behind residue that’s difficult to clean and promotes bacterial growth. If you do use them, clean your CamelBak immediately after.
- Freezing for Deep Cleaning: For a super deep clean, fill the reservoir with water and freeze it. The ice crystals can help dislodge stubborn buildup. Once frozen, thaw and rinse thoroughly.
- Inspect Regularly: Check for cracks or damage to the reservoir, hose, or bite valve. Replace any damaged parts immediately.
- Dishwasher Safe (Check Model): Some CamelBak reservoirs and components are dishwasher safe (top rack only). Always check the manufacturer’s instructions.
- Dedicated Brush: Keep a dedicated cleaning brush for your CamelBak to avoid cross-contamination.
When to Seek Professional Help
While most cleaning can be done at home, consider professional help if:
- You notice persistent mold or mildew that you can’t remove.
- The reservoir is damaged or leaking.
- You suspect contamination and want a thorough disinfection.
FAQ
Q: Can I use bleach to clean my CamelBak?
A: While bleach is a powerful disinfectant, it’s not recommended for cleaning CamelBak reservoirs. Bleach can damage the plastic and leave behind harmful residue. Opt for CamelBak cleaning tablets, baking soda, or mild dish soap.
Q: How do I remove a stubborn plastic taste from my CamelBak?
A: This is often caused by the plastic absorbing flavors. Try soaking the reservoir overnight in a solution of baking soda and water, then rinsing thoroughly.
Q: My CamelBak still smells after cleaning. What should I do?
A: Repeat the deep cleaning process with CamelBak cleaning tablets or baking soda. Ensure the reservoir is completely dry before storing it.
Q: Is it okay to put my CamelBak in the freezer?
A: Yes, freezing can help loosen stubborn buildup, but avoid temperature shock. Gradually cool the reservoir before placing it in the freezer.
Alternative Solutions
If you don’t have access to CamelBak cleaning tablets or baking soda, consider using a solution of white vinegar and water (1 part vinegar to 3 parts water) for a natural cleaning option.
Keep Your CamelBak Running Smoothly
By following these cleaning and maintenance tips, you can ensure your CamelBak reservoir stays fresh, clean, and ready for all your adventures. Remember, regular cleaning is key to preventing bacterial growth and maintaining optimal hydration.
Have you successfully cleaned your CamelBak? Share your favorite tips and tricks in the comments below!


