

Leather bags are a timeless investment, but they require proper care to maintain their beauty and longevity. Discovering unsightly marks, dirt, or stains on your beloved bag can be frustrating. Fortunately, you don’t always need a professional cleaner! This guide will walk you through a comprehensive process to clean your leather bag at home, restoring it to its former glory. We’ll start with a quick spot cleaning method for immediate relief from minor blemishes.
This guide goes beyond a simple wipe-down. We’ll cover everything from identifying different leather types to deep cleaning, conditioning, and stain removal. Whether you’re dealing with everyday grime, stubborn marks, or specific stains, you’ll find a solution here. By the end of this article, you’ll be equipped with the knowledge and confidence to keep your leather bag looking its best for years to come.
Understanding Your Leather

Before diving into cleaning, it’s crucial to identify your leather type. Different leathers require different approaches.
Common Leather Types
- Finished Leather: Most common, with a protective coating. More durable and easier to clean.
- Unfinished Leather (Aniline/Nappa): Softer, more natural look. Absorbs liquids easily, requires gentle cleaning. Avoid harsh chemicals.
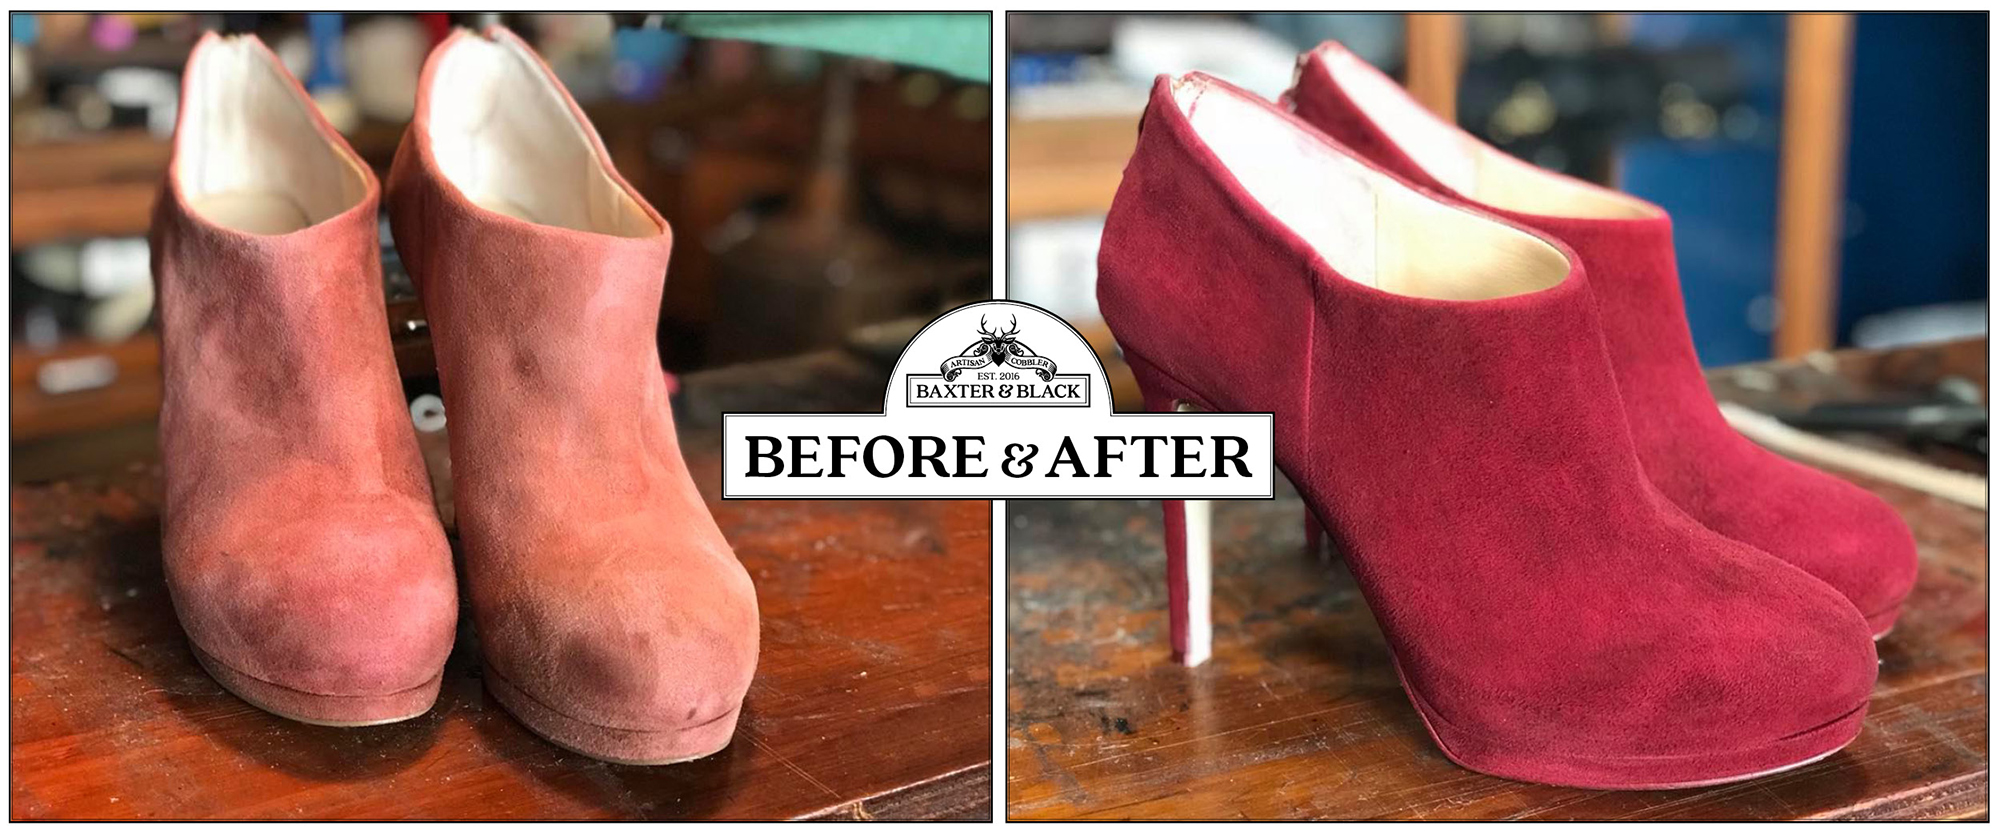
- Suede/Nubuck: Velvety texture. Highly susceptible to water damage and staining. Requires specialized care.
- Patent Leather: Shiny, coated finish. Prone to scratches and requires specific cleaning to maintain its gloss.
Materials You’ll Need
| Item | Quantity | Specifications |
|---|---|---|
| Microfiber Cloths | 3-5 | Soft, lint-free |
| Leather Cleaner | 1 Bottle | Specifically formulated for leather |
| Leather Conditioner | 1 Bottle | To replenish oils and prevent cracking |
| Soft-Bristled Brush | 1 | For gentle scrubbing |
| Distilled Water | As Needed | Avoids mineral deposits |
| Saddle Soap | 1 Bar | For deep cleaning finished leather |
| Suede Brush | 1 | For suede and nubuck |
| White Vinegar | Small amount | For stubborn stains (use with caution) |
| Rubbing Alcohol | Small amount | For ink stains (use with extreme caution) |
Step-by-Step Cleaning Process
Phase 1: Preparation
- Empty the Bag: Remove all contents from the bag.
- Dust Removal: Use a soft brush or microfiber cloth to remove loose dirt and dust from the exterior and interior. Pay attention to seams and crevices.
- Test in an Inconspicuous Area: Before applying any cleaning product, test it on a hidden area of the bag (e.g., the bottom or inside pocket) to ensure it doesn’t discolor or damage the leather.
Phase 2: General Cleaning (For Finished Leather)
- Damp Cloth Wipe: Lightly dampen a microfiber cloth with distilled water and gently wipe down the entire bag.
- Leather Cleaner Application: Apply a small amount of leather cleaner to a clean microfiber cloth.
- Gentle Cleaning: Gently wipe the bag in circular motions, covering all surfaces. Avoid excessive pressure.
- Wipe Clean: Use a clean, damp microfiber cloth to remove any remaining cleaner residue.
- Air Dry: Allow the bag to air dry completely away from direct sunlight or heat.
Phase 3: Cleaning Specific Leather Types
Suede/Nubuck Cleaning
- Dry Brush: Use a suede brush to gently lift dirt and restore the nap. Brush in one direction.
- Suede Eraser: For stubborn marks, use a suede eraser to gently rub away the stain.
- Suede Protector: Apply a suede protector spray to help repel future stains and water damage.
Patent Leather Cleaning
- Damp Cloth Wipe: Wipe the bag with a damp microfiber cloth.
- Patent Leather Cleaner: Apply a patent leather cleaner to restore shine and remove smudges.
- Buff with a Clean Cloth: Buff with a clean, dry microfiber cloth to achieve a high gloss.
Phase 4: Conditioning
- Apply Leather Conditioner: Apply a small amount of leather conditioner to a clean microfiber cloth.
- Massage into Leather: Gently massage the conditioner into the leather in circular motions.
- Allow to Absorb: Let the conditioner absorb for 15-30 minutes.
- Buff Excess: Buff away any excess conditioner with a clean microfiber cloth. Conditioning replenishes the leather’s natural oils, preventing it from drying out and cracking.
Tackling Common Stains
:max_bytes(150000):strip_icc()/remove-ink-from-leather-6274276-final-f12c4b70fe2c43279a8e45dcb3ce661b.png)
Water Stains
- Gently blot the stain with a clean, dry microfiber cloth.
- Allow the area to air dry naturally.
- Apply leather conditioner to restore moisture.
Oil/Grease Stains
- Sprinkle cornstarch or talcum powder on the stain.
- Let it sit overnight to absorb the oil.
- Gently brush away the powder.
- Repeat if necessary.
Ink Stains
- Caution: This is tricky! Test first.
- Dip a cotton swab in rubbing alcohol.
- Gently dab the ink stain, working from the outside in.
- Wipe clean with a damp cloth.
- Apply leather conditioner immediately.
Pro Tips for Leather Bag Care
- Regular Dusting: Dust your bag weekly to prevent dirt buildup.
- Avoid Overfilling: Overfilling can stretch and damage the leather.
- Store Properly: Store your bag in a dust bag in a cool, dry place. Avoid plastic bags, which can trap moisture.
- Rotate Your Bags: Don’t use the same bag every day. Rotating your bags allows them to rest and recover.
- Protect from Rain: If your bag gets wet, blot it dry immediately and allow it to air dry naturally.
- Use a Leather Protector: Apply a leather protector spray to help repel water and stains.
- Avoid Harsh Chemicals: Never use harsh chemicals, solvents, or abrasive cleaners on leather.
When to Seek Professional Help
- Significant Damage: Deep scratches, tears, or significant discoloration.
- Difficult Stains: Stains that won’t come out with home remedies.
- Delicate Leather: Antique or extremely delicate leather bags.
- Unsure of Leather Type: If you’re unsure of the leather type, it’s best to consult a professional.
A reputable leather repair specialist can provide expert cleaning, restoration, and repair services. Expect to pay anywhere from $50 to $200+ depending on the complexity of the repair.
FAQ
Q: Can I use baby wipes to clean my leather bag?
A: While convenient, baby wipes often contain ingredients that can damage leather over time. It’s best to use a dedicated leather cleaner.
Q: How often should I condition my leather bag?
A: Generally, every 3-6 months, or whenever the leather starts to look dry or feels stiff.
Q: What’s the best way to store a leather bag long-term?
A: Stuff the bag with acid-free tissue paper to maintain its shape and store it in a breathable dust bag in a cool, dry place.
Q: Can I use saddle soap on all types of leather?
A: No, saddle soap is best suited for finished leather. Avoid using it on suede, nubuck, or aniline leather.
Alternative Solutions
If you’re hesitant to use commercial leather cleaners, you can try a mild solution of lukewarm water and a few drops of mild dish soap. However, always test this solution in an inconspicuous area first. Another option is a specialized leather cleaning kit, which typically includes a cleaner, conditioner, and applicator cloths.
Keep Your Leather Bag Looking Its Best
By following these steps, you can effectively clean and maintain your leather bag, preserving its beauty and extending its lifespan. Remember to identify your leather type, test products before use, and prioritize gentle cleaning methods.
Have you successfully cleaned your leather bag using these tips? Share your experiences and any additional advice in the comments below!


