
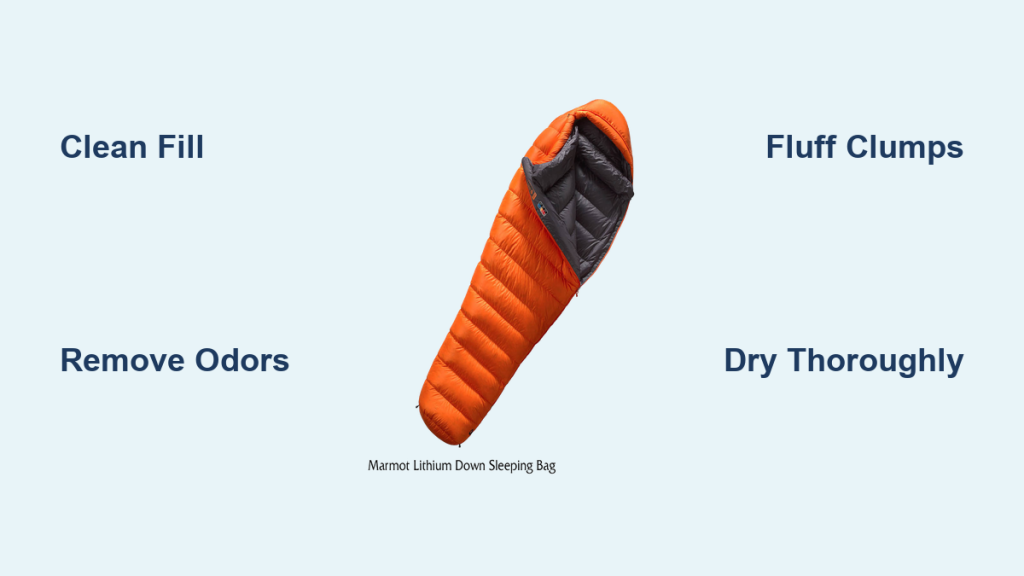
Are you worried about dirt, odors, or lost loft in your beloved Marmot sleeping bag? It’s frustrating when your trusted sleep system isn’t performing its best, and the thought of damaging it during cleaning can be daunting. Luckily, with the right approach, you can restore your bag to its former glory. A simple spot clean can often address minor issues, but a complete wash will revitalize your bag.
This comprehensive guide will walk you through everything you need to know to clean your Marmot sleeping bag safely and effectively – from identifying when cleaning is necessary to choosing the right detergents and drying methods. We’ll cover both hand washing and machine washing options, plus detailed care instructions to ensure your bag stays warm and comfortable for years to come. By the end of this article, you’ll have the confidence to tackle this task and keep your sleeping bag in optimal condition.
When to Clean Your Marmot Sleeping Bag
Your sleeping bag doesn’t need to be cleaned after every trip, but here are some indicators it’s time for a refresh:
- Visible Dirt: Obvious dirt, grime, or stains are a clear sign.
- Loss of Loft: Compressed insulation loses its ability to trap warm air. Cleaning can help restore some loft.
- Unpleasant Odors: Lingering smells, even after airing out, indicate buildup of oils and moisture.
- Decreased Warmth: Noticeably colder nights despite similar temperatures suggest reduced insulation effectiveness.
- Regular Use: Even without visible issues, cleaning 1-2 times per year with regular use is recommended.
Understanding Your Sleeping Bag’s Fill Type

Before you begin, identify your sleeping bag’s fill type. Marmot bags primarily use down or synthetic insulation, and each requires different cleaning methods.
- Down Sleeping Bags: Down clusters provide exceptional warmth-to-weight ratio. They require specialized detergents and careful drying to prevent clumping.
- Synthetic Sleeping Bags: Synthetic fills are more resilient to moisture and generally easier to clean. They dry faster but may not retain warmth as effectively as down when wet.
Check the care label on your sleeping bag for specific instructions. If unsure, assume it’s a down bag and proceed with caution.
Materials and Tools Needed

| Item | Quantity | Specifications |
|---|---|---|
| Specialized Down or Synthetic Detergent | 1 Bottle | Nikwax Down Wash Direct, Granger’s Down Wash, or Tech Wash |
| Large Tub or Washing Machine | 1 | Front-loading washer is preferred |
| Clean Water | As needed | Lukewarm or cool temperature |
| Soft Bristle Brush | 1 | For spot cleaning |
| Clean Towels | Several | For blotting and drying |
| Drying Rack or Clothesline | 1 | For air drying |
| Tennis Balls or Dryer Balls | 3-4 | For fluffing in the dryer (down only) |
Step-by-Step Cleaning Process
Option 1: Hand Washing (Recommended for Down Bags)
Hand washing is gentler and provides more control, especially for down bags.
### Phase 1: Preparation
- Empty Pockets and Loosen Baffles: Remove all items from pockets and gently loosen the baffles (the walls separating the insulation) to allow water to circulate.
- Prepare the Wash Solution: Fill a large tub with lukewarm water and add the appropriate amount of detergent according to the product instructions. Avoid using too much detergent, as it can be difficult to rinse out completely.
- Submerge and Soak: Turn the sleeping bag inside out and fully submerge it in the soapy water. Gently agitate the water to ensure the detergent penetrates the fill. Let it soak for 15-30 minutes.
### Phase 2: Washing and Rinsing
- Gentle Washing: Gently knead and squeeze the sleeping bag to remove dirt and grime. Avoid harsh scrubbing or twisting, as this can damage the fill.
- Rinse Thoroughly: Drain the soapy water and refill the tub with clean, lukewarm water. Repeat the rinsing process multiple times until all traces of detergent are removed. This is crucial to maintain the bag’s insulation properties.
- Final Rinse: Perform a final rinse with cool, clear water.
### Phase 3: Drying
- Gently Squeeze Out Excess Water: Avoid wringing or twisting the bag. Gently press out as much water as possible.
- Air Dry: Lay the sleeping bag flat on a clean surface or hang it on a drying rack in a well-ventilated area, away from direct sunlight or heat. Turn the bag periodically to ensure even drying. This can take several days.
- Fluff Regularly: Gently fluff the bag during the drying process to prevent clumping of the down.
Option 2: Machine Washing (Suitable for Synthetic Bags, Caution with Down)
Machine washing is faster but requires more caution.
### Phase 1: Preparation
- Check the label: Confirm machine washing is approved
- Empty Pockets and Loosen Baffles: Same as hand washing.
- Use a Mesh Laundry Bag: Place the sleeping bag inside a large mesh laundry bag to protect it from damage.
### Phase 2: Washing and Rinsing
- Select Gentle Cycle: Use a front-loading washing machine with a gentle or delicate cycle. Avoid top-loading machines with agitators.
- Use Cold Water: Use cold water and the appropriate amount of detergent.
- Extra Rinse Cycle: Add an extra rinse cycle to ensure all detergent is removed.
### Phase 3: Drying
- Tumble Dry on Low Heat: Tumble dry the sleeping bag on low heat with 3-4 clean tennis balls or dryer balls. The balls will help break up clumps of down and restore loft.
- Check for Dampness: Regularly check the bag for dampness. Repeat the drying cycle as needed until it’s completely dry.
- Air Dry Finish: If possible, finish the drying process by air drying for a few hours to ensure complete dryness.
Pro Tips for Sleeping Bag Care
- Always use specialized detergents: Regular detergents can strip the fill of its natural oils, reducing its insulating properties.
- Avoid fabric softeners and bleach: These can damage the fill and fabric.
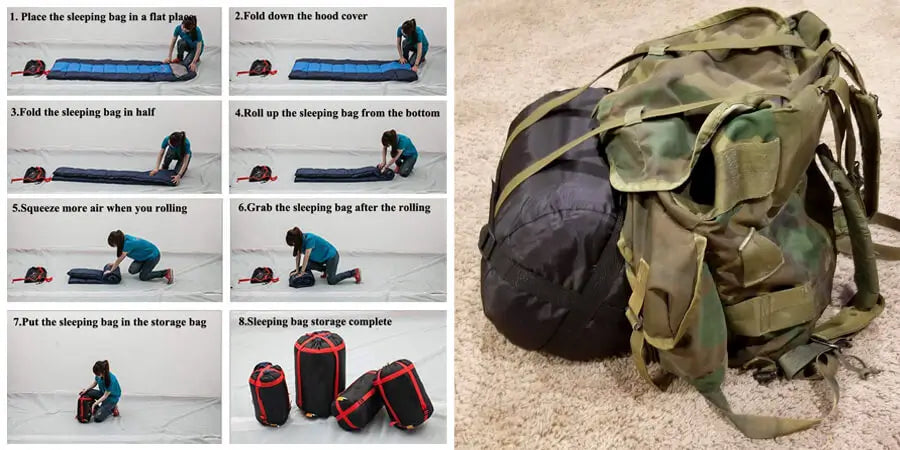
- Store your sleeping bag loosely: When not in use, store your sleeping bag in a large, breathable storage sack to prevent compression.
- Air out your sleeping bag regularly: After each trip, air out your sleeping bag to remove moisture and odors.
- Spot clean as needed: Address small stains or dirt patches immediately with a damp cloth and mild detergent.
When to Seek Professional Help
- Significant tears or damage: Professional repair is recommended for rips or tears in the shell or baffles.
- Persistent odors that won’t go away: A professional cleaning may be necessary to remove stubborn smells.
- Large or complex stains: Professional cleaning can address difficult stains without damaging the bag.
FAQ
Q: Can I dry clean my sleeping bag?
A: Dry cleaning is generally not recommended as the chemicals can damage the fill and fabric.
Q: How long does it take to dry a down sleeping bag?
A: Down sleeping bags can take 24-72 hours to dry completely, depending on humidity and drying method.
Q: What if my down sleeping bag is still clumpy after washing?
A: Continue tumble drying on low heat with dryer balls, and gently fluff the bag periodically.
Q: Can I use a top-loading washing machine?
A: It’s not recommended, as the agitator can damage the sleeping bag.
Keep Your Marmot Sleeping Bag Running Smoothly
By following these steps, you can effectively clean your Marmot sleeping bag and maintain its performance for years to come. Remember to always check the care label, use the appropriate detergents, and dry your bag thoroughly. A clean sleeping bag is a comfortable sleeping bag, ensuring you get a good night’s rest on all your adventures.
Have you successfully cleaned your Marmot sleeping bag? Share your experience and any helpful tips in the comments below!


