
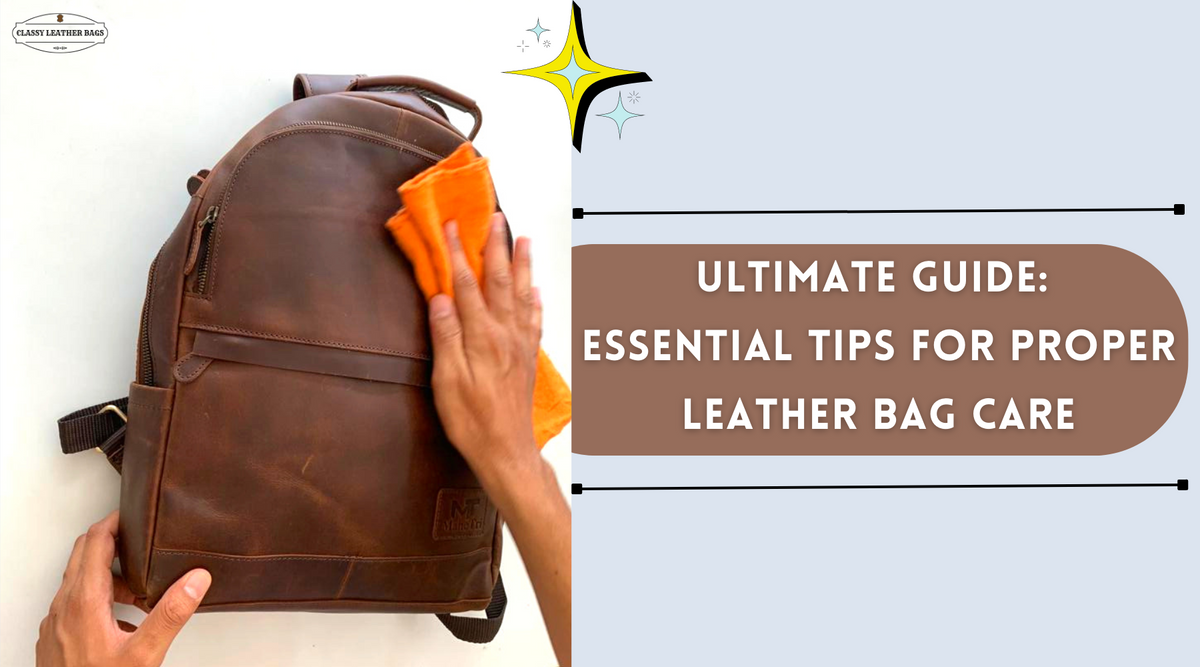
Old leather bags develop a beautiful patina over time, telling a story of adventures and memories. But they also accumulate dirt, grime, and wear. If your cherished leather bag is looking a little worse for wear, don’t despair! A thorough cleaning can restore its luster and protect it for years to come. A quick wipe down with a damp cloth can often address light surface dirt.
This comprehensive guide will walk you through everything you need to know about cleaning your old leather bag, from identifying the leather type to choosing the right cleaning products and techniques. We’ll cover everything from gentle everyday cleaning to tackling stubborn stains, and provide tips for conditioning and protecting your bag to maintain its beauty and prevent future damage. By the end of this article, you’ll be confident in your ability to breathe new life into your treasured leather companion.
Identifying Your Leather Type

Before you begin, it’s crucial to identify the type of leather your bag is made from. Different leathers require different cleaning approaches.
- Finished Leather: This is the most common type, featuring a protective coating. It’s generally more durable and easier to clean. Water beads up on the surface.
- Unfinished Leather (Aniline, Nubuck, Suede): These leathers are more porous and delicate. They absorb water readily and require specialized cleaning products. They have a softer, more natural feel.
- Vegetable-Tanned Leather: This leather is tanned using natural materials and develops a rich patina over time. It’s durable but can be sensitive to water.
- Patent Leather: This leather has a glossy, coated finish. It’s relatively easy to clean but prone to scratches.
If you’re unsure, test a hidden area (like the inside of a pocket) with a small amount of water. If it absorbs quickly, it’s likely unfinished leather.
Materials You’ll Need
Here’s a list of supplies you’ll need for cleaning your leather bag:
| Item | Quantity | Specifications |
|---|---|---|
| Soft cloths | Multiple | Microfiber recommended |
| Leather cleaner | 1 bottle | Specifically formulated for leather |
| Leather conditioner | 1 container | Matches leather type |
| Soft-bristled brush | 1 | For removing dirt from crevices |
| Distilled water | As needed | Avoids mineral deposits |
| Saddle soap (optional) | 1 bar | For heavily soiled finished leather |
| Leather protector spray (optional) | 1 can | For water resistance |
| Magic eraser (optional) | 1 | For stubborn marks on finished leather (use with extreme caution) |
Step-by-Step Cleaning Process
Phase 1: Preparation
- Empty the Bag: Remove all items from the bag, including the lining.
- Surface Dusting: Use a soft brush or dry cloth to remove loose dirt, dust, and debris from the exterior and interior of the bag. Pay attention to seams, pockets, and hardware.
- Hardware Cleaning: Gently clean metal hardware with a soft cloth and a mild metal polish if needed. Avoid getting polish on the leather.
Phase 2: Cleaning
- Test in a Hidden Area: Before applying any cleaner, test it on a discreet spot (like the inside of a pocket) to ensure it doesn’t discolor or damage the leather.
- Apply Leather Cleaner: Apply a small amount of leather cleaner to a clean, soft cloth. Gently wipe the leather in circular motions, working in small sections. Avoid saturating the leather.
- For Finished Leather (Stubborn Dirt): If the leather is heavily soiled, you can use saddle soap. Dampen a cloth and rub it gently over the saddle soap to create a lather. Apply the lather to the leather, then wipe clean with a damp cloth.
- For Unfinished Leather: Use a cleaner specifically designed for suede, nubuck, or aniline leather. Follow the product instructions carefully. Avoid using water directly on these types of leather.
- Remove Excess Cleaner: Use a clean, damp cloth to wipe away any remaining cleaner.
Phase 3: Conditioning
- Apply Leather Conditioner: Once the leather is dry, apply a small amount of leather conditioner to a clean, soft cloth. Gently massage the conditioner into the leather in circular motions.
- Let Conditioner Absorb: Allow the conditioner to absorb for at least 30 minutes, or as directed by the product instructions.
- Buff the Leather: Use a clean, soft cloth to buff the leather, removing any excess conditioner and restoring its shine.
Dealing with Specific Stains
:max_bytes(150000):strip_icc()/remove-ink-from-leather-6274276-hero-03-bc994767735e4ac4b1cd9ea56cf3f62c.jpg)
- Ink: Try rubbing alcohol on a cotton swab, gently dabbing (not rubbing) the stain. Follow with leather conditioner.
- Oil/Grease: Sprinkle cornstarch on the stain and let it sit overnight. Vacuum or brush off the cornstarch. Repeat if necessary.
- Water Stains: Dampen the entire panel of leather with distilled water, then allow it to air dry evenly. Follow with leather conditioner.
- Mold/Mildew: Mix equal parts distilled water and rubbing alcohol. Gently wipe the affected area with a soft cloth dampened with the solution. Allow to air dry completely, then apply leather conditioner.
How to Prevent Future Damage
- Regular Dusting: Dust your bag regularly with a soft cloth to prevent dirt buildup.
- Avoid Direct Sunlight: Prolonged exposure to sunlight can fade and dry out leather.
- Store Properly: Store your bag in a dust bag in a cool, dry place. Avoid storing it in plastic, which can trap moisture.
- Waterproof: Apply a leather protector spray to provide water resistance (especially for unfinished leather).
- Handle with Care: Avoid overfilling your bag, as this can stretch and distort the leather.
Pro Tips for Leather Care
- Don’t Use Harsh Chemicals: Avoid using household cleaners, bleach, or ammonia on leather.
- Condition Regularly: Condition your leather bag every 3-6 months, or more often if you live in a dry climate.
- Rotate Your Bags: Don’t use the same bag every day. Rotating your bags allows the leather to rest and recover.
- Stuff Your Bag: When storing your bag, stuff it with acid-free tissue paper to help it maintain its shape.
- Professional Cleaning: For heavily soiled or delicate bags, consider professional leather cleaning.
When to Seek Professional Help
- Extensive Damage: If your bag has significant tears, cracks, or structural damage.
- Delicate Leather: If your bag is made from a particularly delicate leather (like exotic skins).
- Unsure of Leather Type: If you’re unsure about the type of leather and don’t want to risk damaging it.
- Persistent Stains: If you’ve tried cleaning a stain yourself without success.
FAQ
Q: Can I use baby wipes to clean my leather bag?
A: No, baby wipes contain chemicals that can damage leather over time. Stick to leather-specific cleaners.
Q: How often should I condition my leather bag?
A: Generally, every 3-6 months is sufficient. However, if you live in a dry climate or use your bag frequently, you might want to condition it more often.
Q: Can I use a hairdryer to speed up the drying process?
A: No, heat can damage leather. Allow it to air dry naturally.
Q: What’s the best way to store a leather bag long-term?
A: Store it in a dust bag, stuffed with acid-free tissue paper, in a cool, dry place away from direct sunlight.
Get Your Leather Bag Working Again
By following these steps, you can restore the beauty and longevity of your old leather bag. Remember to identify the leather type, choose the right products, and always test in a hidden area first. Regular cleaning and conditioning will keep your bag looking its best for years to come.
Do you have any favorite leather cleaning tips? Share your experience in the comments below to help other readers!


