
Finding a sticky residue or a lingering scent in your toiletry bag is frustrating. It’s a breeding ground for germs and can quickly become unpleasant. But cleaning it doesn’t have to be a huge chore! This guide will show you a quick method to get your toiletry bag fresh and a comprehensive cleaning process to tackle even the grimiest bags – leaving them sanitized and ready for your next adventure.
This article will go beyond a simple wipe-down, covering everything from choosing the right cleaning solutions for different materials to dealing with stubborn spills and preventing future messes. By the end of this guide, you’ll have a spotless toiletry bag and the knowledge to keep it that way, protecting your toiletries and extending the bag’s lifespan.
Understanding Your Toiletry Bag Material
Before diving into cleaning, knowing your bag’s material is crucial. Different materials require different approaches.
- Nylon/Polyester: These synthetic materials are durable and water-resistant, making them relatively easy to clean.
- Canvas: Canvas is more porous than synthetic materials and requires more careful cleaning to prevent water damage or staining.
- Leather/Vegan Leather: These materials require specialized cleaning products and gentle handling to avoid cracking or discoloration.
- Plastic/PVC: These materials are waterproof and easily wiped clean, but can sometimes retain odors.
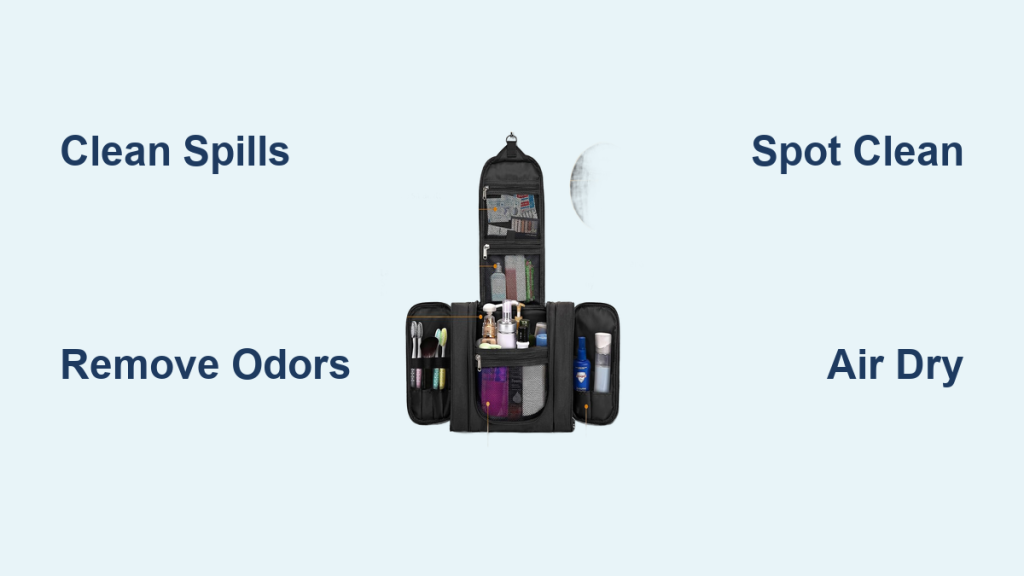
Quick Clean: Spot Cleaning for Everyday Messes
For minor spills or everyday grime, a quick spot clean can prevent bigger issues.
Diagnosing the Issue
Identify the type of mess: liquid, powder, or sticky residue. This will determine the best cleaning approach.
Fix Steps
- Empty the Bag: Remove all toiletries.
- Surface Wipe: Dampen a microfiber cloth with mild soap and water. Gently wipe the affected area.
- Rinse (if applicable): If the material is water-resistant, lightly dampen a clean cloth with water and wipe away any soap residue.
- Dry: Air dry completely before replacing toiletries.
Testing
Ensure the cleaning solution doesn’t discolor or damage the material by testing it on a hidden area first.
Comprehensive Cleaning: A Deep Dive
For a thorough cleaning, follow these steps.
Materials Needed
| Item | Quantity | Specifications |
|---|---|---|
| Mild Liquid Dish Soap | 1 tbsp | Gentle, fragrance-free |
| Warm Water | 1-2 cups | Not hot! |
| Soft-Bristled Brush (toothbrush works well) | 1 | For scrubbing |
| Microfiber Cloths | 2-3 | For wiping and drying |
| Cleaning Solution for Specific Materials (optional) | As needed | Leather cleaner, canvas protector |
| Baking Soda (optional) | 1/4 cup | For odor removal |
| Rubbing Alcohol (optional) | For stubborn residue | Use with caution |
Preparation Steps and Safety Considerations
- Empty Completely: Remove all toiletries.
- Shake Out Debris: Turn the bag upside down and shake out any loose powder or crumbs.
- Prepare Cleaning Solution: Mix warm water and mild dish soap in a bowl.
- Ventilation: Work in a well-ventilated area.
- Material Check: Confirm the bag’s material and adjust cleaning methods accordingly.
Cleaning Process Based on Material

Phase 1: Nylon/Polyester Bags
- Apply Soap Solution: Dip a soft-bristled brush or microfiber cloth into the soapy water. Gently scrub the interior and exterior of the bag.
- Focus on Seams: Pay attention to seams and pockets where dirt tends to accumulate.
- Rinse Thoroughly: Rinse the bag under lukewarm water, ensuring all soap residue is removed.
- Air Dry: Lay flat or hang to air dry completely. Avoid direct sunlight or heat.
Phase 2: Canvas Bags
- Spot Clean First: Test the cleaning solution on a hidden area.
- Gentle Scrubbing: Use a slightly damp cloth and gentle scrubbing motions. Avoid saturating the canvas.
- Rinse Carefully: Wipe with a damp cloth to remove soap residue.
- Air Dry: Allow to air dry completely, away from direct sunlight. Consider applying a canvas protector spray after drying.
Phase 3: Leather/Vegan Leather Bags
- Use Leather Cleaner: Apply a leather cleaner specifically designed for the material. Follow the product instructions.
- Gentle Wipe: Use a soft cloth to gently wipe the surface.
- Condition (Leather Only): Apply a leather conditioner to prevent cracking and maintain suppleness.
- Air Dry: Allow to air dry completely.
Phase 4: Plastic/PVC Bags
- Soapy Water Wipe: Wipe down the interior and exterior with soapy water.
- Disinfect (Optional): Use a disinfecting wipe for added sanitation.
- Rinse: Rinse with water.
- Air Dry: Allow to air dry completely.
Post-Cleaning: Odor Removal and Final Touches

- Baking Soda: Place an open box of baking soda inside the bag overnight to absorb lingering odors.
- Air Freshener (Optional): Use a fabric-safe air freshener spray lightly.
- Inspect: Ensure the bag is completely dry before replacing toiletries.
Pro Tips for Toiletry Bag Care
- Double Bag Liquids: Always double-bag liquids to prevent leaks.
- Use Travel-Sized Containers: Minimize the risk of spills with smaller containers.
- Clean Spills Immediately: Address spills as soon as they happen to prevent staining.
- Air Out Regularly: Leave your toiletry bag open between trips to allow it to air out.
- Dedicated Compartments: Use separate compartments for different types of toiletries (liquids, powders, makeup).
- Consider a Waterproof Liner: Add a waterproof liner inside the bag for extra protection.
When to Seek Professional Help
- Stubborn Stains: If you’ve tried multiple methods and can’t remove a stain.
- Leather Damage: If the leather is cracked, discolored, or severely damaged.
- Mold Growth: If you notice mold or mildew.
FAQ
Q: Can I put my toiletry bag in the washing machine?
A: It’s generally not recommended. The agitation can damage the bag and its contents. If the bag is machine washable, check the care label and use a delicate cycle with a laundry bag.
Q: How do I remove a sticky residue?
A: Try rubbing alcohol on a cotton ball, gently dabbing the residue. Test in an inconspicuous area first.
Q: How often should I clean my toiletry bag?
A: At least every 1-2 months, or more frequently if it’s heavily used.
Q: What’s the best way to dry my toiletry bag?
A: Air drying is the safest method. Avoid direct sunlight or heat, which can damage the material.
Alternative Solutions
If you’re hesitant to use soap and water, consider using disinfecting wipes specifically designed for travel bags. These are convenient for quick cleanups but may not provide the same deep cleaning as a more thorough method.
Keep Your Toiletry Bag Fresh and Organized
By following these steps, you can maintain a clean, hygienic, and organized toiletry bag. Regular cleaning not only protects your toiletries but also extends the life of your bag, ensuring it’s ready for all your travels.
Enjoy a fresh and organized travel experience! Have you tried any of these cleaning methods? Share your tips in the comments below!


