
Are you tired of flimsy plastic bags and looking for a sustainable, stylish way to carry your belongings? Learning how to sew a bag might seem daunting, but with the right guidance, it’s a surprisingly achievable project, even for beginners. A simple tote bag is a fantastic starting point, and this guide will walk you through every step.
This comprehensive guide will cover everything from selecting the right materials and tools to mastering essential sewing techniques, and troubleshooting common issues. We’ll go beyond the basic instructions to provide pro tips for customization and durability, ensuring you create a bag you’ll love using for years to come. By the end of this article, you’ll be confidently stitching together your own unique creations.
What You’ll Need for Sewing a Bag
| Item | Quantity | Specifications |
|---|---|---|
| Fabric | 1 Yard | Cotton, Canvas, Denim – choose a medium-weight fabric |
| Thread | 1 Spool | Matching fabric color |
| Scissors | 1 Pair | Fabric scissors |
| Measuring Tape | 1 | 60-inch |
| Sewing Machine | 1 | Basic model with straight stitch capability |
| Pins | 1 Box | Straight pins |
| Seam Ripper | 1 | For correcting mistakes |
| Iron & Ironing Board | 1 each | For pressing seams |
| Cutting Mat | 1 | Optional, but recommended for accurate cutting |
| Rotary Cutter | 1 | Optional, but speeds up cutting |
| Ruler | 1 | Clear acrylic ruler, 6×24 inches recommended |
Preparing Your Fabric and Pattern
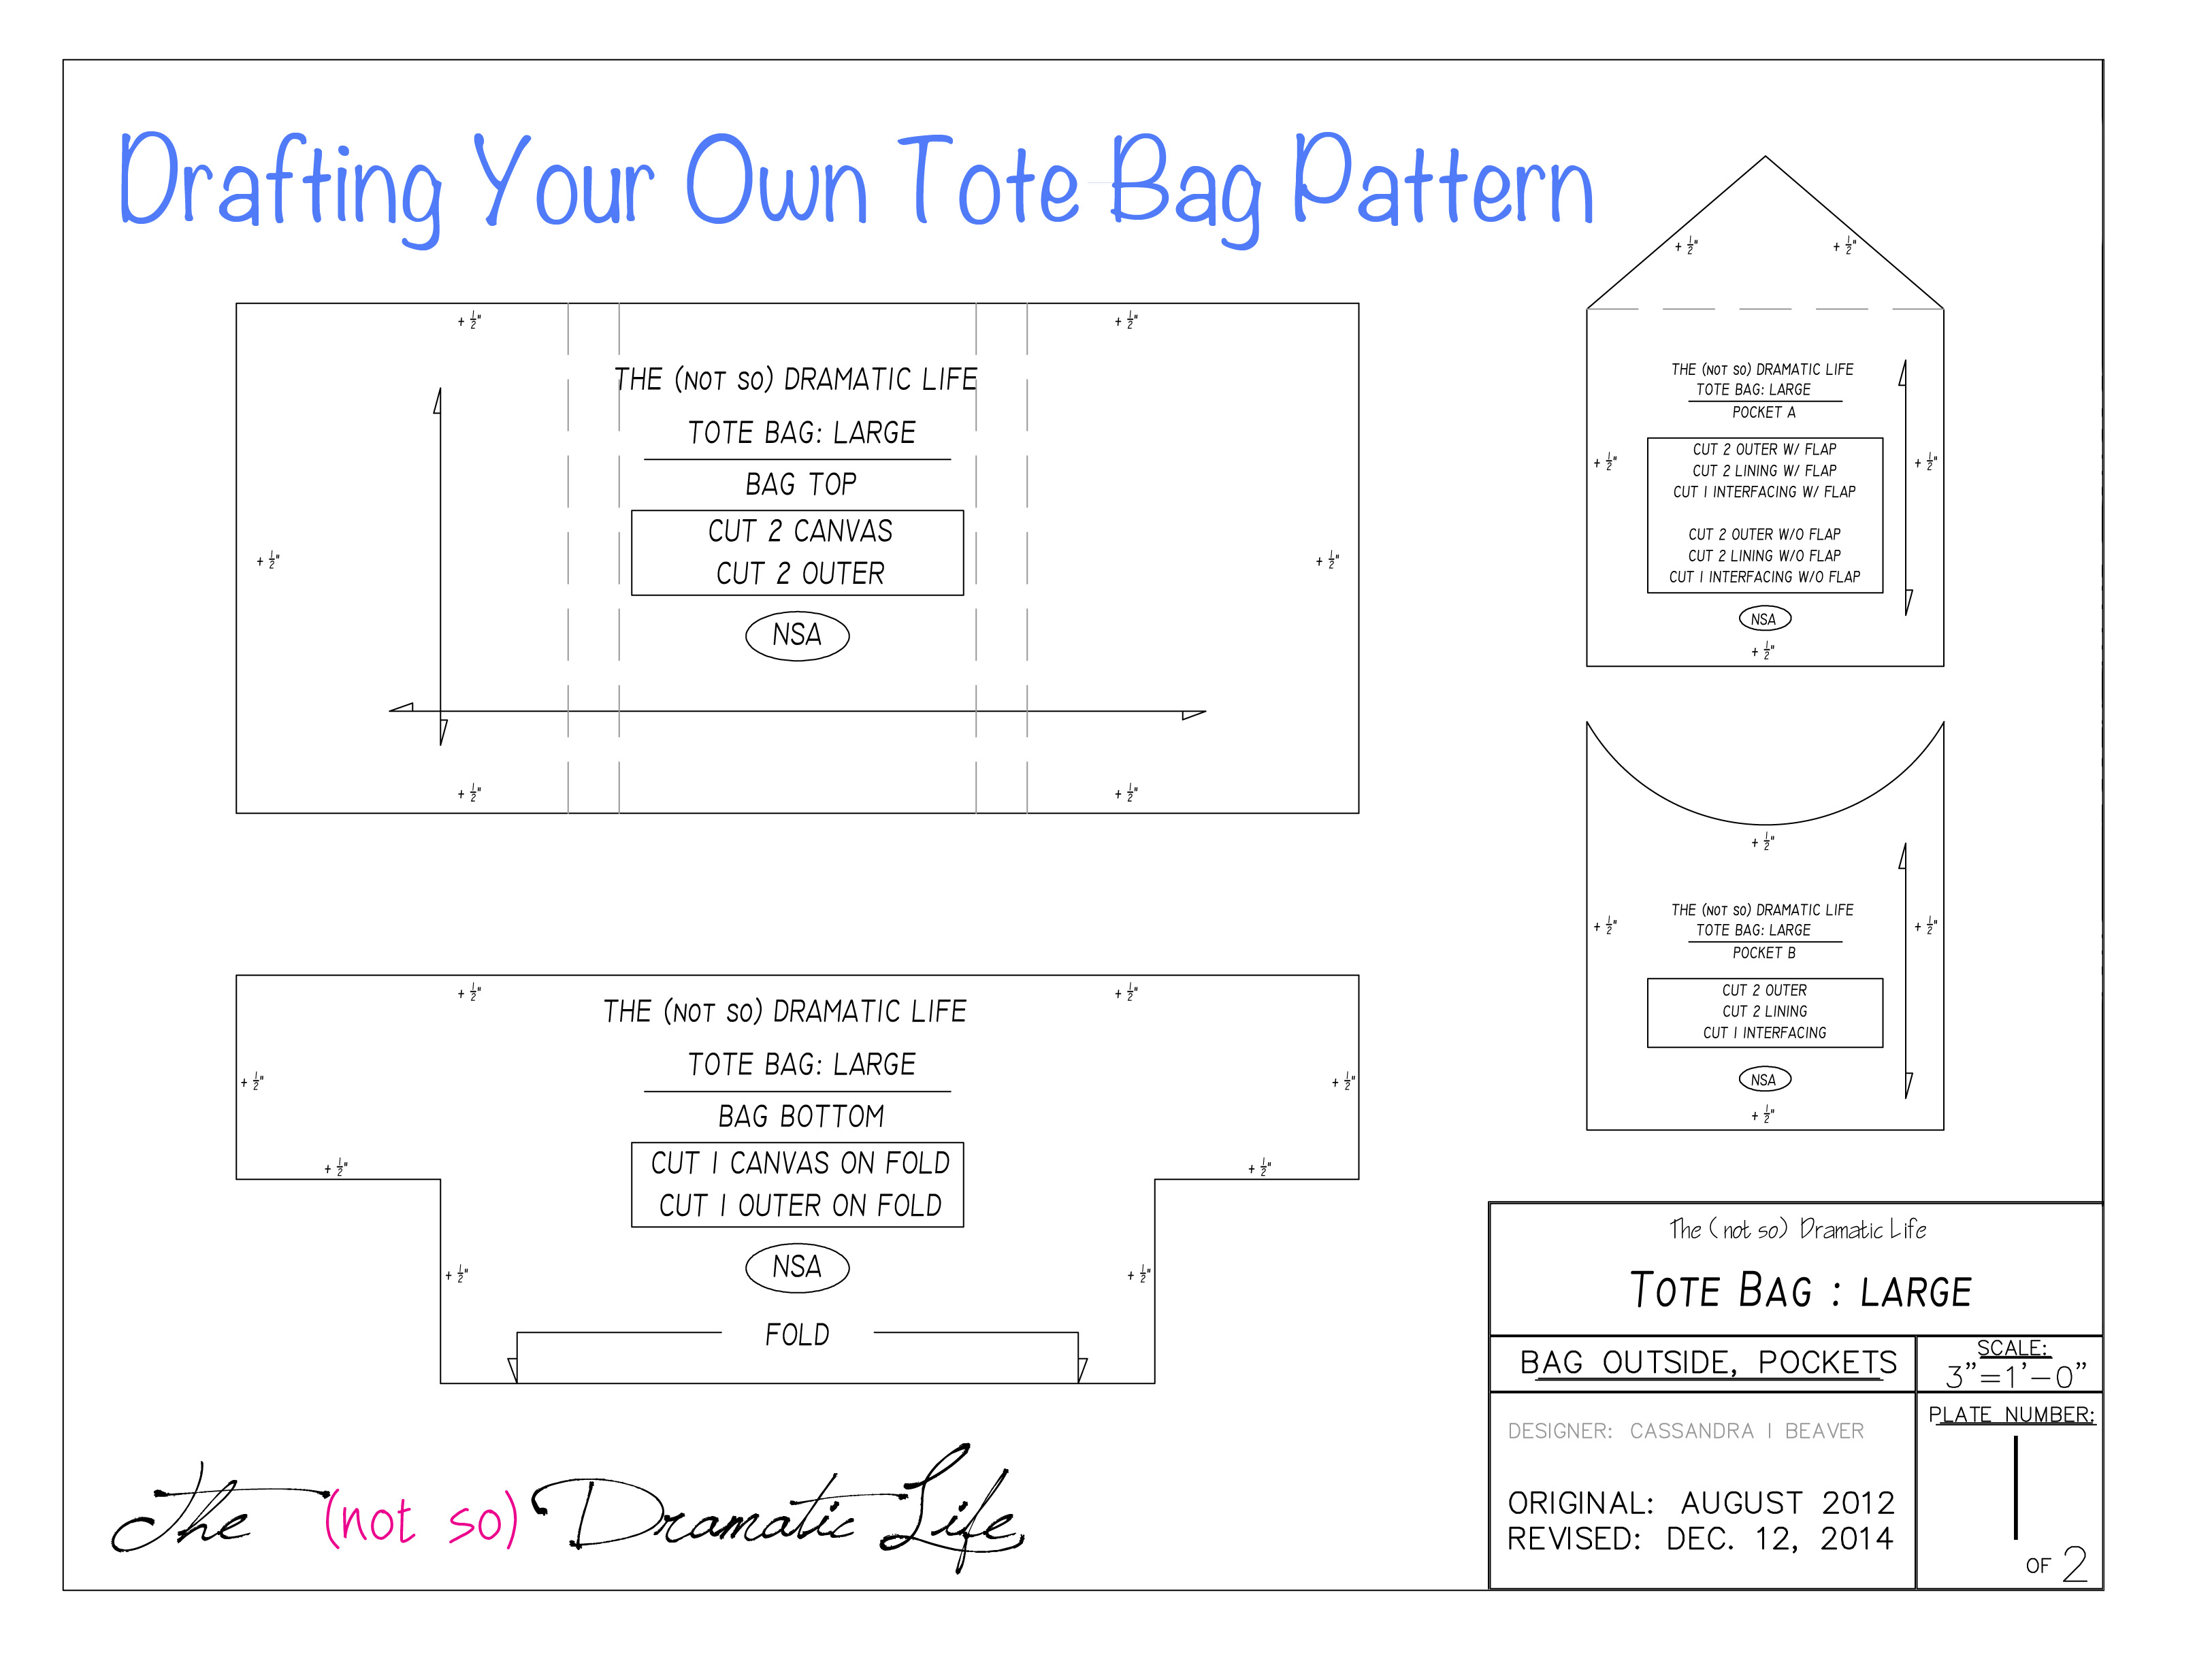
Cutting the Fabric
- Determine Bag Dimensions: A standard tote bag is approximately 15 inches wide and 16 inches high. Add seam allowances (typically 1/2 inch) to all sides. So, cut two rectangles 16 inches wide and 17 inches high.
- Cut the Fabric: Lay your fabric flat on a cutting surface. Use your measuring tape and ruler to mark the dimensions. Use fabric scissors or a rotary cutter to cut out the two rectangles.
- Cut Handles: Cut two strips of fabric for the handles, approximately 3 inches wide and 24 inches long.
Preparing for Sewing
- Iron the Fabric: Iron both rectangles and handle strips to remove any wrinkles. This makes sewing much easier and more accurate.
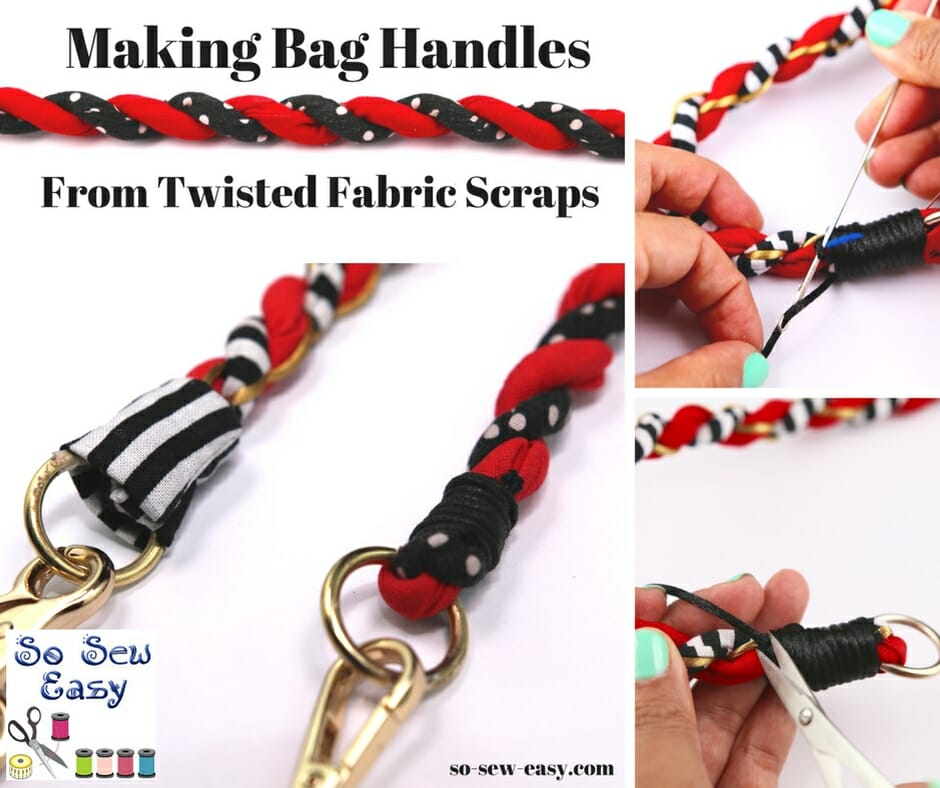
- Fold Handle Strips: Fold each handle strip in half lengthwise, wrong sides together, and press. Then, fold each long edge towards the center crease and press again. Finally, fold the strip in half again along the original crease, encasing the raw edges. Press firmly. This creates a durable, finished handle.
- Topstitch Handles: Stitch along both long edges of each handle strip, close to the edge, to secure the folds. This gives the handles extra strength.
Step-by-Step Sewing Process
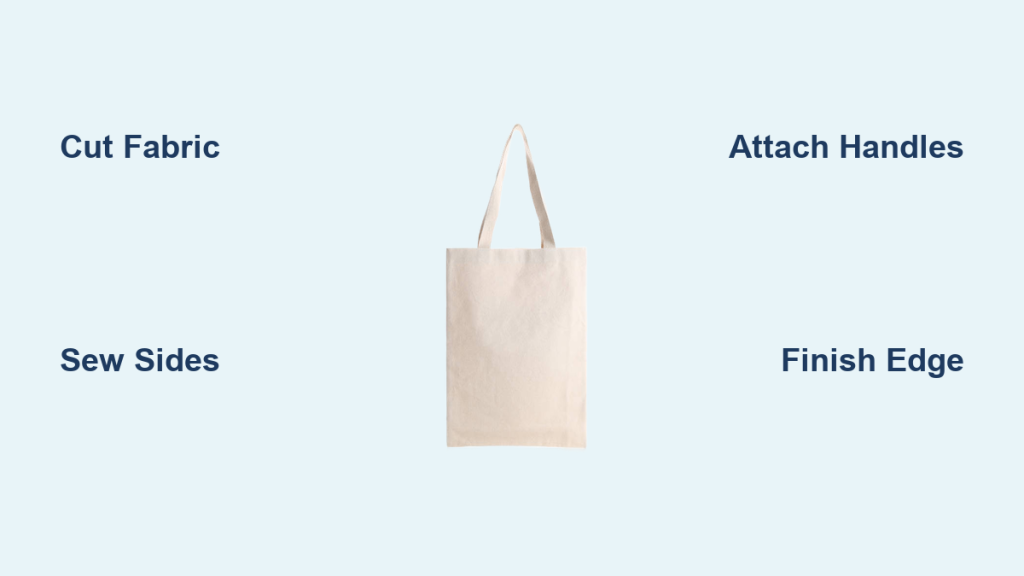
Phase 1: Constructing the Bag Body
- Pinning the Sides: Place the two fabric rectangles right sides together. Pin along both side edges and the bottom edge, leaving the top edge open.
- Sewing the Sides: Using a 1/2 inch seam allowance, sew along the pinned sides and bottom edge. Backstitch at the beginning and end of each seam to secure the stitches.
- Finishing the Seams: To prevent fraying, you can serge the raw edges, use a zigzag stitch, or apply seam sealant. If you don’t have a serger, a zigzag stitch is a good alternative.
Phase 2: Attaching the Handles
- Positioning the Handles: Turn the bag right side out. Measure and mark the placement of the handles on the top edge of the bag. Typically, handles are placed about 3-4 inches from the side seams.
- Pinning the Handles: Pin the ends of the handles securely to the outside of the bag, at the marked positions. Ensure the handles are not twisted.
- Sewing the Handles: Stitch the handles securely to the bag, reinforcing the stitching with a box stitch or multiple rows of stitching. This is a critical point for durability.
Phase 3: Finishing the Bag
- Folding the Top Edge: Fold the top edge of the bag down 1/2 inch towards the wrong side and press. Then, fold it down another 1 inch and press again. This creates a clean, finished edge.
- Pinning the Top Edge: Pin the folded top edge in place all the way around the bag.
- Sewing the Top Edge: Stitch along the bottom edge of the folded top edge, close to the edge, to secure it. This creates a neat hem.
Pro Tips for Sewing a Bag
- Fabric Choice: Canvas and denim are very durable, but can be harder to sew for beginners. Cotton is easier to work with.
- Reinforced Handles: For heavier items, consider adding interfacing to the handle strips for extra strength.
- Boxed Corners: To give your bag a more structured shape, box the corners at the bottom.
- Pockets: Add interior or exterior pockets for extra organization.
- Decorative Stitching: Use decorative stitches on your sewing machine for a unique touch.
- Pre-washing Fabric: Pre-wash your fabric before cutting to prevent shrinkage after the bag is sewn.
When to Seek Professional Help
- Complex Designs: If you’re attempting a bag with a complicated pattern or lining, a professional seamstress can provide guidance.
- Heavy-Duty Fabrics: Sewing thick materials like leather or heavy canvas can be challenging for beginners and may require specialized equipment.
- Machine Issues: If your sewing machine is malfunctioning, a repair technician can diagnose and fix the problem.
FAQ
Q: What type of sewing machine do I need?
A: A basic sewing machine with a straight stitch is sufficient for a simple tote bag. More advanced machines offer features like zigzag stitches and decorative stitches, but aren’t essential for beginners.
Q: What if my seams are uneven?
A: Don’t worry, it happens! Use a seam ripper to carefully remove the uneven stitches and re-sew. Practice makes perfect.
Q: How do I prevent my fabric from fraying?
A: You can use a serger, zigzag stitch, pinking shears, or seam sealant to prevent fraying.
Q: Can I use a different fabric for the handles?
A: Yes! Using a contrasting fabric for the handles can add a stylish touch.
Alternative Solutions
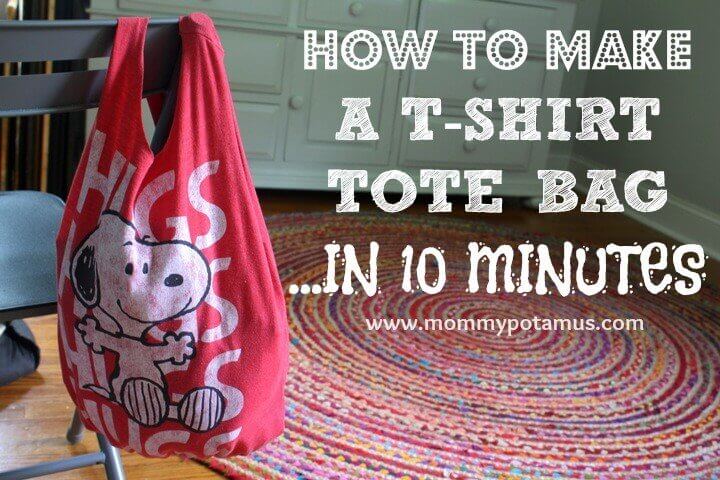
If you find sewing a bag too challenging, consider upcycling an old t-shirt or pillowcase into a reusable bag. These no-sew options are a quick and easy alternative.
| Solution | Pros | Cons | Best For |
|---|---|---|---|
| T-Shirt Bag | Quick, easy, no sewing required | Less durable, limited design options | Grocery shopping, light use |
| Pillowcase Bag | Easy, utilizes existing materials | Limited design options, can be bulky | Carrying books, laundry |
Keep Your New Bag Looking Great
Congratulations! You’ve successfully sewn your own bag. Now that you’ve learned the basics, you can experiment with different fabrics, patterns, and embellishments to create a truly unique accessory.
Remember these key takeaways:
– Accurate cutting and pressing are crucial for a professional finish.
– Reinforced stitching is essential for durability.
– Don’t be afraid to experiment and have fun!
Share your finished bag with us in the comments below! We’d love to see your creations and hear about your sewing journey.


