
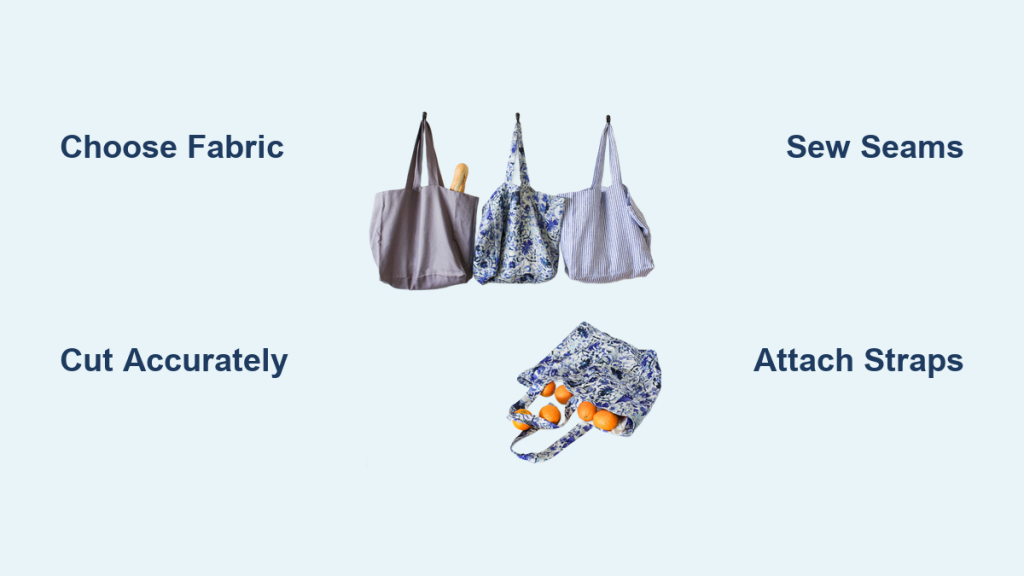
Are you eager to create your own stylish and functional bag, but intimidated by the thought of sewing? You’re not alone! Many beginners feel overwhelmed when starting their sewing journey. But creating a simple bag is a fantastic first project, and with the right guidance, you can have a beautiful, handmade bag in no time. This guide will walk you through the entire process, from gathering materials to finishing touches, making bag sewing accessible and enjoyable.
This comprehensive guide goes beyond just the basic steps. We’ll cover choosing the right fabric, understanding essential sewing tools, mastering fundamental stitches, and offering troubleshooting tips for common beginner mistakes. By the end of this article, you’ll not only have a completed bag but also the confidence to tackle more complex sewing projects.
Materials and Tools Needed
Before you begin, let’s gather everything you’ll need. A well-prepared workspace makes all the difference!
| Item | Quantity | Specifications |
|---|---|---|
| Fabric | 1 yard | Cotton, canvas, or denim are good choices for beginners. Consider medium weight. |
| Interfacing | 1 yard | Fusible interfacing to add structure (optional, but recommended for lighter fabrics) |
| Thread | 1 spool | Matching your fabric color |
| Sewing Machine | 1 | Basic model with straight stitch and zigzag stitch |
| Fabric Scissors | 1 | Sharp scissors dedicated to fabric |
| Rotary Cutter & Mat | 1 | Optional, but helpful for precise cuts |
| Ruler | 1 | 12-inch quilting ruler is ideal |
| Pins | 1 box | Straight pins for holding fabric together |
| Seam Ripper | 1 | Essential for fixing mistakes! |
| Iron & Ironing Board | 1 | For pressing seams |
| Measuring Tape | 1 | For accurate measurements |
| Marking Pen/Chalk | 1 | For transferring patterns to fabric |
Preparing Your Fabric & Pattern
Now that you have your supplies, it’s time to prepare. We’ll be making a simple tote bag – a perfect beginner project.
Step 1: Washing & Ironing
Wash, dry, and iron your fabric before cutting. This prevents shrinkage after the bag is sewn.
Step 2: Cutting the Fabric
For a basic tote bag, you’ll need two main pieces, and two strap pieces. Here are suggested dimensions (adjust to your desired bag size):
- Main Pieces (2): 16″ wide x 18″ high
- Strap Pieces (2): 4″ wide x 24″ long
Use your ruler and fabric scissors (or rotary cutter) to cut the fabric accurately.
Step 3: Applying Interfacing (Optional)
If using interfacing, follow the manufacturer’s instructions to fuse it to the wrong side of your main fabric pieces. This will give your bag more structure.
Step-by-Step Sewing Process
Let’s get sewing! We’ll break this down into phases for clarity.
Phase 1: Sewing the Bag Body
- Pinning: Place the two main fabric pieces right sides together, aligning the edges. Pin around all three sides (leaving the top open).
- Sewing: Using a 1/2″ seam allowance, sew along the pinned sides. Backstitch at the beginning and end of each seam to secure the stitches.
- Finishing Seams: Zigzag stitch or serge the raw edges of the seams to prevent fraying. This is especially important for woven fabrics.
- Boxing the Corners: To create a flat bottom, pinch one corner of the bag. Measure 2″ in from the side seam and draw a straight line across the corner. Sew along this line. Cut off the excess fabric, leaving a 1/2″ seam allowance. Repeat on the other corner.
Phase 2: Creating & Attaching the Straps
- Folding & Pressing: Fold each strap piece in half lengthwise, wrong sides together, and press.
- Folding Again: Fold each long edge towards the center crease, and press again.
- Folding a Final Time: Fold the strap in half again, enclosing the raw edges. Press firmly.
- Topstitching: Topstitch along both long edges of each strap, approximately 1/8″ from the edge. This secures the folds and adds a professional finish.
- Attaching Straps to Bag: Position the straps on the outside of the bag, evenly spaced. Pin in place. Sew each strap securely to the bag, reinforcing the stitching at the top and bottom.
Phase 3: Finishing the Bag
- Turning Right Side Out: Turn the bag right side out.
- Pressing: Press the top edge of the bag to create a clean finish.
- Topstitching (Optional): Topstitch along the top edge of the bag, about 1/4″ from the edge. This adds a polished look and reinforces the opening.
Pro Tips for Bag Sewing

- Practice Stitching: Before sewing the actual bag, practice sewing straight lines and curves on scrap fabric.
- Accurate Cutting is Key: Precise fabric cuts result in a more professional-looking bag.
- Press as You Go: Pressing seams after each step makes the bag lie flatter and easier to work with.
- Use a Walking Foot: If you are sewing multiple layers of fabric, a walking foot can help prevent the fabric from shifting.
- Don’t Be Afraid to Unpick: Everyone makes mistakes! A seam ripper is your friend. Don’t hesitate to undo stitches and try again.
- Consider Fabric Grain: Pay attention to the fabric grain when cutting. Generally, you want the grain to run parallel to the bag’s length.
- Add Lining: For a more finished look, consider adding a lining to your bag.
When to Seek Professional Help
- Complex Designs: If you want to create a bag with intricate patterns or features, like zippers or multiple pockets, consider taking a class or seeking help from an experienced sewer.
- Difficult Fabrics: Working with very thick or slippery fabrics can be challenging. A professional can offer guidance or complete the project for you.
- Machine Issues: If your sewing machine is malfunctioning, don’t attempt to fix it yourself. Take it to a qualified repair technician.
FAQ
Q: What type of fabric is best for beginners?
A: Cotton, canvas, and denim are excellent choices as they are easy to work with and hold their shape well.
Q: What size seam allowance should I use?
A: A 1/2″ seam allowance is a good starting point for most bag projects.
Q: How do I prevent my fabric from fraying?
A: Zigzag stitch or serge the raw edges of the seams. You can also use a fabric sealant.
Q: What if my stitches are uneven?
A: Practice sewing on scrap fabric to improve your technique. Adjust your machine’s tension if needed.
Alternative Solutions

If you find sewing a bag too daunting, consider these alternatives:
| Solution | Pros | Cons | Best For |
|---|---|---|---|
| Pre-Made Bag Kits | Convenient, all materials included | Limited design choices | Absolute beginners |
| Felt Bag Projects | No-sew options available | Less durable | Quick and easy crafts |
| Upcycling Old Materials | Eco-friendly, cost-effective | Requires repurposing skills | Creative and resourceful makers |
Enjoy Your New Bag!
Congratulations! You’ve successfully sewn your first bag. Following this guide, you now have a handmade accessory you can be proud of.
- You learned how to cut fabric accurately.
- You mastered basic sewing techniques like straight stitching and zigzagging.
- You gained the confidence to tackle future sewing projects.
Now it’s your turn! Share a picture of your finished bag in the comments below. We’d love to see your creations and hear about your experience!


