Are you tired of flimsy plastic bags or bulky lunchboxes? A handmade bento bag is the perfect solution – stylish, reusable, and easy to carry. If you’re looking for a quick fix, simply using fabric scraps and a basic running stitch can get you started. But this guide will take you far beyond that!
This comprehensive guide will walk you through every step of sewing a beautiful and functional bento bag, from choosing fabrics and tools to adding finishing touches. We’ll cover different construction methods, handle options, and even how to customize your bag with unique embellishments. By the end, you’ll have a durable and charming bento bag you’ll be proud to use for years to come.
Materials and Tools Needed
| Item | Quantity | Specifications |
|---|---|---|
| Fabric (Outer) | 1/2 yard | Cotton, linen, canvas, or quilting cotton – choose a durable material |
| Fabric (Lining) | 1/2 yard | Lightweight cotton or quilting cotton |
| Fabric (Handles) | 1/2 yard | Coordinating fabric, webbing, or leather |
| Interfacing | 1/2 yard | Medium-weight fusible interfacing |
| Magnetic Snap or Button | 1 | For closure |
| Thread | 1 spool | Matching fabric color |
| Sewing Machine | 1 | Standard sewing machine |
| Scissors or Rotary Cutter | 1 | For cutting fabric |
| Cutting Mat | 1 | Protects your work surface |
| Ruler or Measuring Tape | 1 | For accurate measurements |
| Iron | 1 | For pressing seams |
| Pins or Clips | 1 box/pack | For holding fabric pieces together |
| Seam Ripper | 1 | Just in case! |
Preparing Your Fabric & Cutting Pieces

Before you start sewing, accurate cutting is crucial. A typical finished bento bag measures around 12″ wide x 12″ high, but you can adjust these dimensions to suit your needs. Remember to add seam allowances!
- Wash and Iron: Pre-wash and iron your fabrics to prevent shrinkage after sewing.
- Cut Fabric Pieces: Cut the following pieces:
- Outer Fabric: Two squares, 13” x 13” (includes 1″ seam allowance on all sides)
- Lining Fabric: Two squares, 13” x 13”
- Interfacing: Two squares, 13” x 13”
- Handles: Two strips, 2” x 24” (adjust length for desired strap length)
- Apply Interfacing: Fuse the interfacing to the wrong side of the outer fabric pieces. This adds structure and stability.
Constructing the Bag Body
Phase 1: Preparing the Outer Bag
- Hem the Top Edge: Fold the top edge of each outer fabric piece down 1/2″ twice, pressing each fold. Then, stitch along the folded edge to create a clean hem. This will be the top opening of the bag.
- Attach Magnetic Snap/Button: Follow the manufacturer’s instructions to attach the magnetic snap or button to the hemmed edge of one outer fabric piece. Position it centrally.
Phase 2: Assembling the Bag
- Place Right Sides Together: Place the two outer fabric pieces right sides together, aligning all edges.
- Sew the Sides and Bottom: Sew around the sides and bottom with a 1/2″ seam allowance, leaving the top edge open. Backstitch at the beginning and end of each seam for reinforcement.
- Clip Corners: Clip the corners diagonally to reduce bulk when turned right side out.
Phase 3: Lining the Bag
- Repeat Steps 1-3 with Lining Fabric: Repeat the hemming, attaching the closure, and sewing process with the lining fabric pieces, but leave a 4-6 inch opening in the bottom seam of the lining. This opening is essential for turning the bag right side out.
Creating and Attaching the Handles

Phase 1: Preparing the Handles
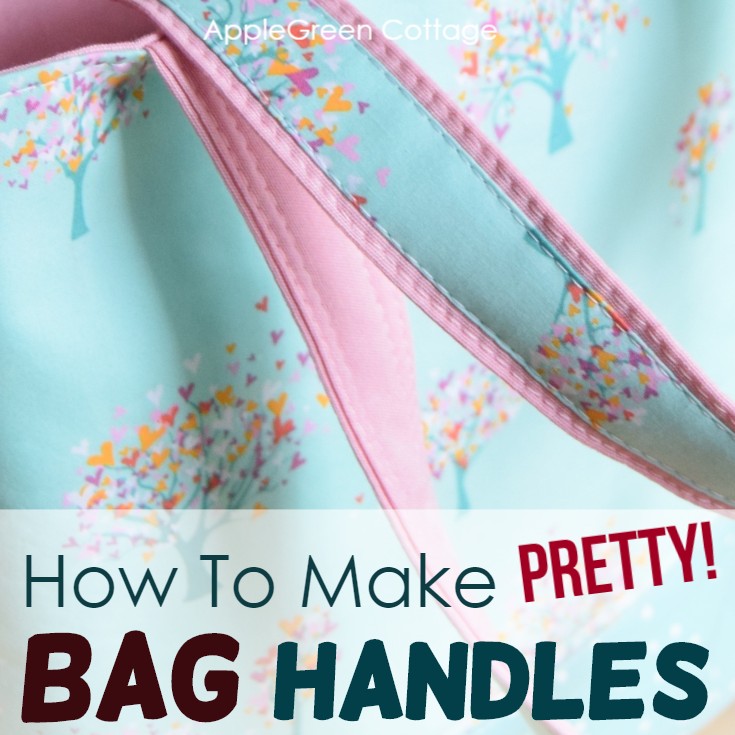
- Fold and Press: Fold each handle strip in half lengthwise, wrong sides together, and press.
- Fold Again: Fold each long edge towards the center crease and press again.
- Fold One Last Time: Fold the handle in half again, enclosing the raw edges, and press.
- Topstitch: Topstitch along both long edges of each handle to secure the folds.
Phase 2: Attaching to the Bag
- Position Handles: Pin or clip the handles to the outer fabric, evenly spaced on either side of the bag. The handles should be positioned approximately 3-4 inches from the side seams.
- Secure Handles: Stitch the handles securely to the bag, reinforcing the stitching at the attachment points.
Finishing the Bag
- Turn Right Side Out: Carefully turn the bag right side out through the opening in the lining.
- Close the Lining Opening: Hand-stitch the opening in the lining closed using a slip stitch.
- Insert Lining: Push the lining inside the outer bag, ensuring the corners are neatly aligned.
- Press: Press the bag to give it a crisp, finished look.
Pro Tips
- Fabric Choice: Consider using waxed canvas for added water resistance.
- Handle Variations: Experiment with different handle materials like leather, webbing, or even rope.
- Pocket Addition: Add an internal pocket for small items like keys or phones.
- Quilting: Quilt the outer fabric for a more textured and decorative look.
- Reinforced Seams: Use a narrower seam allowance (1/4″) and reinforce seams with a zig-zag stitch for extra durability.
- Pattern Placement: Pay attention to pattern placement when cutting your fabric for a visually appealing result.
- Interfacing Weight: Use a heavier weight interfacing for more structure, and a lighter weight for a softer feel.
Professional Help
If you’re struggling with a specific part of the process or need more complex customizations, consider:
- Local Sewing Classes: Many fabric stores offer classes on bag making.
- Online Tutorials: YouTube is a great resource for visual learners.
- Professional Seamstress: For intricate designs or repairs.
- Cost: A professional seamstress may charge $30-$60 per hour.
FAQ
Q: Can I use any type of fabric?
A: While you can use many fabrics, choose durable materials like cotton, linen, canvas, or quilting cotton for the outer layer. The lining should be lightweight.
Q: What if I don’t have a sewing machine?
A: You can hand-sew the bag using a sturdy running stitch, but it will take significantly longer.
Q: How do I adjust the size of the bag?
A: Simply adjust the dimensions of the fabric pieces accordingly. Remember to add seam allowances.
Q: My magnetic snap isn’t holding. What should I do?
A: Ensure you’ve followed the manufacturer’s instructions correctly. You may need to reinforce the fabric around the snap with extra stitching.
Alternative Solutions
If you’re not comfortable sewing, consider:
| Solution | Pros | Cons | Best For |
|---|---|---|---|
| Pre-made Bento Bag | Convenient, quick | Limited styles, potentially less durable | Those who don’t want to sew |
| Repurposed Fabric Bag | Eco-friendly, cost-effective | May require alterations, limited design options | Sustainable crafters |
Enjoy Your New Bento Bag!
By following these steps, you’ve successfully created a beautiful and functional bento bag. This reusable bag is a stylish and eco-friendly alternative to plastic bags, perfect for carrying your lunch, snacks, or other essentials.
Now that you’ve completed your bento bag, share your creation with us in the comments below! What fabrics did you choose, and how did you personalize your bag?


