
Are you looking for a stylish and functional bag to carry your essentials? A box bag is a fantastic project for beginner to intermediate sewers, offering a clean, modern aesthetic. If you’re struggling to find a clear, step-by-step guide, you’re in the right place! We’ll start with a quick overview of the basic construction, then dive deep into a comprehensive tutorial.
This comprehensive guide will walk you through every stage of sewing a box bag, from gathering your materials to adding the finishing touches. We’ll cover pattern options, fabric choices, and detailed instructions to ensure your bag turns out beautifully. You’ll learn how to construct a sturdy, well-shaped box bag that you’ll be proud to show off, even if you’ve never sewn a bag before.
What You’ll Need for Sewing a Box Bag
| Item | Quantity | Specifications |
|---|---|---|
| Fabric (Outer) | 1 yard | Medium-weight woven fabric (cotton, linen, canvas) |
| Fabric (Lining) | 1 yard | Lightweight woven fabric (cotton, quilting cotton) |
| Interfacing (Fusible) | 1 yard | Medium-weight interfacing (for structure) |
| Bag Handle/Strap | 1-2 yards | Webbing, leather, or fabric for handles |
| Magnetic Snap or Closure | 1 | Size appropriate for bag |
| Rivets (Optional) | As needed | For attaching handles securely |
| Thread | 1 spool | Matching outer fabric color |
| Zipper (Optional) | 1 | Length appropriate for bag opening |
| Sewing Machine | 1 | Standard sewing machine |
| Rotary Cutter & Mat | 1 | For precise fabric cutting |
| Ruler | 1 | Quilting ruler recommended |
| Iron & Ironing Board | 1 | Essential for fusing interfacing & pressing seams |
| Pins or Clips | 1 box | For holding fabric pieces together |
| Scissors | 1 | For trimming threads |
| Seam Ripper | 1 | Just in case! |
Preparing Your Fabric and Pattern
Choosing Your Pattern
You can find free box bag patterns online (search “free box bag pattern PDF”), purchase a pattern from Etsy or other pattern retailers, or draft your own. For this guide, we’ll assume you’re using a pattern with pre-determined dimensions. Common box bag sizes are 8” x 6” x 3” or 10” x 8” x 4”.
Cutting Your Fabric
- Print and Assemble Pattern: Print your pattern pieces and tape them together if necessary.
- Cut Fabric Pieces: Using your rotary cutter and ruler, cut out the following pieces from your chosen fabrics:
- Outer Fabric: 2 side pieces, 2 bottom pieces, 2 front/back pieces
- Lining Fabric: 2 side pieces, 2 bottom pieces, 2 front/back pieces
- Interfacing: 2 side pieces, 2 bottom pieces, 2 front/back pieces (fuse to the wrong side of the outer fabric pieces)
- Handle/Strap Preparation: Cut your handle/strap material to the desired length. If using fabric, consider fusing it with interfacing for added stability.
Step-by-Step Box Bag Construction
Phase 1: Interfacing and Outer Bag Assembly

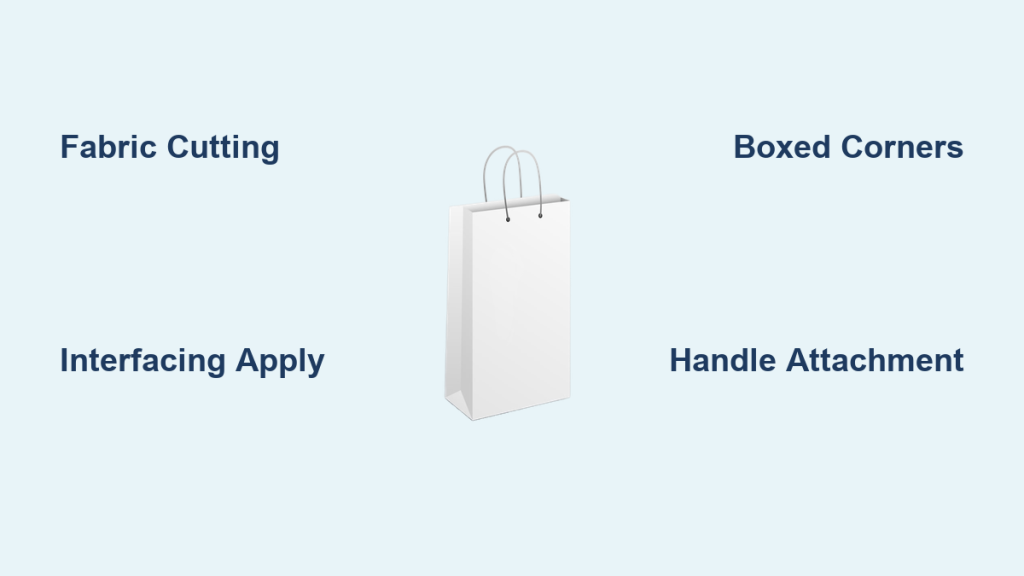
- Fuse Interfacing: Apply fusible interfacing to the wrong side of all outer fabric pieces according to the interfacing manufacturer’s instructions. This provides structure and helps the bag hold its shape.
- Assemble Outer Bag:
- Pin or clip one side piece to one bottom piece, right sides together. Sew with a ½” seam allowance.
- Repeat with the other side piece and bottom piece.
- Pin or clip the front and back pieces to the assembled side and bottom pieces, right sides together. Sew all around, leaving the top open.
- Boxed Corners: To create the boxed corners, flatten each corner so the side seam and bottom seam align. Measure 1.5” – 2” from the point of the corner and draw a line across. Sew along this line. Trim the excess fabric, leaving a ½” seam allowance. Repeat for all four corners.
Phase 2: Lining Assembly
- Assemble Lining: Repeat the assembly process from Phase 1 with the lining fabric pieces, but leave a 4-6” opening in the bottom seam. This opening will be used to turn the bag right side out.
- Boxed Corners (Lining): Repeat the boxed corner process from Phase 1 with the lining.
Phase 3: Attaching Handles & Closure

- Handle Placement: Determine the placement of your handles on the outer bag. Consider comfort and balance.
- Attach Handles:
- If using rivets, follow the rivet manufacturer’s instructions to securely attach the handles.
- If sewing handles directly onto the bag, reinforce the stitching by backstitching several times.
- Install Closure: If using a magnetic snap, follow the manufacturer’s instructions to install it on the outer bag flap. If using a zipper, install it along the top edge of the outer bag.
Phase 4: Joining Outer Bag and Lining & Finishing
- Insert Lining: Place the outer bag inside the lining bag, right sides together.
- Sew Top Edge: Pin or clip around the top edge, matching the side seams. Sew around the entire top edge with a ½” seam allowance.
- Turn Right Side Out: Carefully turn the bag right side out through the opening in the lining’s bottom seam.
- Close Lining Opening: Hand-stitch the opening in the lining closed with a blind stitch.
- Press and Shape: Press the bag firmly to create sharp creases and define the box shape.
Pro Tips for a Perfect Box Bag
- Fabric Choice: Use a medium-weight fabric for the outer bag to provide structure. Canvas, denim, or a sturdy cotton twill work well.
- Interfacing is Key: Don’t skip the interfacing! It’s crucial for giving the box bag its shape and preventing it from sagging.
- Precise Cutting: Accurate cutting is essential for a well-constructed bag. Take your time and use a rotary cutter and ruler for best results.
- Reinforce Stitching: Reinforce the stitching around the handles and closure to ensure they are securely attached.
- Topstitching: Topstitching around the top edge of the bag adds a professional finish and reinforces the seam.
- Experiment with Closures: Consider adding a zipper, magnetic snap, or button closure to keep your belongings secure.
Professional Help
If you’re struggling with a particular step, consider seeking help from a local sewing instructor or tailor. They can provide personalized guidance and ensure your bag turns out beautifully. The cost of a sewing lesson typically ranges from $30-$60 per hour.
FAQ
Q: Can I use different fabrics for the outer and lining?
A: Absolutely! Using contrasting fabrics can create a unique and stylish look. Just ensure the fabrics are compatible in terms of weight and drape.
Q: What if my corners don’t look neat after boxing them?
A: Trim the excess fabric carefully and use a seam gauge to ensure the corners are even. Pressing the corners firmly will also help to create a clean finish.
Q: Can I add pockets to the inside of the bag?
A: Yes! Cut fabric pieces for pockets and sew them onto the lining before assembling the lining bag.
Q: What kind of handles are best for a box bag?
A: That depends on your preference! Webbing is durable and affordable, leather adds a touch of luxury, and fabric handles can be customized to match your bag’s fabric.
Alternative Solutions
If you find the boxed corner technique challenging, you can opt for a simpler bag construction without boxed corners. This will result in a less structured bag, but it’s a good option for beginners.
Enjoy Your New Box Bag!
Congratulations! You’ve successfully sewn a box bag. Now you have a stylish and functional accessory that you can use every day.
Here’s a recap of what you’ve accomplished:
* You chose your fabrics and pattern
* You carefully cut and assembled the outer bag and lining
* You attached handles and a closure
* You turned and finished your beautiful new box bag!
Don’t be afraid to experiment with different fabrics, closures, and embellishments to create unique box bags that reflect your personal style.
Share your finished box bag with us in the comments below! We’d love to see your creations.


