Frustrated with flimsy drawstring bags that can’t stand up on their own? You’re not alone! Many drawstring bags lack structure, making it difficult to pack and access items. This guide will walk you through creating a sturdy drawstring bag with a flat bottom, perfect for organizing everything from shoes to toys. We’ll start with a quick method for a simple bag, then move into more detailed instructions for a durable, professional-looking finish.
This comprehensive guide will cover everything you need to know – from choosing the right fabric and tools to detailed step-by-step instructions, helpful tips, and even troubleshooting common issues. By the end of this article, you’ll be confidently sewing your own custom drawstring bags with flat bottoms!
What You’ll Need for Sewing a Drawstring Bag
| Item | Quantity | Specifications |
|---|---|---|
| Fabric | 1 yard | Cotton, linen, canvas, or quilting cotton (consider weight for desired sturdiness) |
| Drawstring Cord | 2 yards | 1/4″ – 1/2″ wide cord, ribbon, or twill tape |
| Safety Pin | 1 | For threading the drawstring |
| Scissors or Rotary Cutter | 1 | Fabric cutting |
| Ruler or Measuring Tape | 1 | Accurate measurements |
| Sewing Machine | 1 | With matching thread |
| Iron & Ironing Board | 1 | For pressing seams |
| Fabric Chalk or Marking Pen | 1 | Marking cutting lines |
| Seam Ripper | 1 | For correcting mistakes |
Preparing Your Fabric and Cutting the Pieces

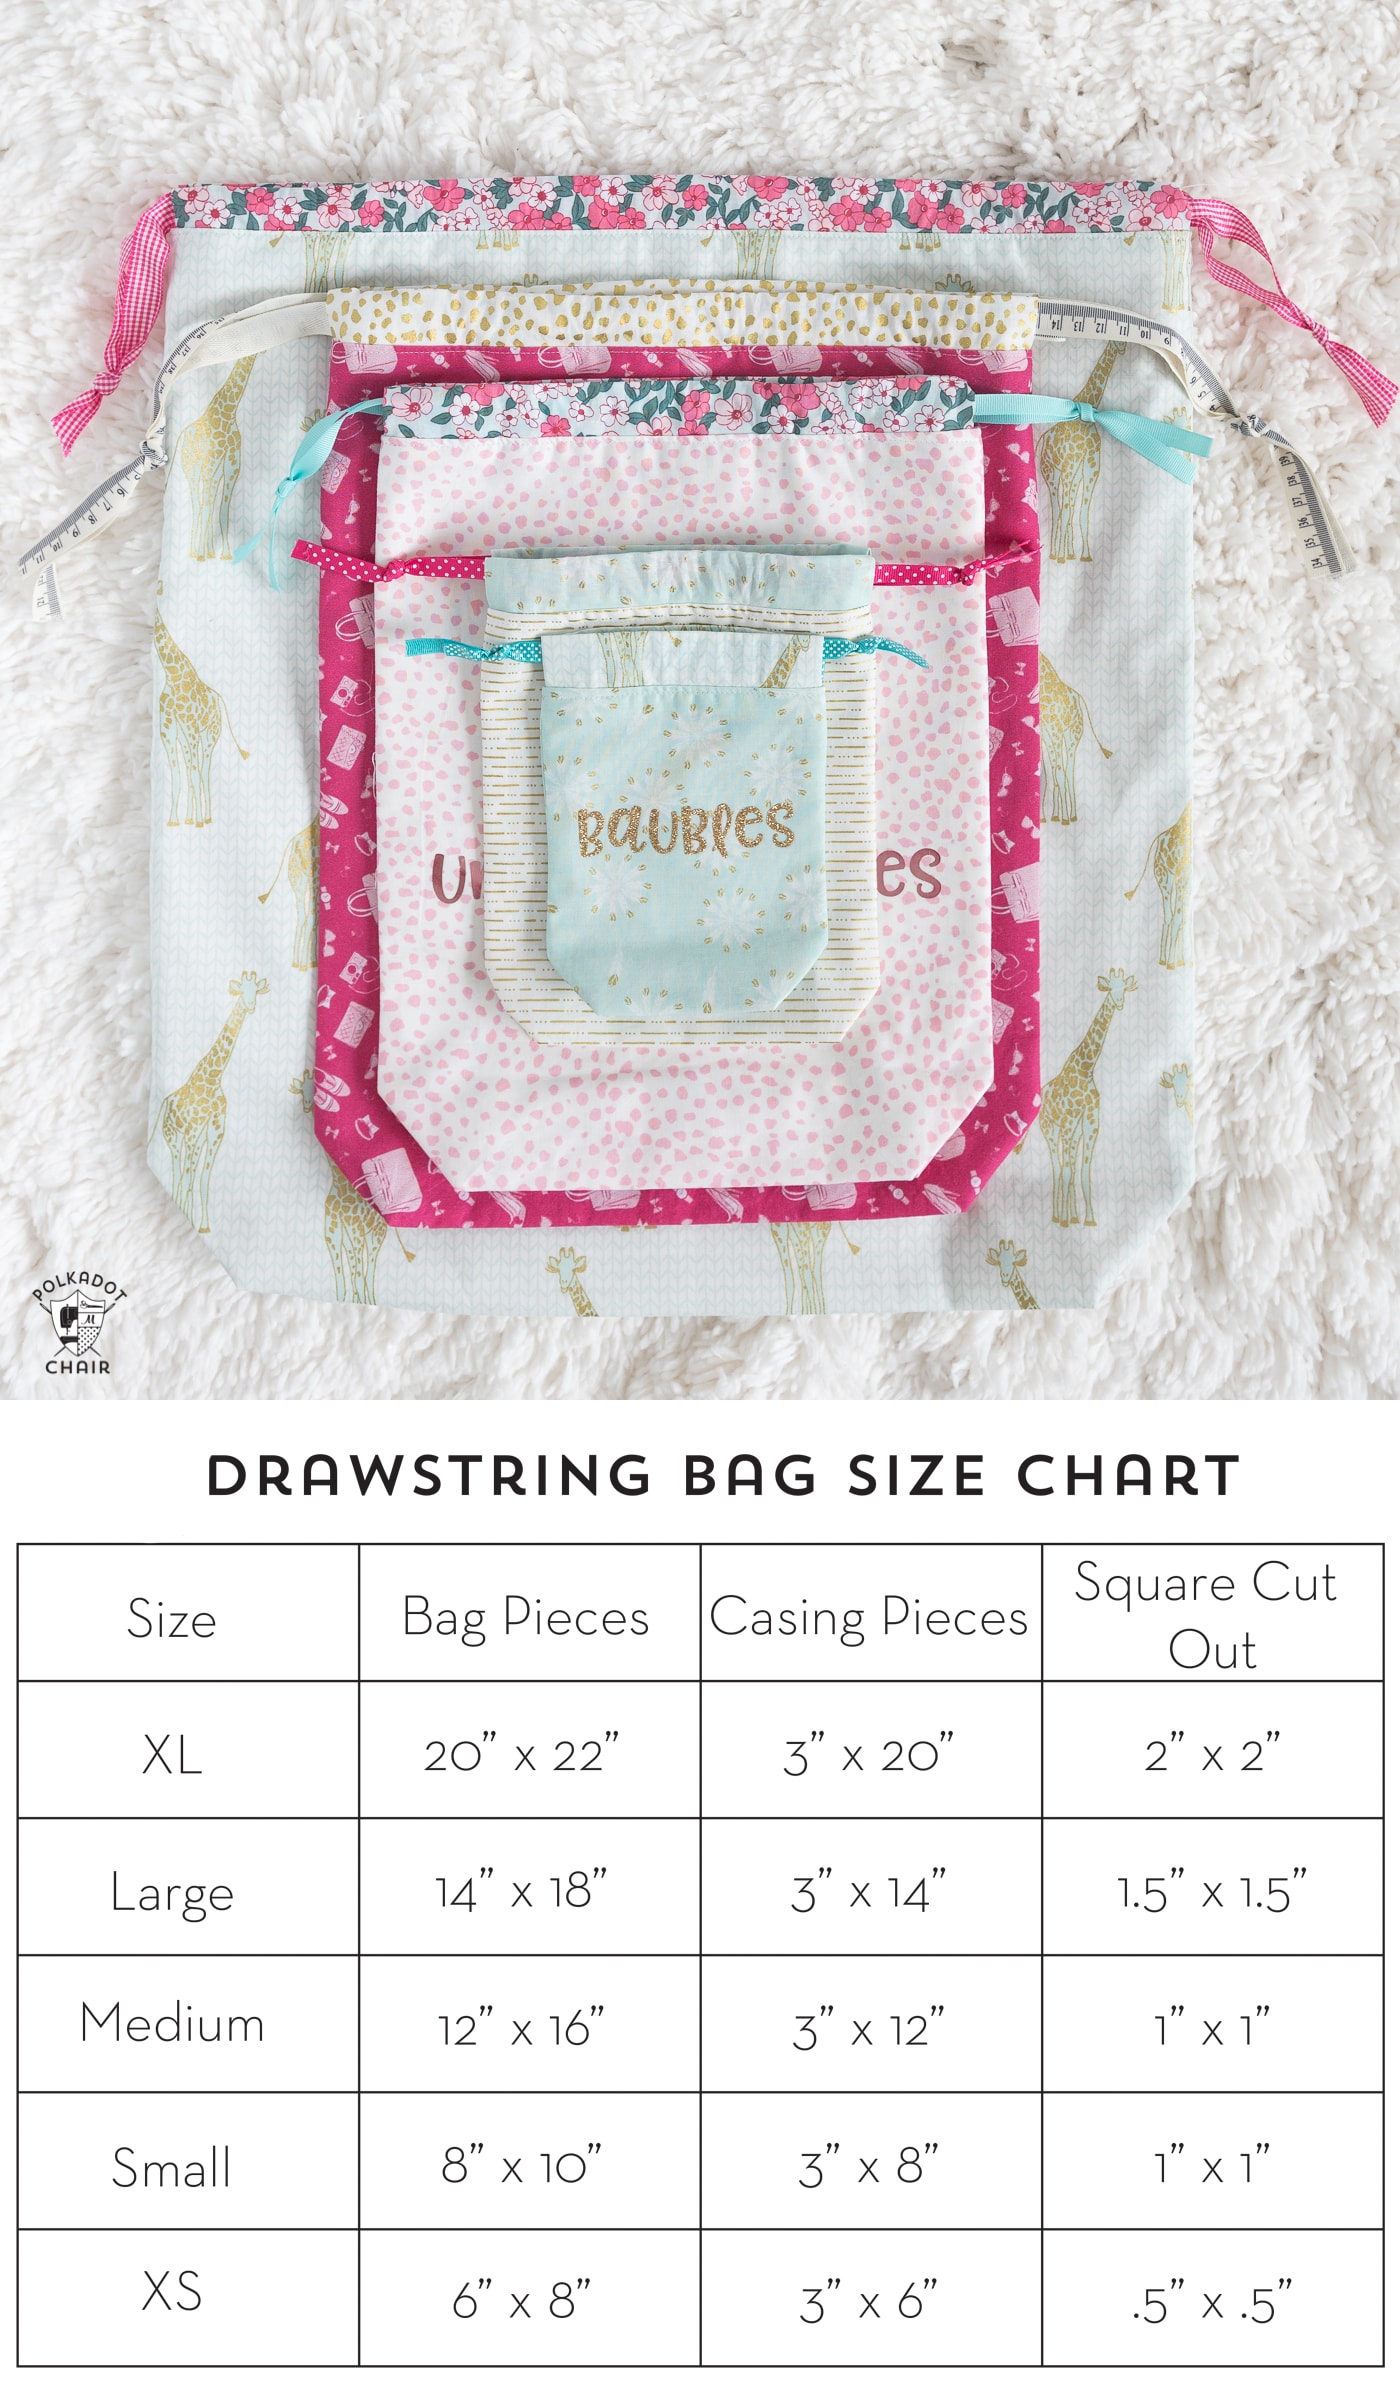
Before you start sewing, accurate fabric cutting is essential. Here’s how to cut the pieces for a finished bag approximately 12″ wide x 15″ high x 4″ deep (adjust measurements as desired):
- Cut Two Body Pieces: 13″ x 17″ (This allows for seam allowances and the boxed corner)
- Cut Two Lining Pieces: 13″ x 17″ (Same size as body pieces)
- Cut Two Reinforcement Pieces (optional, for drawstring holes): 2″ x 4″ (Use interfacing for extra durability)
Step-by-Step Sewing Process
Phase 1: Preparing the Bag Body
- Sew Side Seams: With right sides together, sew the two body pieces along the side seams, using a 1/2″ seam allowance. Press seams open.
- Box the Corners: This creates the flat bottom. Flatten one corner so the side seam and bottom edge align, forming a triangle. Measure 4″ from the point of the triangle and draw a straight line across. Stitch along this line. Repeat for the other corner. Trim excess fabric, leaving a 1/2″ seam allowance.
- Finish Seams: Use a zig-zag stitch or serger to finish the raw edges of the boxed corners to prevent fraying.
Phase 2: Preparing the Bag Lining
- Sew Side Seams: Repeat step 1 from Phase 1 with the two lining pieces. Leave a 5-6″ opening in the bottom seam of the lining for turning the bag right-side out.
- Box the Corners: Repeat step 2 from Phase 1 with the lining pieces.
- Finish Seams: Repeat step 3 from Phase 1 with the lining pieces.
Phase 3: Assembling the Bag
- Place Lining Inside Body: With right sides together, insert the lining into the bag body. Align the top edges.
- Sew Top Edge: Sew around the entire top edge of the bag, using a 1/2″ seam allowance.
- Turn Right Side Out: Carefully pull the bag right-side out through the opening left in the lining.
- Close the Lining Opening: Hand-stitch the opening in the lining closed using a blind stitch.
- Press Top Edge: Press the top edge of the bag neatly.
Phase 4: Creating and Inserting the Drawstring
- Create Drawstring Channels: Fold the top edge of the bag down 1/2″ to the wrong side and press. Fold down another 1.5″ and press again. This creates the channel for the drawstring.
- Topstitch Channels: Topstitch along the bottom edge of the folded channel, close to the fold, leaving a 1″ opening on one side. This secures the channel and provides a clean finish.
- Insert Drawstring: Attach a safety pin to one end of the drawstring. Thread the drawstring through the channel, working your way around the entire bag.
- Secure Drawstring Ends: Remove the safety pin and tie the ends of the drawstring together in a secure knot.
Pro Tips for a Perfect Drawstring Bag
- Fabric Choice: Canvas or heavier cottons provide more structure. Lighter fabrics are suitable for smaller, less structured bags.
- Interfacing: Use fusible interfacing on the reinforcement pieces to prevent the drawstring holes from tearing.
- Seam Allowance: Consistent seam allowances are crucial for a professional finish.
- Pressing: Pressing seams at each step makes the bag lay flatter and easier to sew.
- Drawstring Length: Ensure the drawstring is long enough to comfortably close the bag but not so long that it’s cumbersome.
- Decorative Touches: Add embellishments like buttons, ribbons, or embroidery to personalize your bag.
- Reinforce Drawstring Holes: After inserting the drawstring, consider reinforcing the holes with a small square of fabric and a few stitches.
When to Seek Professional Help
- Complex Fabrics: If you’re working with difficult-to-sew fabrics like leather or vinyl, a professional seamstress can ensure a clean and durable finish.
- Intricate Designs: For bags with complex patterns or embellishments, professional assistance may be beneficial.
- Machine Issues: If you’re experiencing problems with your sewing machine, a repair technician can diagnose and fix the issue.
FAQ
Q: What type of fabric is best for a drawstring bag?
A: Cotton, linen, canvas, and quilting cotton are all good choices. Canvas and heavier cottons offer more structure, while lighter fabrics are suitable for less structured bags.
Q: How do I prevent the drawstring from slipping out of the channel?
A: Topstitching the channel securely and using a knot at the ends of the drawstring will help prevent it from slipping.
Q: Can I use a different type of closure instead of a drawstring?
A: Yes! You could use a button and loop, a zipper, or even magnetic snaps.
Q: How do I adjust the size of the bag?
A: Simply adjust the dimensions of the fabric pieces accordingly. Remember to add seam allowances.
Alternative Solutions
If you find the boxed corner technique challenging, you can skip it entirely and create a simple drawstring pouch without a flat bottom. This is a faster and easier option, especially for beginners. Another option is to use pre-made drawstring casings, which can save time and effort.
Keep Your New Drawstring Bag Running Smoothly
Congratulations! You’ve successfully sewn a drawstring bag with a flat bottom. To keep your bag looking its best:
- Spot clean any stains promptly.
- Avoid overfilling the bag, as this can strain the seams.
- Store the bag in a dry place when not in use.
- Inspect the drawstring periodically for wear and tear.
Have you sewn a drawstring bag with a flat bottom? Share your experience and any tips you have in the comments below!


