
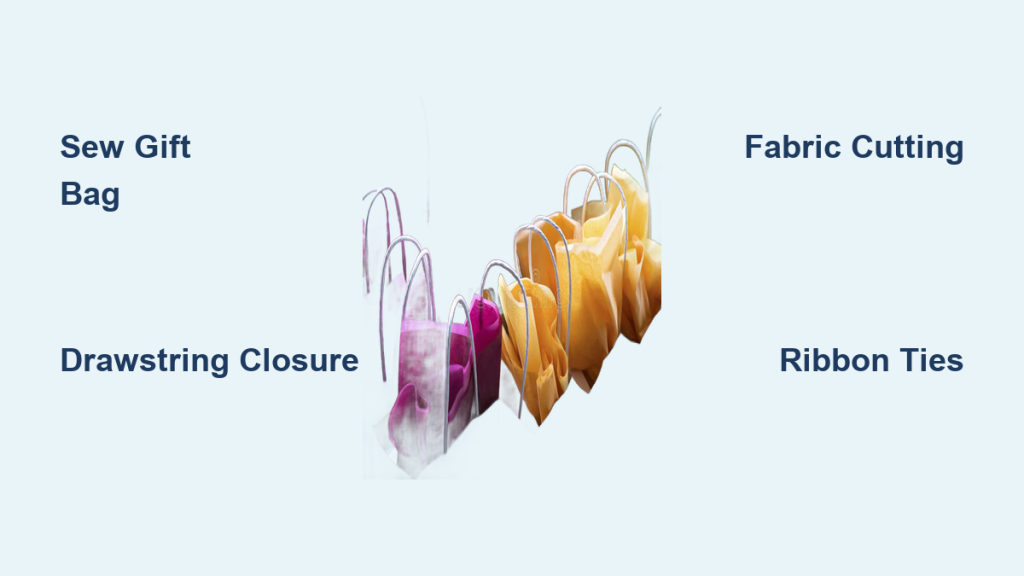
Finding the perfect gift is only half the battle – presentation matters! A beautifully sewn gift bag adds a personal touch and is a sustainable alternative to disposable wrapping paper. If you’ve ever wondered how to create your own custom gift bags, this guide will walk you through the process, even if you’re a beginner. We’ll start with a quick method for a simple drawstring bag and then delve into more detailed options, ensuring you can create the perfect packaging for any occasion.
This comprehensive guide will cover everything from fabric selection and cutting to stitching techniques and embellishments. You’ll learn how to make various sizes and styles of gift bags, including those with drawstring closures and ribbon ties. By the end of this article, you’ll be confidently sewing gift bags that are both beautiful and practical.
Materials and Tools Needed
| Item | Quantity | Specifications |
|---|---|---|
| Fabric | Varies | Cotton, linen, burlap, or felt – approx. 1/2 yard to 1 yard depending on bag size and quantity |
| Scissors | 1 | Fabric scissors |
| Measuring Tape/Ruler | 1 | For accurate measurements |
| Pins | 1 box | To hold fabric layers together |
| Sewing Machine | 1 | With standard stitch settings |
| Thread | 1 spool | Matching the fabric color |
| Drawstring/Ribbon | Varies | Approximately 1-2 yards per bag, depending on closure style |
| Safety Pin | 1 | For threading drawstring/ribbon |
| Iron & Ironing Board | 1 each | For pressing seams |
| Seam Ripper | 1 | For correcting mistakes |
Step-by-Step Gift Bag Sewing Guide
Phase 1: Preparation & Cutting
- Determine Bag Size: Decide on the desired dimensions of your gift bag. Consider the size of the gift you’ll be packaging. A common size is 8″ wide x 10″ high.
- Cut Fabric Pieces: You’ll need two rectangular pieces of fabric for the bag itself. Add seam allowance (typically 1/2 inch) to all sides. For an 8″ x 10″ bag, cut two pieces 9″ wide x 11″ high.
- Cut Drawstring/Ribbon: Cut two lengths of drawstring or ribbon, each approximately 20-24 inches long (adjust based on the bag size and desired tie length).
- Prepare Fabric: Iron the fabric to remove any wrinkles for easier cutting and sewing.
Phase 2: Sewing the Bag Body
- Pin Fabric Pieces: Place the two fabric pieces right sides together (the patterned or “good” sides facing each other). Pin along the sides and bottom edges.
- Sew Side & Bottom Seams: Using a sewing machine, stitch along the pinned sides and bottom edges with a 1/2 inch seam allowance. Backstitch at the beginning and end of each seam to secure the stitching.
- Finish Seams (Optional): To prevent fraying, finish the raw edges of the seams using a zig-zag stitch, serger, or pinking shears.
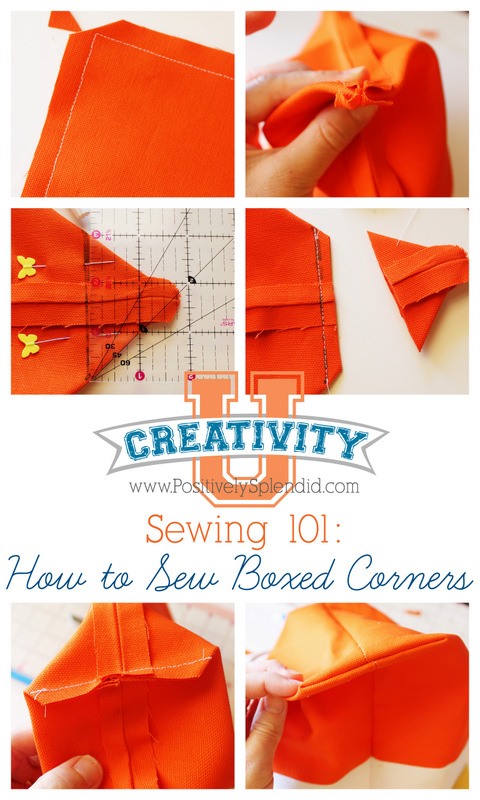
- Box the Corners: This creates a flat bottom for the bag. Flatten each bottom corner, forming a triangle. Measure 1.5-2 inches down from the point of the triangle and draw a line across. Stitch along this line. Cut off the excess fabric, leaving a 1/2 inch seam allowance. Repeat for the other corner.
Phase 3: Creating the Drawstring Closure (or Ribbon Ties)

Method 1: Drawstring Closure
- Create Casing: Fold down the top edge of the bag approximately 1.5-2 inches to the inside, wrong sides together. Iron the fold to create a crisp edge.
- Pin Casing: Pin the folded edge in place, leaving a small opening (about 1 inch) for inserting the drawstring.
- Sew Casing: Stitch along the bottom edge of the folded casing, close to the fold. Backstitch at the beginning and end. Leave the opening unstitched.
- Thread Drawstring: Attach a safety pin to one end of the drawstring. Use the safety pin to guide the drawstring through the casing, working your way around until it emerges from the opening. Repeat with the second drawstring.
- Tie Knots: Tie the ends of the drawstrings together in a secure knot.
Method 2: Ribbon Ties
- Create Ribbon Channels: Cut two small squares of fabric (approximately 2″ x 2″). Fold each square in half, wrong sides together, and press.
- Attach Ribbon Channels: Pin one ribbon channel to each upper corner of the bag, on the right side of the fabric. Stitch along the edges of the channel, leaving the top open.
- Thread Ribbon: Thread a ribbon through each channel.
- Tie Ribbon: Tie the ribbons in a bow to close the bag.
Pro Tips for Perfect Gift Bags
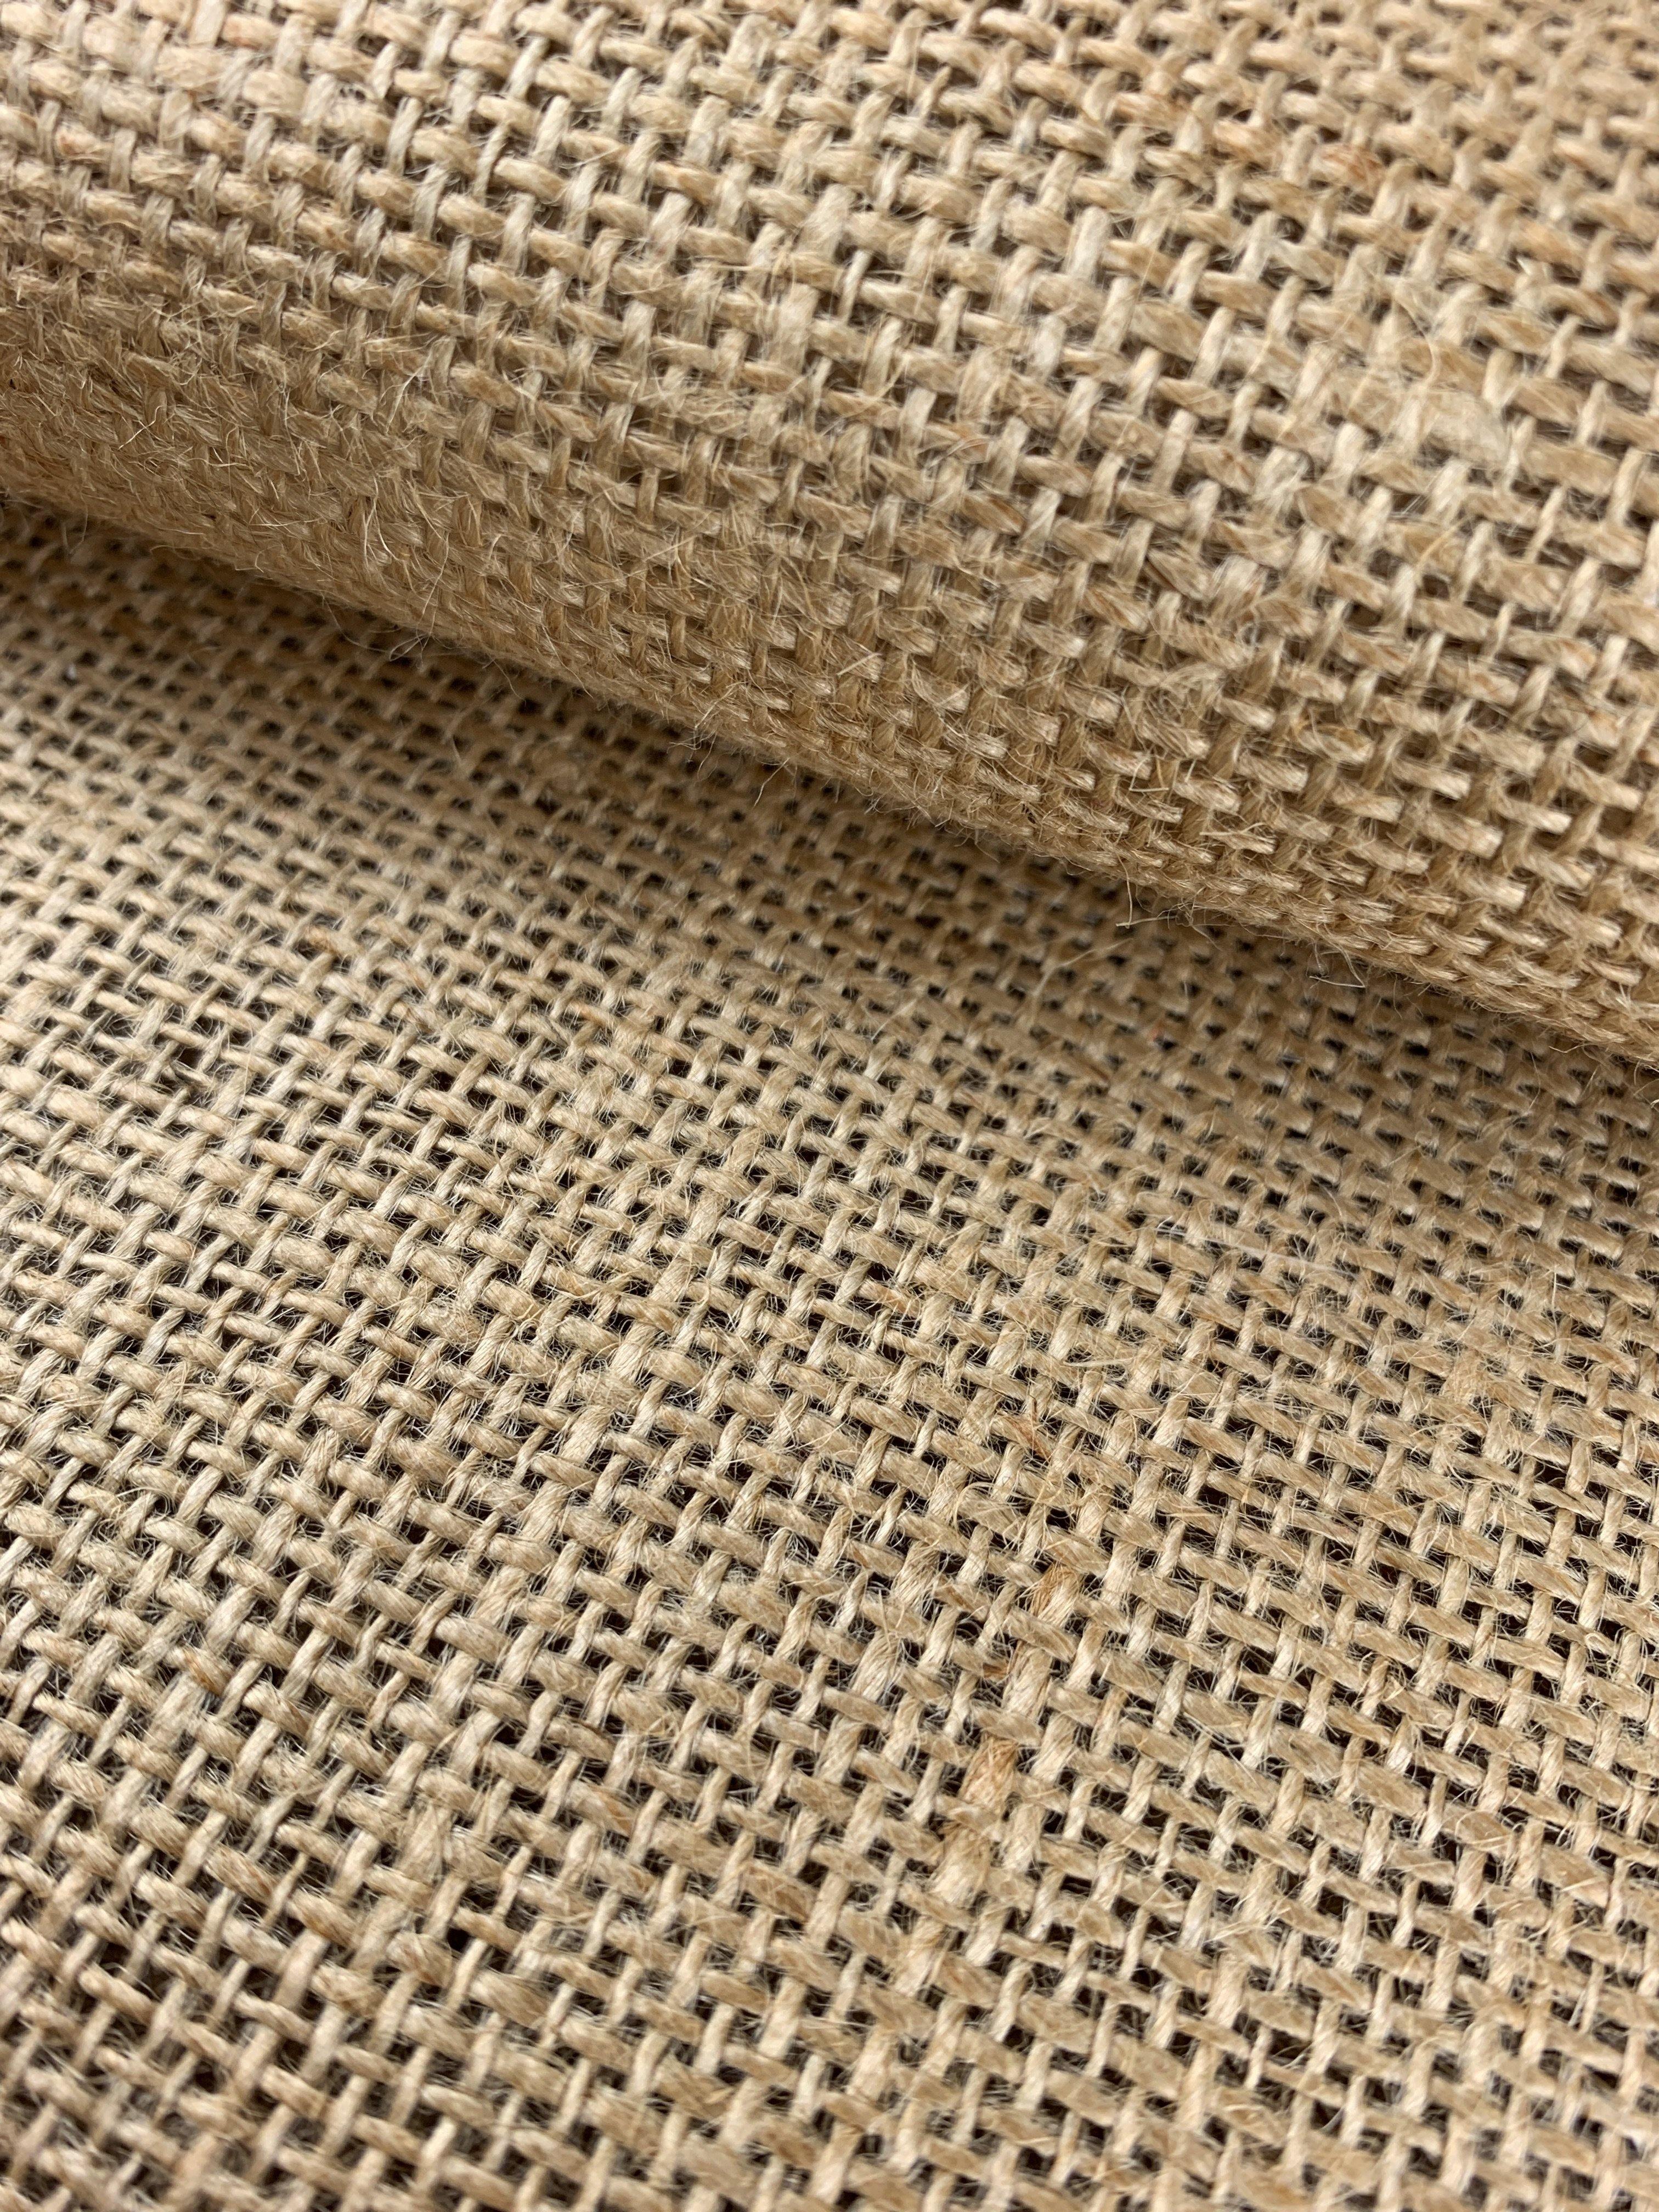
- Fabric Choice Matters: Cotton and linen are easy to work with for beginners. Burlap adds a rustic touch, while felt is no-fray and great for simple designs.
- Pre-wash Fabric: This prevents shrinkage after sewing.
- Use a Walking Foot: If you’re working with slippery fabrics like satin, a walking foot will help feed the fabric evenly through the sewing machine.
- Embellish Your Bags: Add decorative touches like buttons, lace, ribbon, or embroidery to personalize your gift bags.
- Reinforce Handles: For heavier gifts, reinforce the ribbon channels or drawstring casing with extra stitching.
- Consider Lining: For a more professional finish, line your gift bag with a coordinating fabric.
Professional Help
If you’re struggling with sewing techniques or need assistance with a complex design, consider:
- Local Sewing Classes: Many fabric stores and community centers offer sewing classes for all skill levels.
- Seamstress/Tailor: A professional seamstress can create custom gift bags to your specifications.
- Online Tutorials: YouTube and other platforms offer a wealth of sewing tutorials.
Typical costs for a seamstress to make a simple gift bag range from $10-$20 per bag, depending on fabric and embellishments.
FAQ
Q: What size seam allowance should I use?
A: A 1/2 inch seam allowance is standard for most gift bag projects.
Q: Can I use a rotary cutter and cutting mat instead of scissors?
A: Yes, a rotary cutter and cutting mat can provide more precise cuts, especially for larger quantities.
Q: How do I prevent the drawstring from slipping out of the casing?
A: Ensure the casing is sewn securely and the opening for threading the drawstring is small. You can also add a small stitch at each end of the casing to prevent slippage.
Q: What if my fabric frays easily?
A: Finish the raw edges of the seams using a zig-zag stitch, serger, or pinking shears to prevent fraying.
Alternative Solutions
If you don’t have a sewing machine, you can hand-sew a gift bag using a simple running stitch or backstitch. While it will take longer, it’s a perfectly viable option. Alternatively, you can purchase pre-made gift bags in a variety of sizes and styles. However, sewing your own allows for complete customization and a personal touch!
| Solution | Pros | Cons | Best For |
|---|---|---|---|
| Hand Sewing | No machine needed, portable | Time-consuming, requires patience | Small bags, simple designs |
| Pre-made Bags | Convenient, quick | Limited customization, less personal | Last-minute gifts, large quantities |
Keep Your Gifts Beautifully Packaged
Now that you’ve mastered the art of sewing gift bags, you can create unique and personalized packaging for any occasion. Remember these key steps: accurate cutting, secure stitching, and a touch of creativity!
By following this guide, you can confidently sew gift bags that will impress your recipients and add a special touch to your gifts.
What kind of gift bag will you create first? Share your plans and finished projects in the comments below!


