
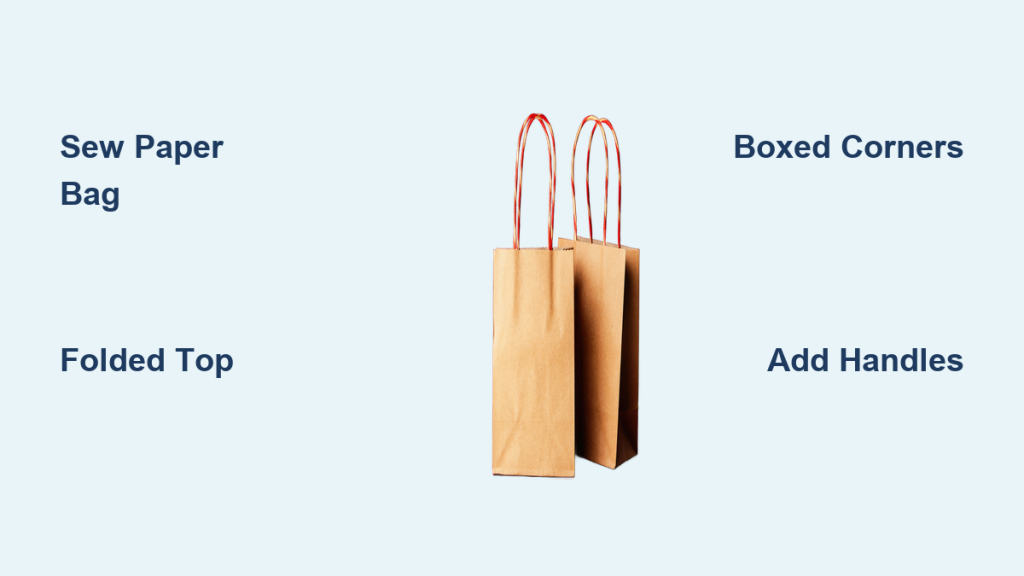
Ever loved a paper bag’s simple, rustic charm and wished you could recreate it in fabric? You can! Sewing a paper bag isn’t as tricky as it sounds and results in a unique, slouchy tote bag perfect for everyday use. If you’re frustrated with rigid tote bags, this guide will show you how to create a soft, flexible bag inspired by a classic paper design. We’ll even cover quick fixes if your bag doesn’t quite take shape.
This comprehensive guide will walk you through every step of sewing a paper bag, from choosing the right fabric to adding handles and finishing touches. We’ll cover variations for different sizes and styles, and provide troubleshooting tips to ensure your finished bag looks exactly how you envisioned. By the end, you’ll have a stylish and functional bag you’ll be proud to carry.
Materials and Tools Needed
| Item | Quantity | Specifications |
|---|---|---|
| Fabric | 1 yard | Medium-weight cotton, linen, or canvas recommended |
| Matching Thread | 1 spool | Polyester or cotton thread |
| Scissors | 1 | Fabric scissors |
| Measuring Tape | 1 | 60-inch measuring tape |
| Pins | 20-30 | Straight pins |
| Sewing Machine | 1 | With standard presser foot |
| Iron & Ironing Board | 1 each | For pressing seams |
| Fabric Chalk or Pen | 1 | For marking fabric |
| Handle Material (Optional) | 2 x 24-30 inches | Leather, webbing, or fabric strips |
Step-by-Step Sewing Process
Phase 1: Cutting the Fabric
- Cut the Main Body: Cut one large rectangle of fabric. The size depends on your desired bag dimensions. For a medium-sized bag, start with a rectangle measuring approximately 18 inches wide by 24 inches tall.
- Cut the Bottom Piece: Cut a rectangle for the bottom of the bag. This should be approximately 6 inches wide by 18 inches long (matching the width of the main body).
- Cut Handle Pieces (Optional): If using leather or webbing for handles, cut two strips to your desired length (24-30 inches is a good starting point). If making fabric handles, cut two rectangles approximately 4 inches wide by 30 inches long.
Phase 2: Constructing the Bag Body
- Fold and Press: With the right side of the fabric facing up, fold the main body rectangle in half, aligning the short edges. Press the fold to create a crease.
- Sew the Side Seams: Unfold the fabric. Sew along both long sides of the rectangle, using a ½ inch seam allowance. Press the seams open.
- Create the Folded Top: Fold the top edge of the bag down twice – first by 1.5 inches, then another 1.5 inches – to create a double-folded hem. Press the hem in place.
- Topstitch the Hem: Topstitch along the bottom edge of the folded hem, approximately ⅛ inch from the edge. This secures the hem and gives a finished look.
Phase 3: Attaching the Bottom Piece
- Pin the Bottom: With the right sides of the main bag body and the bottom piece facing each other, pin the bottom piece to the bottom edge of the bag body, matching the short edges.
- Sew the Bottom: Sew the bottom piece to the bag body using a ½ inch seam allowance.
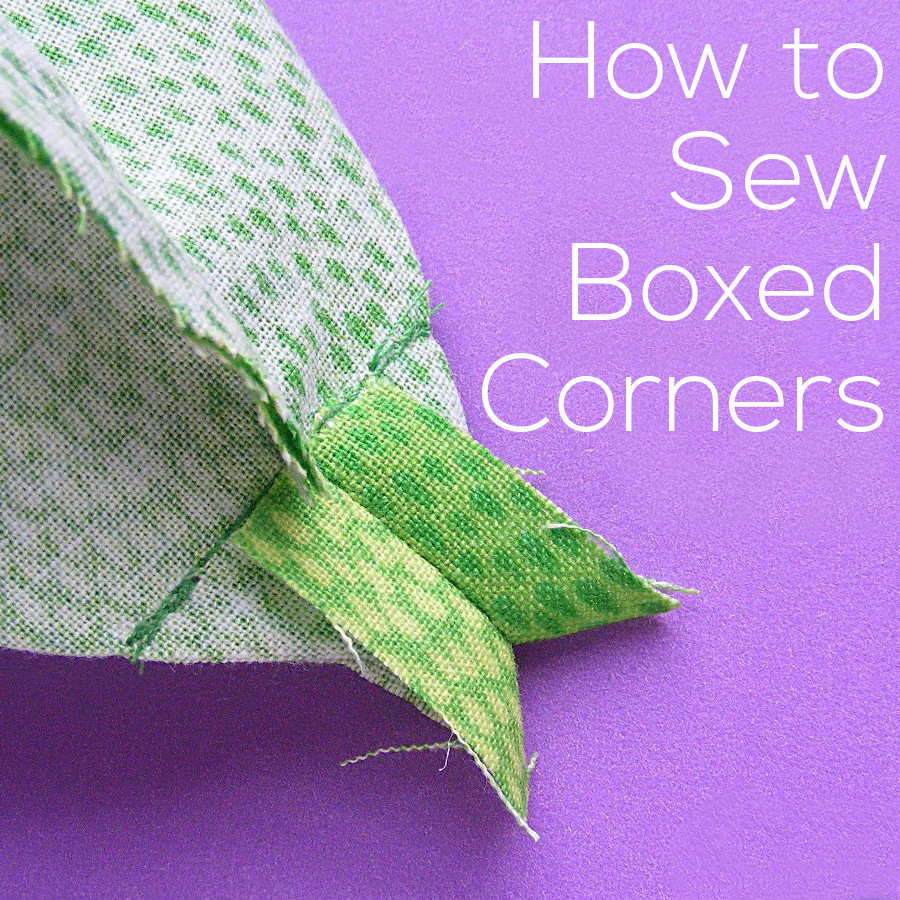
- Box the Corners: To create the paper bag-style bottom, flatten each bottom corner so that the side seam aligns with the bottom seam, forming a triangle. Measure 2 inches from the point of the triangle and draw a line across. Sew along this line. Repeat for the other corner. Cut off the excess fabric, leaving a ½ inch seam allowance.
Phase 4: Adding Handles (Optional)
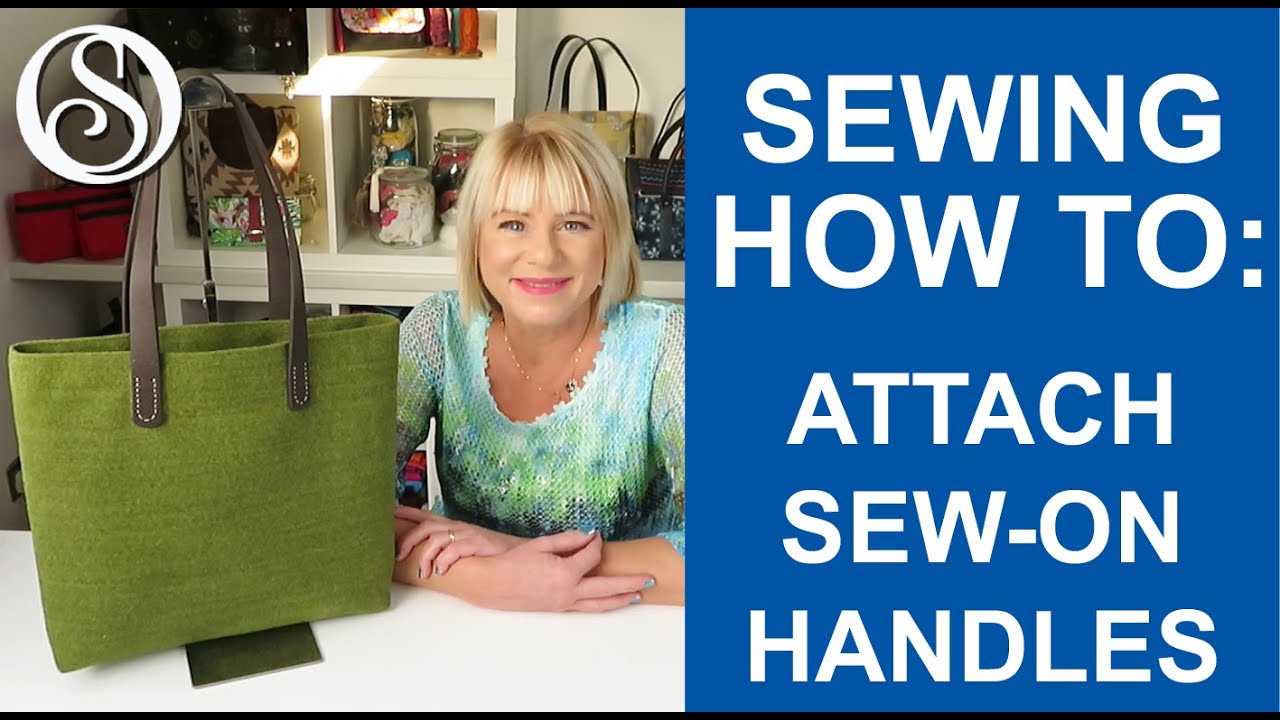
- Prepare Fabric Handles (if applicable): Fold each fabric handle strip in half lengthwise, wrong sides together, and press. Open the fold and fold each long edge towards the center crease. Press again. Fold along the original center crease. Press a final time. This creates a neat, folded handle. Topstitch along all edges of the handle.
- Position Handles: Determine the placement of your handles on the bag. Typically, they are centered about 3-4 inches from the side seams and 1-2 inches below the top edge.
- Pin and Sew Handles: Pin the handles securely to the bag. Sew the handles to the bag with a strong stitch, reinforcing the attachment with a box stitch or multiple rows of stitching.
Pro Tips

- Fabric Choice Matters: Lighter-weight fabrics will create a more slouchy bag, while heavier-weight fabrics will provide more structure.
- Handle Length: Adjust the handle length to suit your preferred carrying style. Longer handles are ideal for shoulder carry, while shorter handles are better for hand carry.
- Reinforced Seams: For extra durability, consider reinforcing the side seams and handle attachments with a zig-zag stitch.
- Unique Embellishments: Personalize your bag with embroidery, fabric paint, or appliqués.
- Pattern Variations: Experiment with different bag sizes and proportions to create a unique look.
- Pre-wash Fabric: Always pre-wash your fabric before cutting to prevent shrinkage after sewing.
- Use a Walking Foot: If working with slippery fabrics like silk or satin, a walking foot can help prevent shifting during sewing.
Professional Help
If you’re struggling with the sewing process, consider seeking help from a local seamstress or sewing instructor. They can provide personalized guidance and ensure your bag is constructed correctly. A simple repair or handle attachment typically costs between $10-$30.
FAQ
Q: My bag doesn’t have the right “slouch” – it’s too structured.
A: Use a lighter-weight fabric. You can also try gently stretching the seams while sewing to encourage a more relaxed shape.
Q: How do I prevent the handles from ripping off?
A: Use a strong stitch like a box stitch or multiple rows of stitching when attaching the handles. Consider reinforcing the attachment with a small piece of interfacing on the inside of the bag.
Q: Can I use a different type of closure?
A: Yes! You can add a magnetic snap, button and loop, or even a drawstring closure to secure your bag.
Q: What if my corners don’t match up perfectly when boxing them?
A: Don’t worry about perfection! A slight asymmetry adds to the rustic charm of the paper bag style. Just make sure to sew a consistent line across each corner.
Alternative Solutions
If you’re not comfortable sewing, you can repurpose an existing tote bag and alter it to achieve a paper bag look. Simply gather the sides of the bag towards the center and secure them with safety pins or fabric glue to create the slouchy shape. However, this method won’t be as durable as a fully sewn bag.
Enjoy Your New Paper Bag!
Congratulations! You’ve successfully sewn your own paper bag-inspired tote. This unique bag is perfect for carrying groceries, books, or anything else you need on the go.
Here’s a recap of what you accomplished:
– You learned how to cut and sew the bag body and bottom.
– You mastered the technique for boxing the corners to create the signature paper bag shape.
– You added handles for comfortable carrying.
Now, go show off your creation! Share a photo of your finished bag in the comments below – we’d love to see it! You’ve created a stylish and functional accessory that’s sure to turn heads.


