
Are you dreaming of a unique, handmade bag bursting with color and personality? A patchwork bag is a fantastic project for quilters and beginners alike, allowing you to use up fabric scraps and create a truly one-of-a-kind accessory. If the thought of piecing together fabric seems daunting, don’t worry! This guide will walk you through the entire process, from fabric selection to finishing touches, with a quick start focusing on simple square patchwork.
This comprehensive guide will go beyond the basic patchwork technique. We’ll cover fabric choices, cutting strategies, various patchwork designs, lining options, handle attachment, and even embellishment ideas. By the end of this article, you’ll have the knowledge and confidence to create beautiful, durable patchwork bags of all shapes and sizes.
Materials and Tools Needed
| Item | Quantity | Specifications |
|---|---|---|
| Fabric Scraps | Varied | Cotton, linen, or blends are ideal. Aim for a variety of colors and patterns. |
| Bag Lining Fabric | 1/2 – 1 yard | Cotton or a durable lining fabric. |
| Interfacing | 1/2 yard | Fusible interfacing for structure (weight depends on fabric). |
| Bag Handles | 1 pair | Leather, webbing, or fabric handles. Length depends on desired drop. |
| Thread | 1 spool | Matching or contrasting color. |
| Quilting Cotton | 1 yard | For backing if desired |
| Rotary Cutter | 1 | 45mm recommended. |
| Cutting Mat | 1 | Large enough for your fabric pieces. |
| Quilting Ruler | 1 | Variety of sizes for accurate cutting. |
| Iron & Ironing Board | 1 each | Essential for pressing seams. |
| Sewing Machine | 1 | With a standard presser foot. |
| Pins | 1 box | For holding fabric layers together. |
| Seam Ripper | 1 | For correcting mistakes. |
| Fabric Scissors | 1 pair | For trimming and detail work. |
Preparing Your Fabric and Patchwork Design
Choosing Your Fabrics
The beauty of patchwork lies in its versatility. You can use up leftover scraps from other projects, purchase pre-cut charm packs, or intentionally coordinate fabrics for a specific look. Consider the weight and texture of your fabrics; similar weights will make sewing easier. Cotton is a popular choice due to its ease of use and availability.
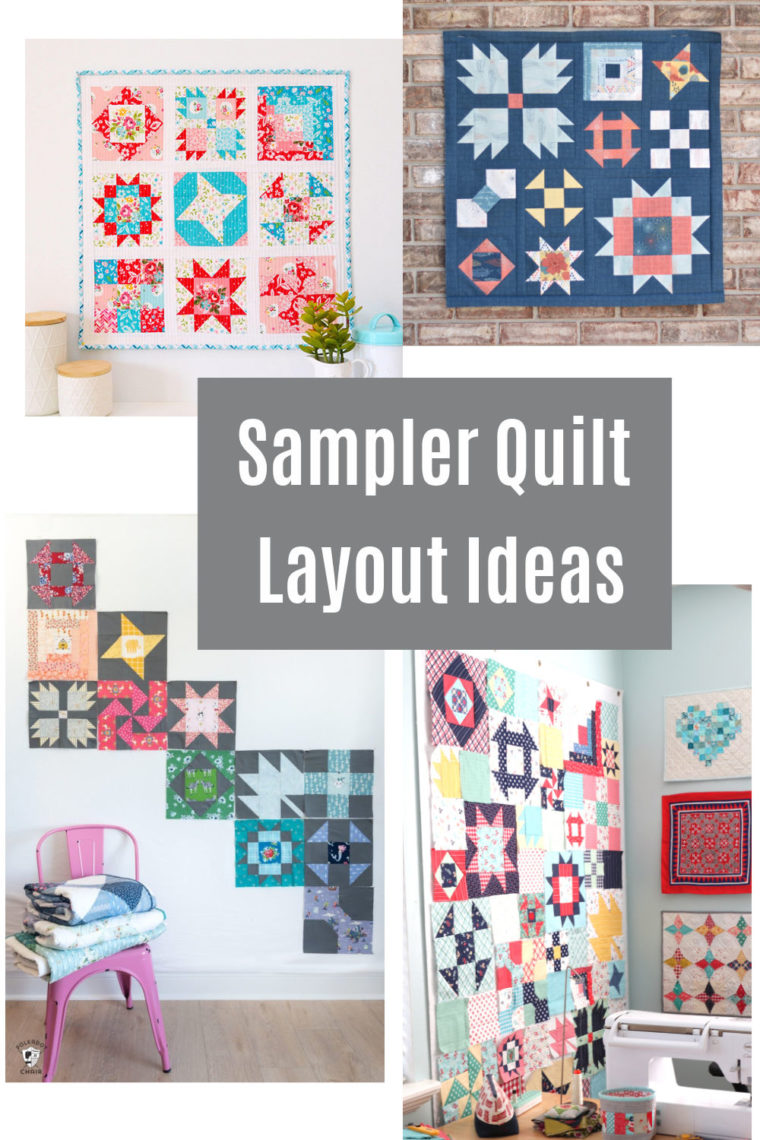
Patchwork Design Options
There are countless ways to arrange your fabric squares. Here are a few popular options:
* Simple Grid: The easiest method – arrange squares in straight rows and columns.
* Offset Grid: Similar to a grid, but squares are shifted for a more dynamic look.
* Strip Piecing: Sew strips of fabric together, then cut into squares or rectangles.
* Log Cabin: A classic design built around a central square, adding strips around it.
* Crazy Quilting: A freeform style with irregularly shaped pieces.
Cutting Your Fabric
Accuracy is key when cutting fabric for patchwork. Use a rotary cutter, quilting ruler, and cutting mat for precise cuts. For a simple square patchwork, decide on your desired square size (e.g., 2.5″ x 2.5″). Cut enough squares to achieve the desired size for your bag front and back. Remember to add seam allowances (typically 1/4″) to each square.
Constructing the Patchwork Panels
Joining the Squares
Arrange your cut squares in your chosen design. Pin the first two squares right sides together. Sew along one edge with a 1/4″ seam allowance. Press the seam open or to one side. Continue adding squares, one at a time, until you have completed a row. Repeat to create multiple rows.
Assembling the Panels
Once you have your rows, pin them right sides together, carefully aligning the seams. Sew the rows together with a 1/4″ seam allowance. Press the seams open or to one side. Repeat to create two identical patchwork panels – one for the front and one for the back of your bag.
Adding Interfacing
To give your bag structure, apply fusible interfacing to the wrong side of each patchwork panel. Follow the manufacturer’s instructions for fusing. This will help prevent stretching and provide a more professional finish.
Sewing the Bag Lining
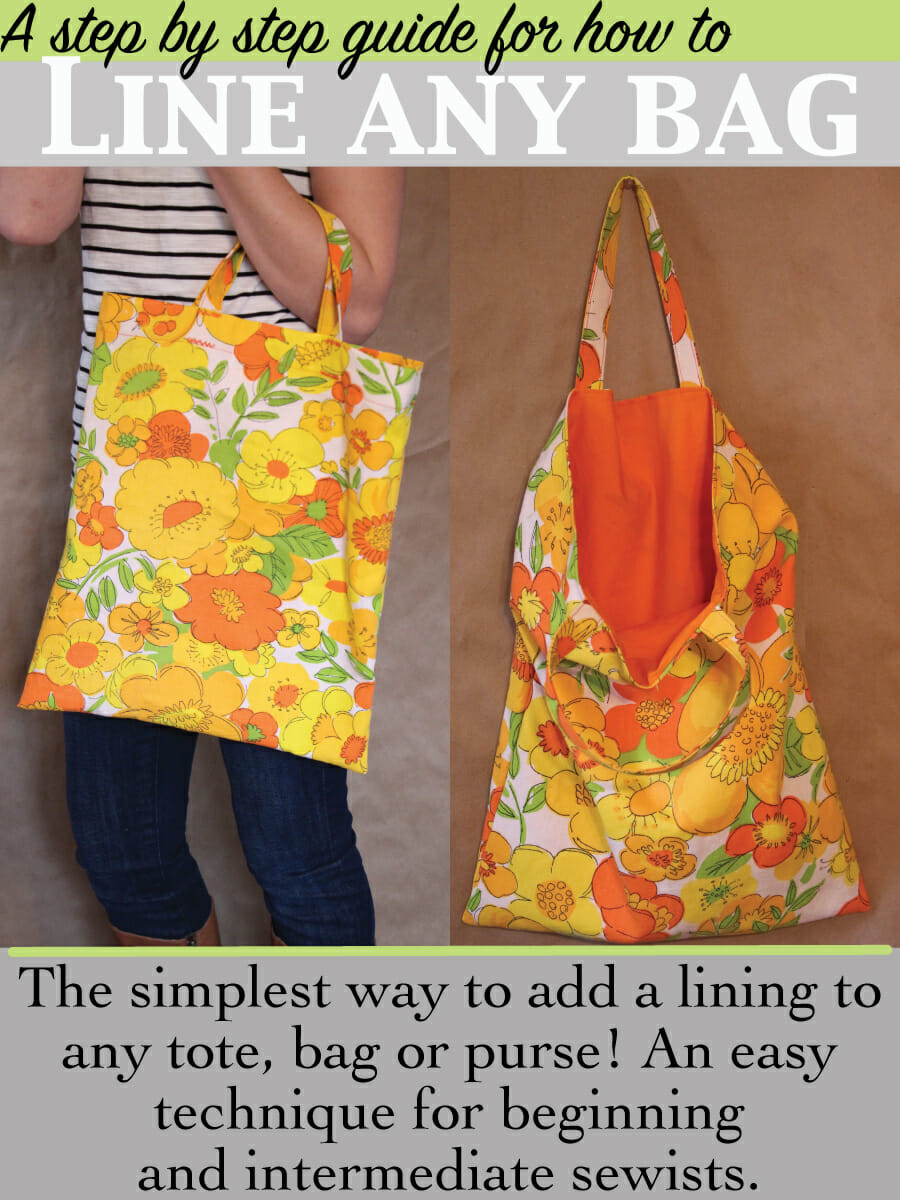
Cutting and Sewing the Lining
Cut two pieces of lining fabric to the same dimensions as your patchwork panels. With right sides together, sew the lining pieces together along the sides and bottom, leaving a 4-6″ opening at the bottom for turning. Press the seams open.
Attaching the Lining to the Patchwork
Place the patchwork exterior and the lining right sides together, aligning the top edges. Sew around the top edge with a 1/2″ seam allowance.
Attaching Handles and Finishing
Turning and Closing the Opening
Carefully turn the bag right side out through the opening in the lining. Use a point turner or chopstick to gently push out the corners. Press the top edge of the bag.
Closing the Lining Opening
Fold the seam allowance of the opening inward and press. Hand-stitch the opening closed using a slip stitch.
Attaching the Handles
Decide on the placement of your handles. Pin them securely to the bag exterior. Sew the handles in place using a strong stitch, reinforcing the attachment points.
Optional: Adding a Closure
Consider adding a zipper, button and loop, or magnetic snap to secure the bag.
Pro Tips
- Pre-wash your fabrics: This helps prevent shrinkage after the bag is finished.
- Use a walking foot: This foot helps feed all layers of fabric evenly, especially when sewing through thick patchwork.
- Press seams carefully: Pressing is crucial for a neat and professional finish.
- Reinforce stress points: Add extra stitching to handle attachments and corners.
- Experiment with different patchwork designs: Don’t be afraid to get creative!
- Use a contrasting thread: This can add a pop of color and highlight the patchwork design.
Professional Help
If you’re struggling with a particular step, consider taking a patchwork or bag-making class. Local quilt shops often offer workshops. If you’re not confident in your sewing skills, you could also hire a seamstress to assemble the bag for you. A simple patchwork bag takes approximately 4-8 hours to create. Professional sewing may cost $50-$150 depending on complexity.
FAQ
Q: Can I use different sized squares for my patchwork?
A: Yes! Varying the square sizes can create a more dynamic and interesting design. Just be sure to plan your layout carefully.
Q: What type of interfacing should I use?
A: The weight of the interfacing depends on the weight of your fabrics. A lightweight fusible interfacing is suitable for lighter cottons, while a heavier interfacing is needed for thicker fabrics.
Q: How do I prevent the lining from slipping inside the bag?
A: Secure the lining to the patchwork exterior with a strong stitch around the top edge. You can also add a layer of interfacing to the lining for extra stability.
Q: What’s the best way to deal with bulky seams?
A: Pressing seams open reduces bulk. You can also trim the seam allowance to 1/8″ in areas where bulk is particularly problematic.
Alternative Solutions
If you find traditional patchwork too time-consuming, consider using pre-cut patchwork squares or panels. Alternatively, you could create a bag with a single fabric panel and embellish it with applique or embroidery.
Enjoy Your New Patchwork Bag
Congratulations! You’ve successfully created a beautiful and unique patchwork bag. Now you can proudly carry your handmade creation.
Here’s a quick recap of what you’ve learned:
* Selecting fabrics and designing your patchwork layout.
* Cutting and sewing the patchwork panels.
* Constructing the bag lining and attaching it to the exterior.
* Attaching handles and adding finishing touches.
Don’t be afraid to experiment with different fabrics, designs, and embellishments to create even more stunning patchwork bags.
Share your finished bag in the comments below – we’d love to see your creations!


