
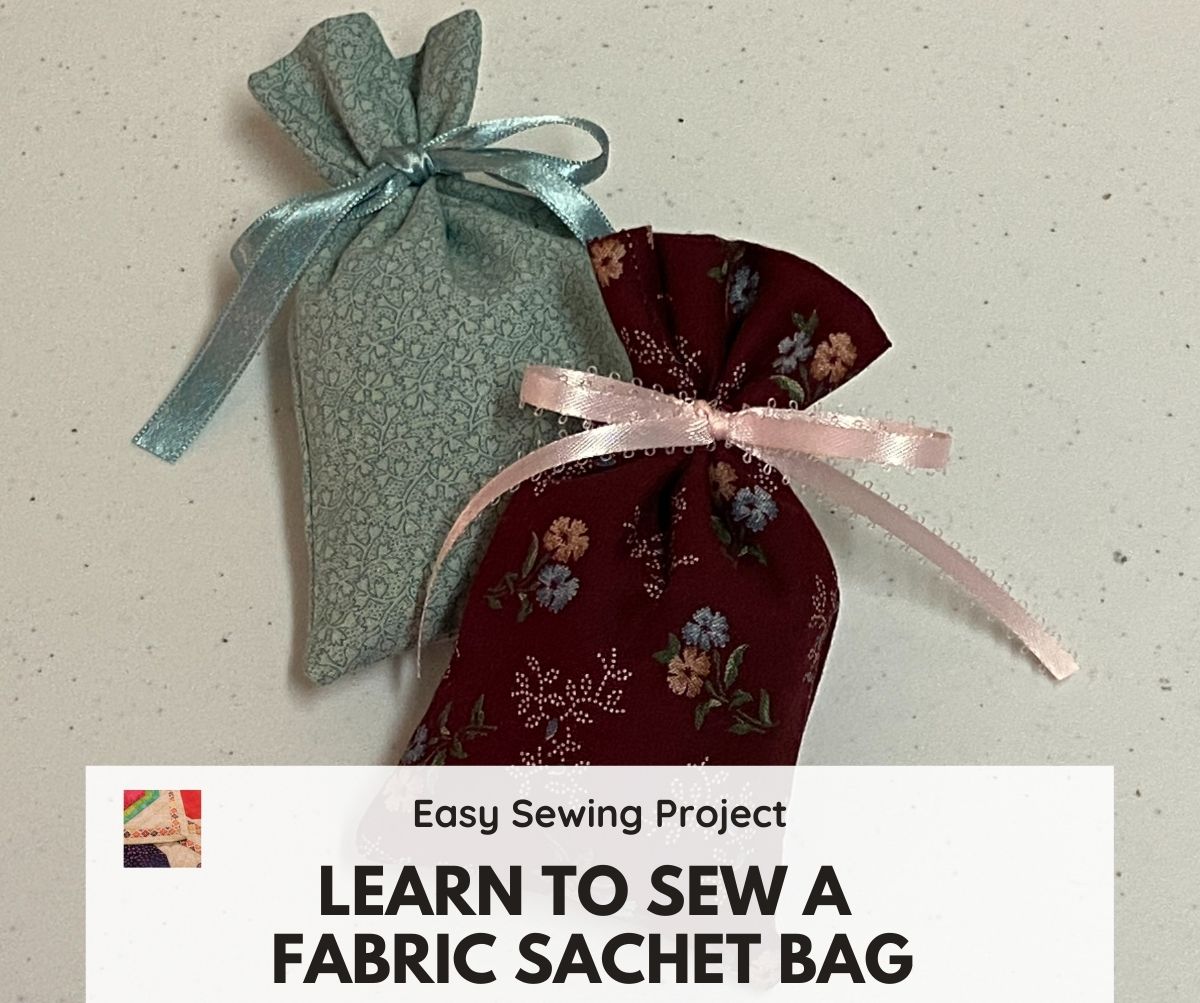
Are you looking for a simple, satisfying sewing project that results in a beautifully fragrant gift or a lovely way to freshen up your drawers? Sewing a sachet bag is a fantastic option, and with just a few basic materials and steps, you can create charming sachets filled with your favorite herbs or potpourri. This guide will walk you through the entire process, from choosing fabrics to adding decorative touches.
This comprehensive guide won’t just show you how to sew a sachet bag; we’ll cover fabric choices, filling options, different closure methods, and even embellishment ideas. By the end of this article, you’ll be equipped to create a variety of sachets tailored to your preferences and needs, ensuring a delightful aroma in any space.
Materials and Tools Needed
| Item | Quantity | Specifications |
|---|---|---|
| Fabric | 1/4 – 1/2 yard | Cotton, linen, muslin, or other lightweight woven fabric. Scraps work great! |
| Thread | 1 spool | Matching fabric color |
| Scissors | 1 pair | Fabric scissors |
| Pins | 1 box | For securing fabric |
| Sewing Machine | 1 | Or needle for hand sewing |
| Iron & Ironing Board | 1 each | For pressing seams |
| Ribbon, Twine, or Lace | Variable | For closure and decoration |
| Filling | Variable | Dried lavender, potpourri, cedar chips, herbs |
| Optional: Embellishments | Variable | Buttons, beads, embroidery floss |
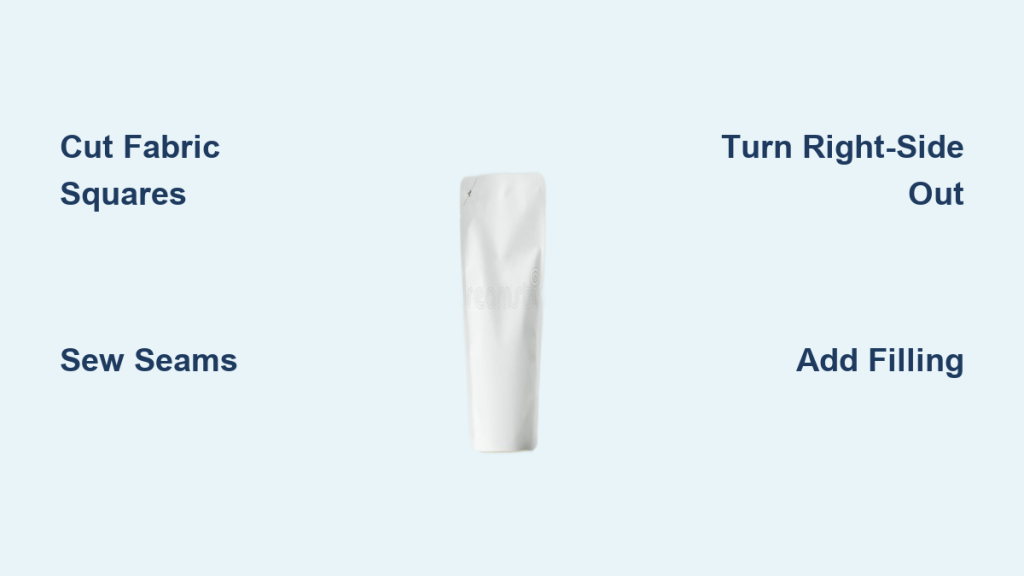
Step-by-Step Sachet Bag Sewing Process
Phase 1: Cutting the Fabric
- Cut Fabric Squares: Cut two squares of fabric to your desired size. Common sizes include 4×4 inches, 5×5 inches, or 6×6 inches. Remember to add a 1/4-inch seam allowance around all sides. For example, if you want a finished sachet of 4×4 inches, cut two 4.5×4.5 inch squares.
- Consider Fabric Direction: If using patterned fabric, ensure the pattern is oriented correctly on both squares.
Phase 2: Sewing the Bag
- Pin Fabric Together: Place the two fabric squares right sides together (the patterned/prettier sides facing each other). Pin around all four edges, leaving a 2-3 inch opening on one side for turning and filling.
- Sew the Seams: Using a 1/4-inch seam allowance, sew around all four sides, except for the opening you left. Backstitch at the beginning and end of each seam to secure the stitches.
- Trim the Corners: Carefully trim the corners of the sewn fabric, being careful not to cut through the stitches. This reduces bulk and creates sharper corners when turned right-side out.
Phase 3: Turning and Finishing
- Turn Right-Side Out: Gently turn the fabric bag right-side out through the opening. Use a point turner or a blunt object (like a chopstick) to carefully push out the corners.
- Press the Seams: Use an iron to press the seams flat, paying particular attention to the opening. Fold the raw edges of the opening inward by 1/4 inch and press.
- Close the Opening: You have a few options for closing the opening:
- Hand Sewing: Use a slip stitch or ladder stitch for an invisible closure.
- Machine Sewing: Carefully machine sew close to the edge of the folded fabric, securing the opening.
Closure Options & Styles

- Drawstring Closure: Instead of sewing the opening closed, leave a larger opening (about 3-4 inches) and create a casing by folding the top edge over twice and sewing it down, leaving space for a drawstring. Thread ribbon, twine, or yarn through the casing to create a drawstring closure.
- Ribbon Tie Closure: After turning, create small holes on opposite upper corners. Thread ribbon or twine through the holes and tie a bow.
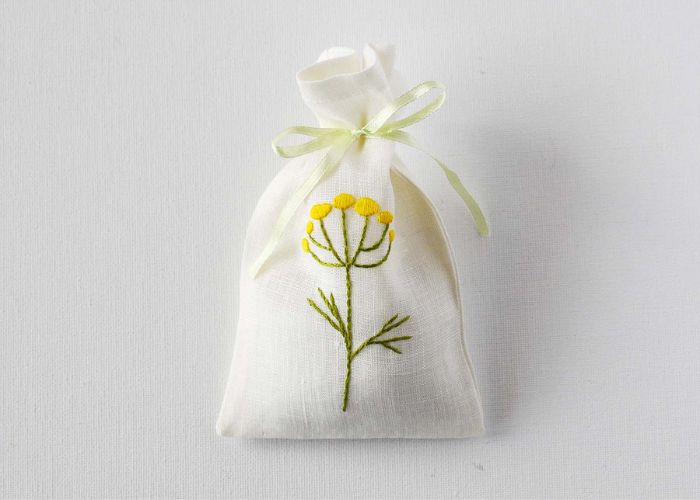
- Lace Trim Closure: After turning, stitch decorative lace around the opening, then gather and tie with ribbon.
Filling Your Sachet

- Choose Your Filling: Common fillings include dried lavender, rose petals, chamomile, cedar chips, potpourri blends, or a combination of your favorite herbs.
- Fill the Bag: Using a small funnel or your fingers, carefully fill the sachet bag with your chosen filling, leaving some room at the top to allow for expansion. Don’t overfill, or it will be difficult to close.
- Secure the Closure: If you used a drawstring or ribbon tie, tighten and tie securely. If you sewed the opening closed, ensure the stitches are strong and secure.
Pro Tips for Sachet Perfection
- Fabric Choice Matters: Lighter-weight fabrics like muslin or linen allow the fragrance to permeate more easily. Avoid thick fabrics.
- Pre-Wash Fabric: Pre-washing your fabric prevents shrinkage after filling.
- Use Essential Oils: Add a few drops of essential oil to the filling for a stronger, longer-lasting scent. Be mindful of fabric staining potential.
- Decorative Stitching: Use decorative stitches on your sewing machine to add a unique touch to the seams.
- Embellish with Beads or Buttons: Sew on beads, buttons, or small charms for extra flair.
- Layer Fragrances: Combine different dried herbs and flowers for a custom scent blend.
- Refresh the Scent: Gently squeeze the sachet periodically to release more fragrance.
When to Call a Professional (or a More Experienced Sewer)
While sewing a sachet bag is a beginner-friendly project, there are times when seeking help is wise:
- Complex Embellishments: If you’re attempting intricate embroidery or beadwork, a more experienced sewer can offer guidance.
- Difficult Fabric: If working with slippery or delicate fabrics, a professional can assist with cutting and sewing.
- Large-Scale Production: If you’re creating many sachets for an event or business, outsourcing can save time and effort.
FAQ
Q: What’s the best fabric for sachets?
A: Lightweight woven fabrics like cotton, linen, or muslin are ideal. They allow the scent to permeate easily and are easy to sew.
Q: Can I use fabric glue instead of sewing?
A: While possible for a very simple sachet, sewing provides a much more durable and professional finish. Glue can weaken over time.
Q: How do I refresh the scent in my sachet?
A: Gently squeeze the sachet to release more fragrance. You can also add a few drops of essential oil to the filling.
Q: Can I wash my sachet?
A: Washing is generally not recommended, as it can damage the fabric and diminish the scent.
Enjoy Your New Sachets!
Congratulations! You’ve successfully sewn a beautiful and fragrant sachet bag. Now you can:
- Place them in drawers and closets to freshen your clothes.
- Use them as potpourri in your home.
- Give them as thoughtful handmade gifts.
- Enjoy the calming and pleasant aroma they provide.
Share your sachet creations with us in the comments below! We’d love to see your fabric choices and embellishments.


