
Are you tired of flimsy plastic bags and looking for a sustainable, stylish alternative? Learning how to sew a shopping bag is a fantastic way to reduce waste and create a reusable bag perfectly suited to your needs. A simple tote bag can be made in an afternoon, and this guide will walk you through the process, even if you’re a beginner.
This comprehensive guide will cover everything from choosing the right fabric and tools to step-by-step sewing instructions. We’ll explore different construction methods, including options for adding pockets and reinforced handles, ensuring you can create a durable and personalized shopping bag that will last for years to come. By the end of this article, you’ll be confidently crafting your own reusable bags and contributing to a more eco-friendly lifestyle.
Materials and Tools Needed
| Item | Quantity | Specifications |
|---|---|---|
| Fabric | 1 yard (36″ wide) | Canvas, denim, duck cloth, or quilting cotton (for lighter loads) |
| Thread | 1 spool | Matching the fabric color |
| Scissors | 1 pair | Fabric scissors |
| Measuring Tape | 1 | 60″ or longer |
| Pins | 1 box | For securing fabric |
| Sewing Machine | 1 | With standard presser foot |
| Iron & Ironing Board | 1 each | For pressing seams |
| Seam Ripper | 1 | For correcting mistakes |
| Ruler or Quilting Square | 1 | 6″ x 24″ is helpful |
Preparing Your Fabric & Cutting the Pieces
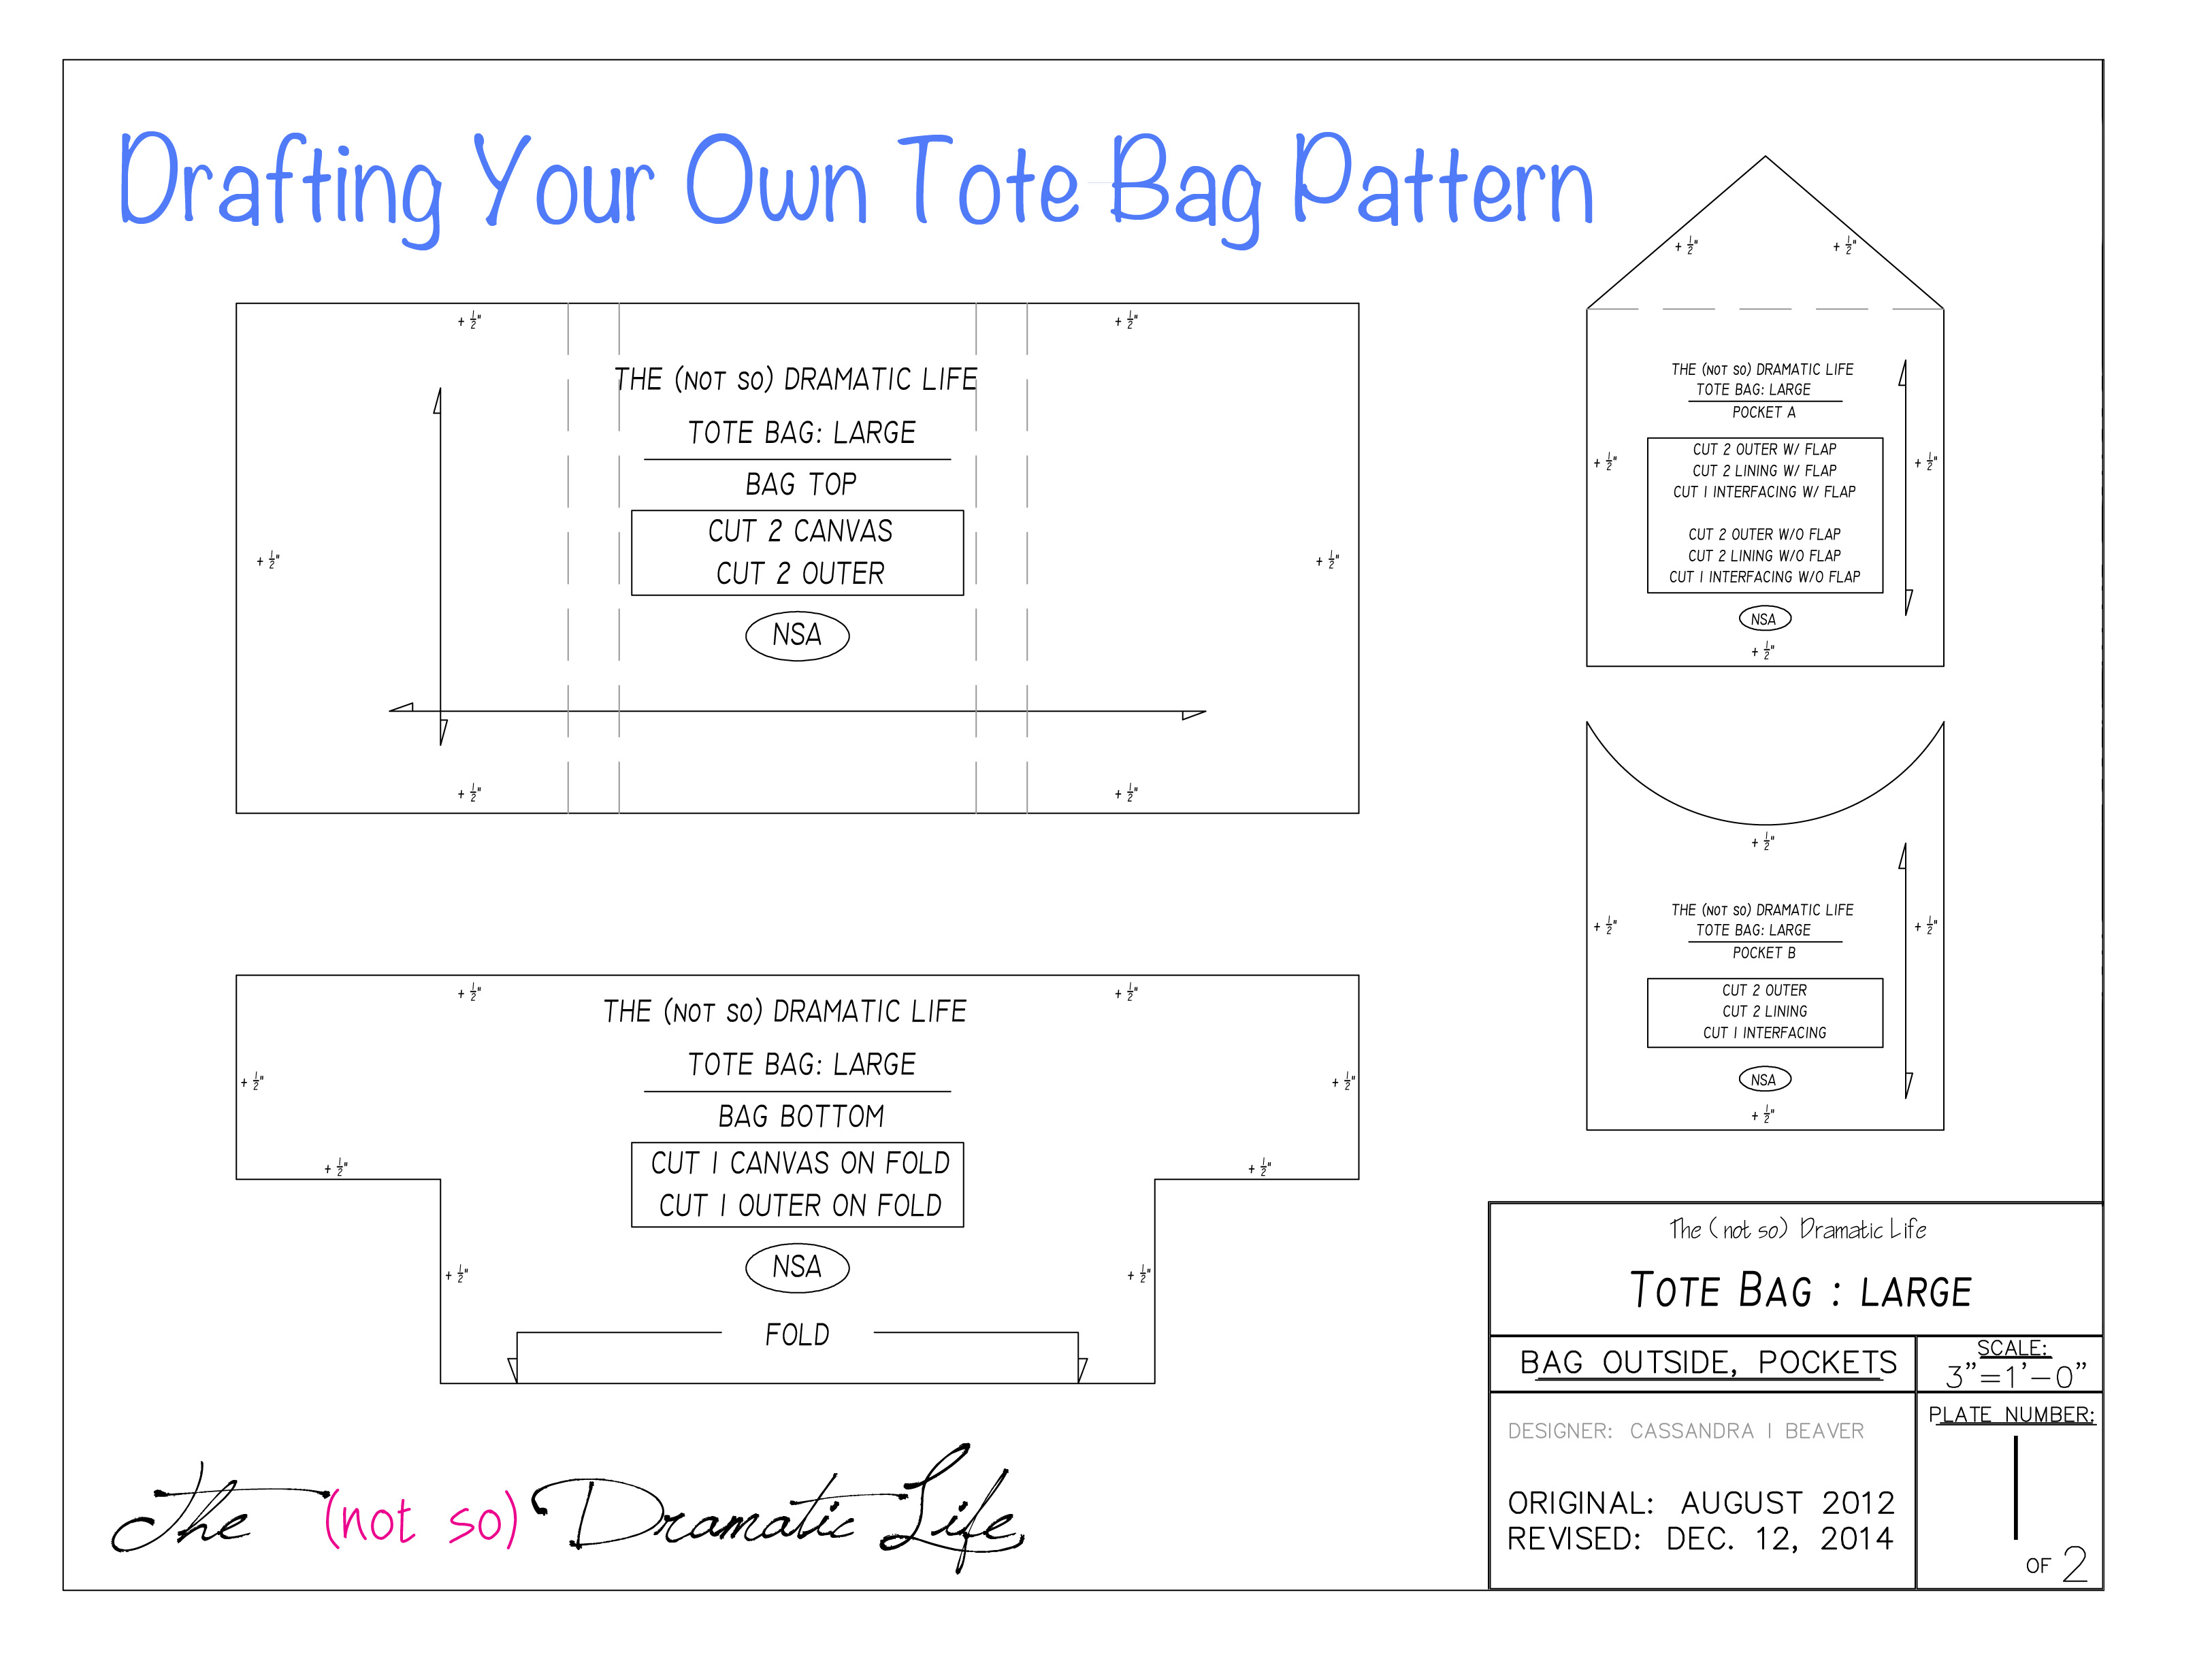
Before you start sewing, you need to prepare your fabric and cut the necessary pieces. The dimensions below are for a standard-sized shopping bag (approximately 15″ wide x 16″ high x 6″ deep). Adjust these measurements as needed for your desired bag size.
- Wash and Iron: Wash and iron your fabric to pre-shrink it and remove any wrinkles. This will ensure accurate cutting and sewing.
- Cut the Main Body Pieces: Cut two rectangles of fabric, each measuring 16″ x 20″. This allows for seam allowances.
- Cut the Handle Pieces: Cut two strips of fabric, each measuring 3″ x 24″. These will be folded and sewn to create the handles.
- Cut the Bottom Piece (Optional): For a boxed bottom, cut one rectangle of fabric measuring 6″ x 16″. If you prefer a flat bottom, skip this step.
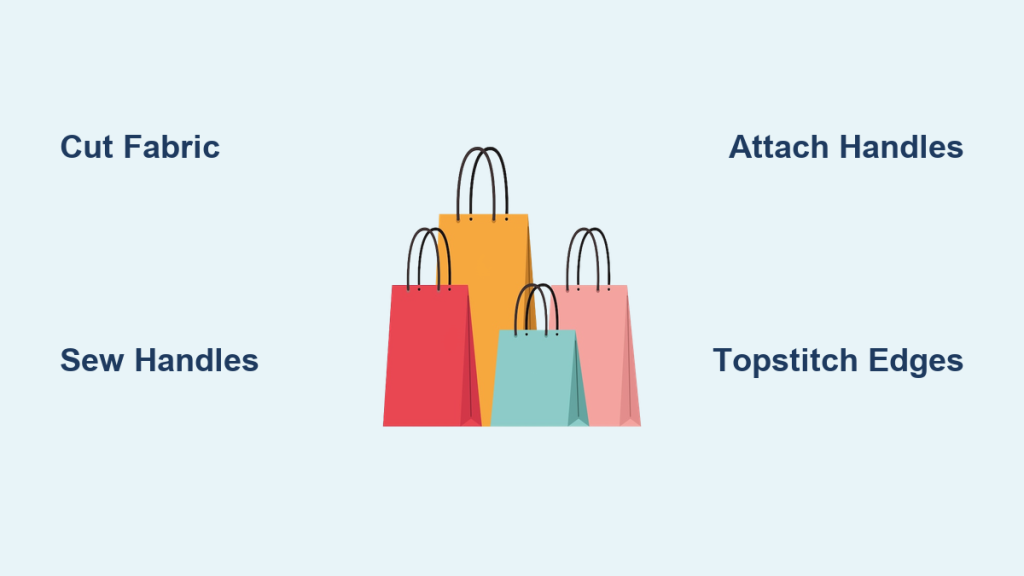
Step-by-Step Sewing Process
Phase 1: Constructing the Handles
- Fold and Press: Fold each handle strip in half lengthwise, wrong sides together, and press.
- Fold Edges to Center: Open the fold and fold each long edge towards the center crease, pressing as you go.
- Fold Again & Press: Fold the strip in half again along the original crease, enclosing the raw edges, and press firmly.
- Topstitch: Topstitch along both long edges of each handle, approximately 1/8″ from the edge. This will secure the folds and create a professional finish.
Phase 2: Assembling the Bag Body
- Sew Side Seams: With right sides together, pin the two main body pieces along the sides and bottom edges. Sew along these edges with a 1/2″ seam allowance.
- Boxed Bottom (Optional): If you cut a bottom piece, pin it to the bottom corners of the bag, right sides together. Sew along the edges.
- Reinforce Corners (Optional): To create a more defined boxed bottom, pinch the bottom corners of the bag to create a triangle. Measure 2″ down from the point and draw a line across. Sew along this line and trim the excess fabric, leaving a 1/2″ seam allowance.
- Finish Seams: Finish the raw edges of the side and bottom seams using a zig-zag stitch or serger to prevent fraying.
Phase 3: Attaching the Handles
- Position Handles: Turn the bag right side out. Position the handles on the outside of the bag, approximately 3-4″ from the side seams and centered vertically.
- Pin and Sew: Pin the handles securely to the bag. Sew the handles to the bag using a square with an X pattern for extra strength. Reinforce the stitching by backstitching several times.
Phase 4: Finishing the Top Edge
- Fold and Press: Fold the top edge of the bag down 1/2″ towards the wrong side and press.
- Fold Again and Press: Fold the top edge down another 1″, enclosing the raw edge, and press again.
- Topstitch: Topstitch along the folded edge, approximately 1/8″ from the bottom fold. This will create a clean, finished look and reinforce the top edge.
Pro Tips

- Fabric Choice Matters: Canvas and denim are ideal for heavy-duty shopping, while quilting cotton is perfect for lighter items.
- Reinforce Stress Points: Adding extra stitching to the handle attachment points and the bottom corners will significantly increase the bag’s durability.
- Interfacing for Structure: If using lighter-weight fabric, consider adding interfacing to the handles and/or the bag body for added structure.
- Pocket Power: Add an internal or external pocket by cutting a separate piece of fabric and sewing it onto the bag before attaching the handles.
- Press as You Go: Pressing seams after each step creates a professional finish and makes the sewing process easier.
- Experiment with Designs: Once comfortable with the basic construction, try adding decorative elements like applique, embroidery, or contrasting fabric panels.
- Pre-Wash Fabric: Always pre-wash your fabric before cutting to prevent shrinkage after the bag is sewn.
Professional Help
If you’re struggling with a particular step or don’t have access to a sewing machine, consider:
- Local Tailor/Seamstress: A professional can finish the bag for you or provide guidance.
- Sewing Classes: Many community centers and fabric stores offer sewing classes for beginners.
- Online Tutorials: YouTube is a great resource for visual learners.
Typical cost for a tailor to finish a partially sewn bag: $20-$50 depending on complexity.
FAQ
Q: What type of fabric is best for a shopping bag?
A: Canvas, denim, and duck cloth are excellent choices for durability. Quilting cotton is suitable for lighter loads.
Q: How long does it take to sew a shopping bag?
A: A simple tote bag can be completed in 1-2 hours, depending on your sewing experience.
Q: Can I use a serger instead of a zig-zag stitch to finish the seams?
A: Yes, a serger provides a more professional and durable seam finish.
Q: How do I make the handles longer or shorter?
A: Simply adjust the length of the handle strips before folding and sewing.
Alternative Solutions
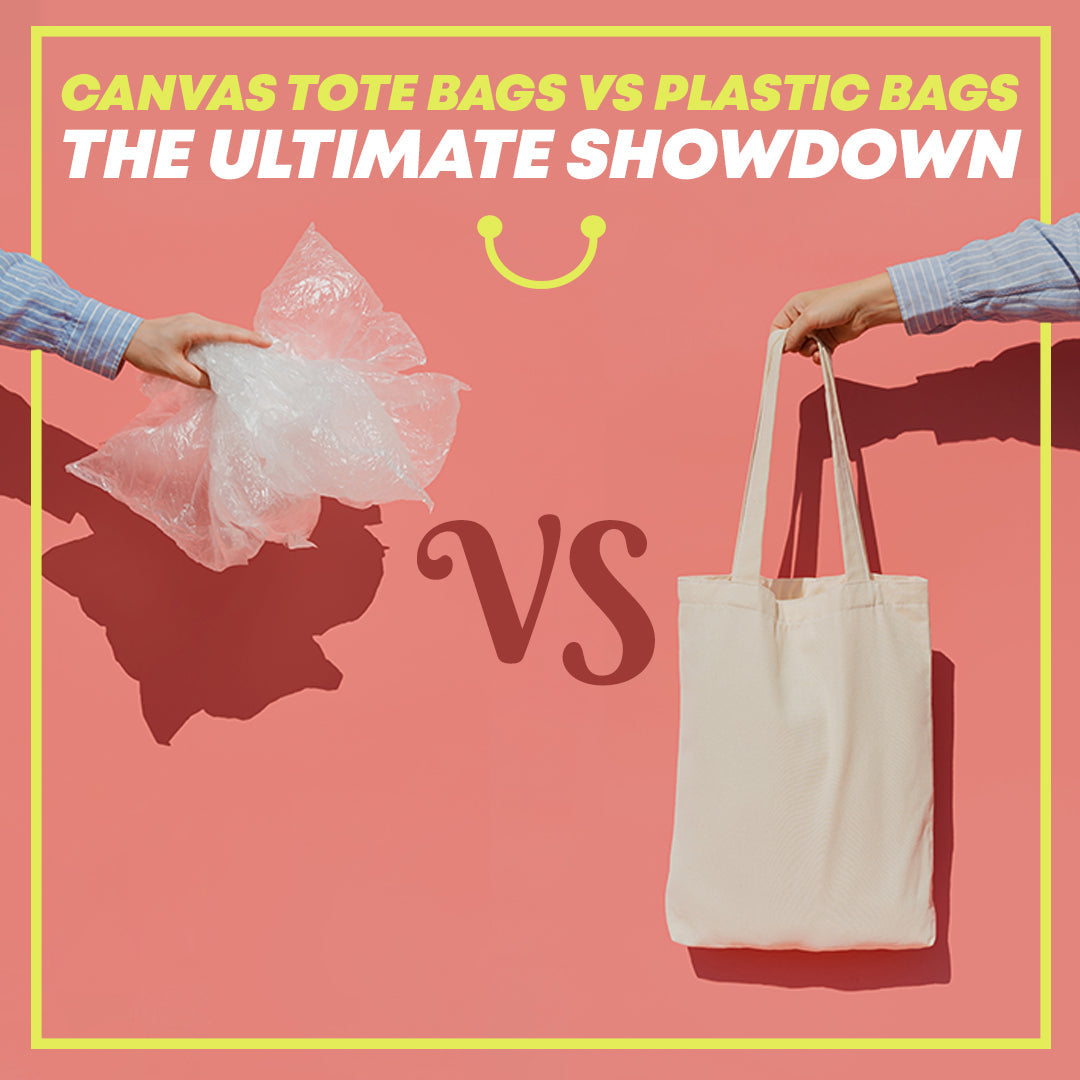
If you don’t want to sew, consider purchasing a pre-made reusable shopping bag from a store. However, sewing your own allows for customization and contributes to a more sustainable lifestyle.
| Solution | Pros | Cons | Best For |
|---|---|---|---|
| Sewing Your Own | Customizable, Sustainable, Cost-Effective (long term) | Requires time & skill | Eco-conscious individuals, DIY enthusiasts |
| Buying Pre-Made | Convenient, Quick | Limited designs, Potential environmental impact | Those short on time or lacking sewing skills |
Keep Your Shopping Bag Running Smoothly
Congratulations! You’ve successfully sewn your own shopping bag. By following these steps, you’ve created a durable, eco-friendly alternative to plastic bags. Regularly inspect the seams and handles for wear and tear, and repair any damage promptly to ensure your bag lasts for years to come.
Share your finished shopping bag creations in the comments below! We’d love to see your unique designs and hear about your experience.


