
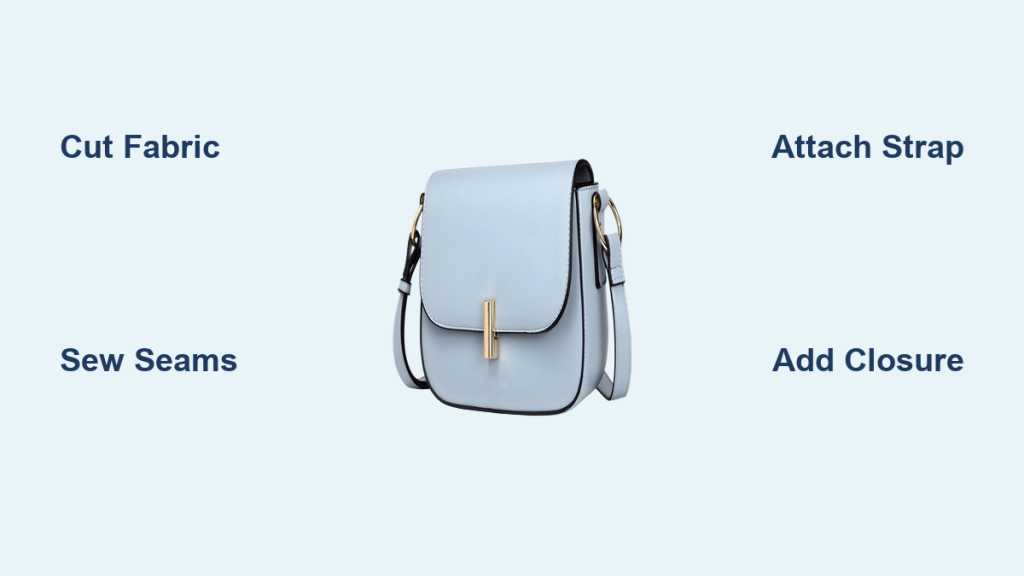
Are you looking to create a stylish and functional side bag? Sewing your own bag allows for complete customization and a rewarding sense of accomplishment. Perhaps you’ve started and gotten stuck, or are intimidated by the process – don’t worry! This guide will walk you through creating a beautiful, durable side bag, starting with a quick overview of the basic construction.
This comprehensive guide will take you from selecting materials to adding the finishing touches, covering different lining options, strap attachment methods, and even troubleshooting common sewing challenges. By the end, you’ll have a handmade side bag you’ll be proud to show off and the confidence to tackle more sewing projects.
Materials and Tools Needed
| Item | Quantity | Specifications |
|---|---|---|
| Fabric (Outer) | 1 yard | Durable cotton canvas, denim, or similar |
| Fabric (Lining) | 1 yard | Cotton, quilting cotton, or lightweight lining fabric |
| Interfacing | 1 yard | Medium-weight fusible interfacing |
| Webbing | 2 yards | 1″ or 1.5″ width for strap |
| D-Rings | 2 | For strap attachment |
| Swivel Hook | 1 | Optional, for detachable strap |
| Magnetic Snap or Button | 1 | For bag closure |
| Thread | 1 spool | Matching fabric colors |
| Sewing Machine | 1 | With standard presser foot |
| Fabric Scissors | 1 | Sharp scissors for cutting fabric |
| Rotary Cutter & Mat | Optional | For precise cutting |
| Pins | 1 box | For securing fabric layers |
| Measuring Tape | 1 | For accurate measurements |
| Iron & Ironing Board | 1 | For pressing seams and applying interfacing |
| Seam Ripper | 1 | For correcting mistakes |
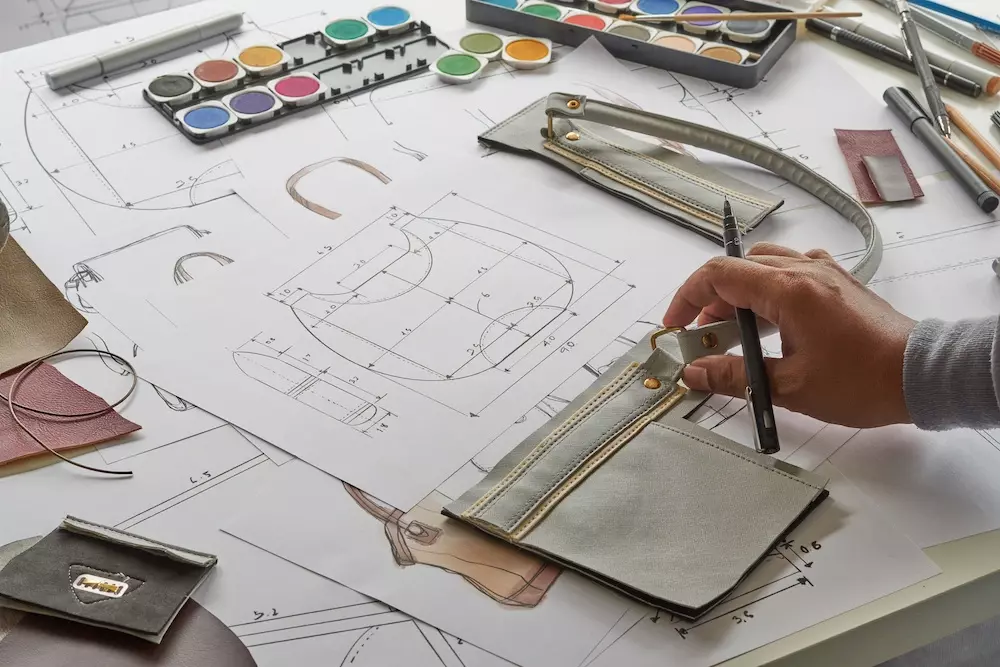
Preparing Your Fabric and Pattern
Creating a Pattern (or Using an Existing One)
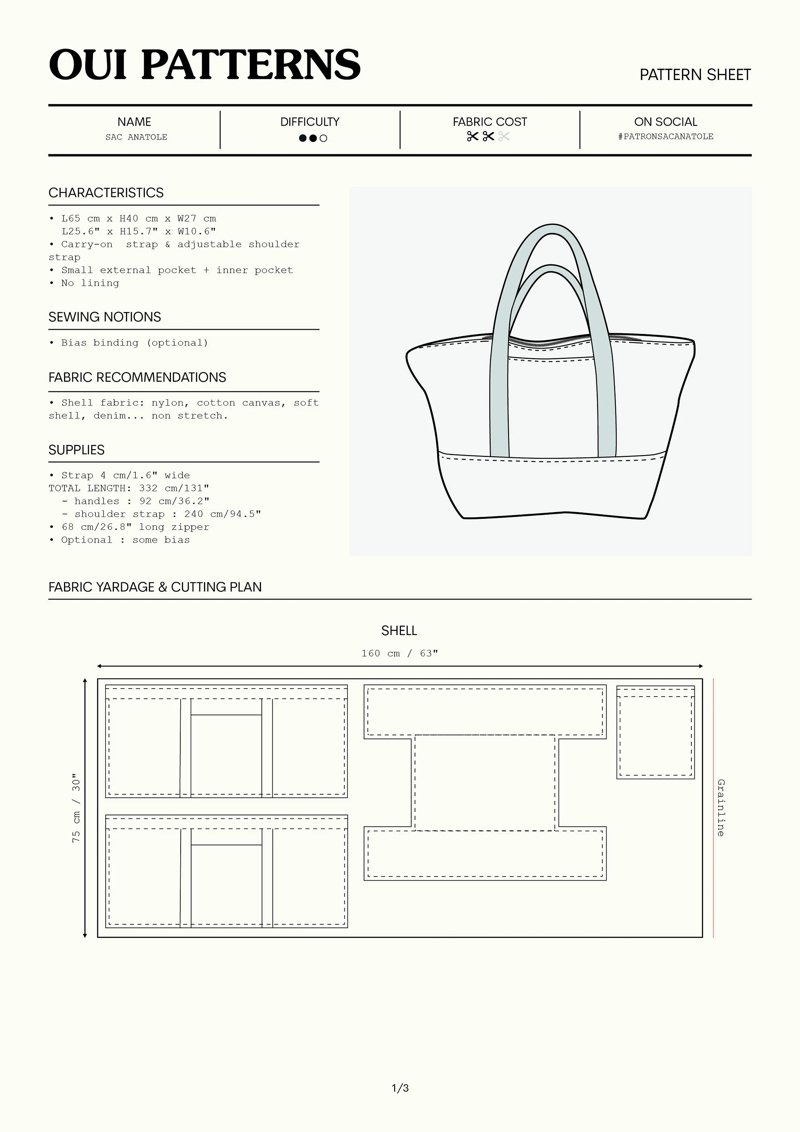
You can find free side bag patterns online, or draft your own. For a simple rectangular bag, consider these dimensions (adjust to your preference):
- Bag Body: 12″ wide x 14″ high (x2 for outer and lining)
- Bag Bottom: 2″ wide x 12″ long (x2 for outer and lining)
- Bag Sides: 2″ wide x 16″ long (x2 for outer and lining)
Add a 1/2″ seam allowance to all pattern pieces.
Cutting the Fabric
- Interfacing: Apply fusible interfacing to the wrong side of the outer fabric pieces. This provides structure and stability.
- Outer Fabric: Cut two pieces for the bag body, two for the bag bottom, and two for the bag sides, using your pattern pieces.
- Lining Fabric: Cut the same number and size pieces from the lining fabric.
Sewing the Bag Body
Assembling the Outer Bag
- Attach Bottom to Body: Pin the bottom pieces to the bottom edge of the bag body pieces, right sides together. Sew with a 1/2″ seam allowance.
- Attach Sides to Body: Pin the side pieces to the sides of the bag body and bottom, right sides together. Sew with a 1/2″ seam allowance. You should now have a box-like shape.
- Box Corners (Optional): To create a more structured bag, box the corners. Flatten each corner so the side seam aligns with the bottom seam, creating a triangle. Measure 1.5″ down from the point of the triangle and draw a line. Sew along this line and trim the excess fabric.
Assembling the Lining
Repeat steps 1-3 to assemble the lining pieces, but leave a 4-6″ opening in the bottom seam of the lining. This opening will be used to turn the bag right-side out.
Attaching the Lining and Straps
Joining Outer and Lining
- Place Layers: Place the outer bag and lining bag right sides together, aligning the top edges.
- Pin and Sew: Pin around the top edge, leaving the opening in the lining. Sew with a 1/2″ seam allowance.
- Turn Right-Side Out: Carefully pull the bag right-side out through the opening in the lining.
- Close Lining Opening: Hand-stitch the opening in the lining closed.
- Push Lining In: Push the lining inside the outer bag, ensuring the seams are neatly aligned.
Attaching the Strap
- Prepare D-Rings: Attach the D-rings to the side seams of the bag, positioning them about 2″ down from the top edge. Securely stitch them in place, reinforcing the stitching.
- Attach Webbing: Thread the webbing through the D-rings. Adjust the length to your desired strap length.
- Secure Webbing: Fold the ends of the webbing over and stitch them securely to create a loop. Alternatively, use a swivel hook on one end for a detachable strap.
Adding the Finishing Touches
Installing the Closure
- Mark Placement: Determine where you want to place the magnetic snap or button on the bag flap.
- Install Closure: Follow the manufacturer’s instructions to install the magnetic snap or sew on the button.
Final Pressing
Press the finished bag to remove any wrinkles and create a professional look.
Pro Tips
- Fabric Choice: For heavier items, choose a thicker, more durable outer fabric like canvas or denim.
- Interfacing is Key: Don’t skip the interfacing! It provides structure and prevents the bag from sagging.
- Reinforce Seams: Especially at stress points like strap attachments, reinforce seams with multiple rows of stitching.
- Topstitching: Topstitching around the top edge of the bag adds a professional finish and strengthens the seam.
- Experiment with Pockets: Add interior or exterior pockets for extra organization.
- Consider Hardware: Different hardware options can completely change the look of your bag.
Professional Help
If you’re struggling with a specific step, or your sewing machine is malfunctioning, consider seeking help from:
- Local Fabric Store: Many fabric stores offer sewing classes or can recommend local seamstresses.
- Online Sewing Communities: Online forums and social media groups can provide valuable advice and support.
- Professional Seamstress: For complex repairs or customizations, a professional seamstress is a great option.
FAQ
Q: What type of fabric is best for a side bag?
A: Durable fabrics like canvas, denim, or heavy cotton twill are excellent choices for the outer layer. For the lining, cotton or quilting cotton works well.
Q: How do I adjust the strap length?
A: The strap length can be adjusted by re-threading the webbing through the D-rings or by shortening/lengthening the webbing before attaching it.
Q: What if my seams are uneven?
A: Use a seam ripper to carefully remove the uneven stitches and resew them. Practice on scrap fabric first.
Q: Can I add a zipper closure instead of a magnetic snap?
A: Yes! You’ll need to adjust the pattern and sewing steps to accommodate the zipper.
Alternative Solutions
If you’re not comfortable sewing the entire bag, consider repurposing an existing bag or tote and adding a new strap and closure. You can also purchase pre-made bag bases and focus on assembling the outer fabric and adding the finishing touches.
| Solution | Pros | Cons | Best For |
|---|---|---|---|
| Repurposing | Cost-effective, environmentally friendly | Limited design options | Quick projects, beginners |
| Pre-Made Base | Saves time and effort | Less customization | Intermediate sewers |
Enjoy Your New Side Bag!
Congratulations! You’ve successfully sewn a side bag. You now have a unique, handmade accessory that will last for years to come.
Here’s a quick recap of what you’ve accomplished:
- You selected appropriate materials.
- You cut and assembled the bag body and lining.
- You attached the strap and closure.
- You finished the bag with professional-looking details.
Don’t be afraid to experiment with different fabrics, patterns, and embellishments to create even more personalized bags.
Share your finished side bag with us in the comments below! We’d love to see your creations.


