
Frustrated with flimsy plastic bags or wanting a stylish, reusable option? Sewing a tote bag is a fantastic beginner project that’s both practical and customizable. A simple tote bag can be made in an afternoon, and this guide will walk you through every step of the process, from fabric selection to finishing touches.
This comprehensive guide will cover everything you need to know to create a sturdy and attractive tote bag. We’ll start with the materials and tools, then move through each stage of construction, offering tips for beginners and variations for more experienced sewers. By the end of this article, you’ll have the skills and confidence to create a whole collection of unique tote bags!
What You’ll Need for Tote Bag Sewing
| Item | Quantity | Specifications |
|---|---|---|
| Fabric | 1 Yard | Cotton, Canvas, Denim, or other medium-weight fabric |
| Thread | 1 Spool | Matching fabric color |
| Scissors | 1 Pair | Fabric scissors |
| Measuring Tape | 1 | 60-inch |
| Straight Pins | 1 Box | Assorted sizes |
| Seam Ripper | 1 | For correcting mistakes |
| Iron & Ironing Board | 1 Each | For pressing seams |
| Sewing Machine | 1 | With standard presser foot |
| Ruler or Quilting Square | 1 | 6×24 inch recommended |
Preparing Your Fabric and Pattern
Choosing Your Fabric
The best fabric for a tote bag is a medium-weight woven fabric, such as cotton canvas, denim, or duck cloth. Lighter fabrics like quilting cotton will work, but won’t be as durable. Consider the aesthetic you’re aiming for – canvas is sturdy and casual, while denim is more rugged.
Cutting Your Fabric Pieces
For a standard tote bag, you’ll need two rectangles for the body and two rectangles for the handles. Here are recommended dimensions (adjust as desired):
* Body: 16″ wide x 18″ high (x2)
* Handles: 3″ wide x 24″ long (x2)
Use a ruler and fabric marker to accurately measure and cut your fabric. Precision is key for a neat finish.
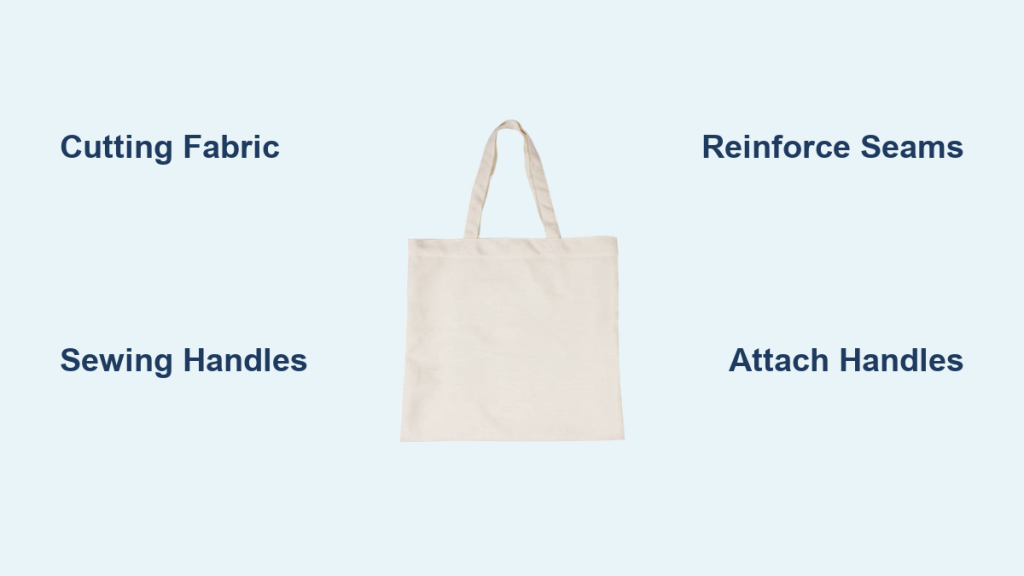
Step-by-Step Tote Bag Construction
Phase 1: Preparing the Tote Bag Body
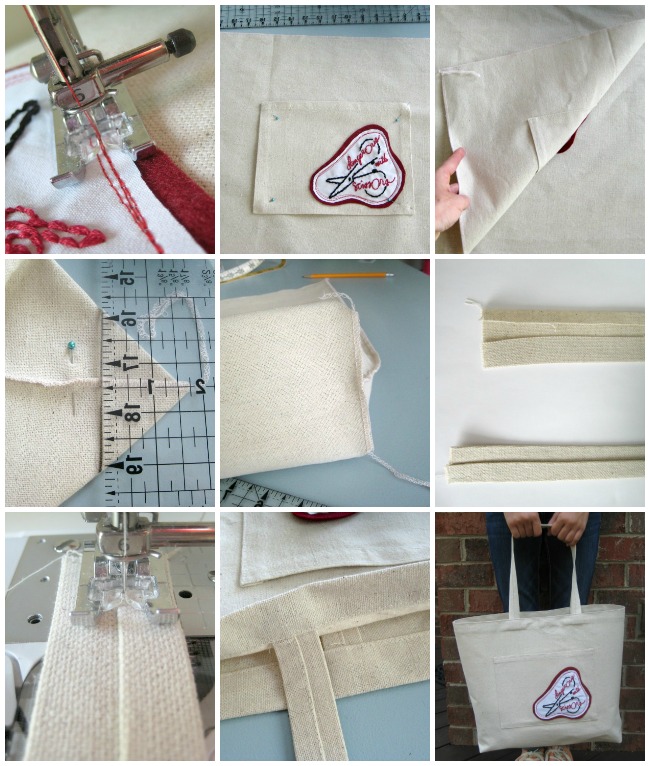
- Finishing the Top Edge: Fold down the top edge of each body piece by 1 inch, wrong side facing. Press with an iron to create a crisp fold. Fold down another 1 inch and press again. This creates a double-folded hem.
- Pinning the Hems: Secure the folded hems in place with straight pins.
- Sewing the Hems: Stitch along the bottom edge of the folded hem on each body piece, approximately 1/8 inch from the edge.
Phase 2: Assembling the Tote Bag Body
- Pinning the Sides and Bottom: Place the two body pieces right sides together, aligning the sides and bottom edges. Pin securely.
- Sewing the Sides and Bottom: Sew along the sides and bottom edges with a 1/2 inch seam allowance. Backstitch at the beginning and end of each seam to secure the stitches.
- Finishing Seams (Optional): For added durability and a cleaner look, finish the raw edges of the seams with a zig-zag stitch or serger.
Phase 3: Creating and Attaching the Handles
- Folding and Pressing the Handles: Fold each handle piece in half lengthwise, wrong sides together, and press.
- Folding and Pressing Again: Open the handle and fold each long edge towards the center crease, and press.
- Folding and Pressing One Last Time: Fold the handle along the original center crease, encasing the raw edges. Press well.
- Topstitching the Handles: Stitch along both long edges of each handle, approximately 1/8 inch from the edge. This secures the folds and adds a professional finish.
- Attaching Handles to the Bag: Turn the tote bag right side out. Position the handles on the outside of the bag, evenly spaced apart and approximately 3-4 inches from the side seams. Pin securely.
- Sewing Handles in Place: Sew the handles to the bag, reinforcing the attachment with a box stitch or multiple rows of stitching. Ensure the handles are securely attached to withstand weight.
Phase 4: Finishing Touches
- Turning Right Side Out: If you haven’t already, turn the tote bag right side out.
- Pressing the Bag: Press the bag to remove any wrinkles and give it a polished look.
- Checking Seams: Inspect all seams to ensure they are secure. Reinforce any weak spots with additional stitching.
Pro Tips for Tote Bag Success

- Pre-wash your fabric: This prevents shrinkage after the bag is sewn.
- Use a walking foot: If you’re working with thick fabrics like canvas or denim, a walking foot will help feed the fabric evenly under the needle.
- Reinforce the handle attachment: This is the most stressed part of the bag, so extra stitching is essential.
- Add a lining: For a more professional finish and added durability, consider adding a lining to your tote bag.
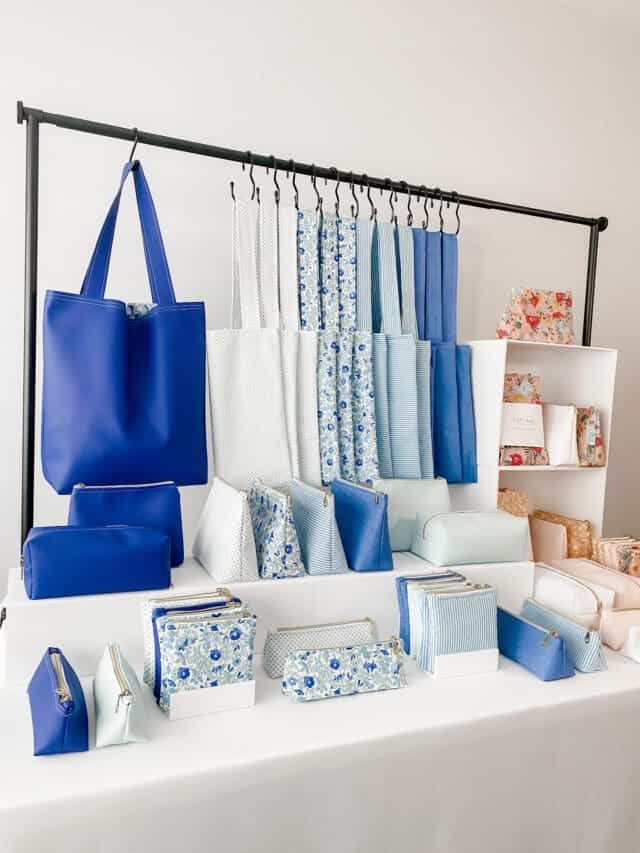
- Experiment with embellishments: Add pockets, embroidery, applique, or fabric paint to personalize your bag.
- Boxed Corners: For a more structured tote, sew boxed corners at the bottom of the bag. This creates a flat bottom and increases capacity.
- Interfacing: Use fusible interfacing to add structure to the fabric, especially if using lighter weight materials.
Professional Help Section
If you’re struggling with a specific step or encounter a problem you can’t resolve, consider seeking help from a local sewing shop or tailor.
- Signs you need professional help: Broken sewing machine, difficulty with complex techniques, consistently uneven seams.
- What to look for: Experience with bag making, positive reviews, reasonable rates.
- Typical cost ranges: $20-$50 for minor repairs or adjustments, $50-$100+ for complete bag construction.
FAQ Section
Q: What type of fabric is best for a heavy-duty tote bag?
A: Canvas or denim are excellent choices for heavy-duty tote bags. They are durable and can withstand a lot of weight.
Q: How do I prevent the handles from ripping?
A: Reinforce the handle attachment with multiple rows of stitching and a box stitch. Using a sturdy fabric for the handles is also important.
Q: Can I use a serger instead of a zig-zag stitch to finish the seams?
A: Yes, a serger provides a more professional and durable seam finish.
Q: How can I make my tote bag waterproof?
A: You can use waterproof fabric or apply a fabric waterproofing spray to the finished bag.
Alternative Solutions Section
If you find sewing a tote bag too challenging, there are alternative options:
| Solution | Pros | Cons | Best For |
|---|---|---|---|
| Pre-made Tote Bags: | Convenient, affordable | Limited customization | Quick and easy solution |
| Tote Bag Kits: | Includes all materials, instructions | Less creative freedom | Beginners who prefer a guided project |
| Upcycled Materials: | Eco-friendly, unique | Requires more effort | Sustainable and creative sewers |
Enjoy Your New Tote Bag!
Congratulations! You’ve successfully sewn a tote bag. Remember these key takeaways:
- Accurate cutting and pressing are crucial.
- Reinforce handle attachments for durability.
- Don’t be afraid to experiment with different fabrics and embellishments.
Now you can confidently carry your belongings in a stylish and eco-friendly tote bag that you made yourself.
Share your finished tote bag with us in the comments below! We’d love to see your creations!


