
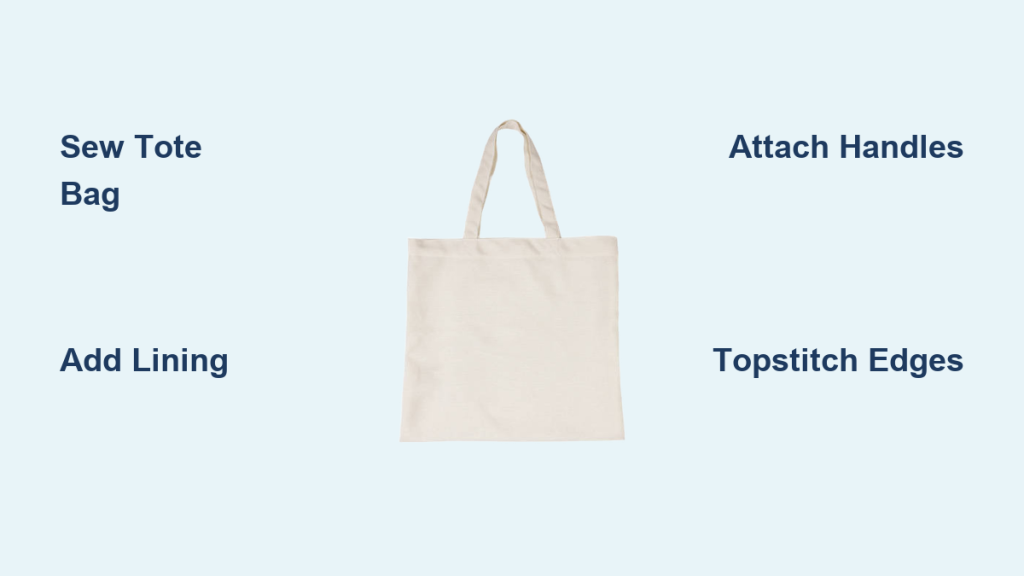
Are you tired of flimsy plastic bags? Do you want a stylish and durable reusable bag that reflects your personality? Learning how to sew a tote bag with lining is a fantastic project for beginners and seasoned sewists alike! While it might seem daunting, a quick and easy tote bag can be made in an afternoon with a little patience and these instructions.
This comprehensive guide will walk you through every step of creating a professional-looking tote bag, from choosing fabrics to adding the finishing touches. We’ll cover cutting your fabric, constructing the bag body, creating and attaching the lining, and adding sturdy handles. By the end of this tutorial, you’ll have a beautiful, functional tote bag you’ll be proud to use – and you’ll have the skills to customize and create many more!
Materials and Tools Needed
| Item | Quantity | Specifications |
|---|---|---|
| Outer Fabric | 1 yard | Cotton, Canvas, Denim – medium weight |
| Lining Fabric | 1 yard | Quilting cotton, Poplin – lightweight |
| Interfacing (Optional) | 1 yard | Pellon SF101 or similar – for added structure |
| Handles (Webbing or Fabric) | 2 yards | 1″ – 2″ wide, pre-made or fabric to make your own |
| Thread | 1 spool | Matching outer fabric |
| Sewing Machine | 1 | With standard presser foot |
| Fabric Scissors | 1 | Sharp, for accurate cutting |
| Rotary Cutter & Mat (Optional) | 1 | For faster, more precise cutting |
| Pins or Fabric Clips | 1 box/pack | To hold fabric pieces together |
| Ruler/Measuring Tape | 1 | For accurate measurements |
| Iron & Ironing Board | 1 | For pressing seams |
| Seam Ripper | 1 | For correcting mistakes |
Preparing Your Fabric
Cutting the Fabric Pieces
- Outer Fabric: Cut two rectangles measuring 16″ x 18″. (These dimensions can be adjusted to your desired tote size.)
- Lining Fabric: Cut two rectangles measuring 16″ x 18″.
- Interfacing (Optional): Cut two rectangles measuring 16″ x 18″. Apply interfacing to the wrong side of the outer fabric pieces following the manufacturer’s instructions. This adds structure and durability.
- Handles: Cut two strips of webbing or fabric 28″ long and 2″ – 4″ wide (depending on desired handle width). If using fabric, fold in half lengthwise, right sides together, and sew along the long edge. Turn right side out and press.
Applying Interfacing (If Using)
- Place the interfacing, adhesive side down, onto the wrong side of the outer fabric.
- Cover with a pressing cloth and iron according to the interfacing manufacturer’s instructions. Ensure the interfacing is fully bonded to the fabric.
Constructing the Tote Bag Body
Sewing the Outer Bag
- Place the two outer fabric pieces right sides together.
- Pin along both side seams and the bottom seam, leaving the top open.
- Sew along the pinned seams with a 1/2″ seam allowance.
- Finish the seams with a zig-zag stitch or serger to prevent fraying.
- Press the seams open.
- Box the corners to create a flat bottom: Flatten one corner, aligning the side seam with the bottom seam. Measure 2″ from the point and draw a line. Sew along the line. Repeat for the other corner. Trim the excess fabric, leaving a 1/2″ seam allowance.
Sewing the Lining
- Repeat steps 1-5 for the lining fabric pieces, but leave a 6″ opening in the bottom seam. This opening is crucial for turning the bag right side out later.
- Do not box the corners of the lining.
Attaching the Lining to the Outer Bag
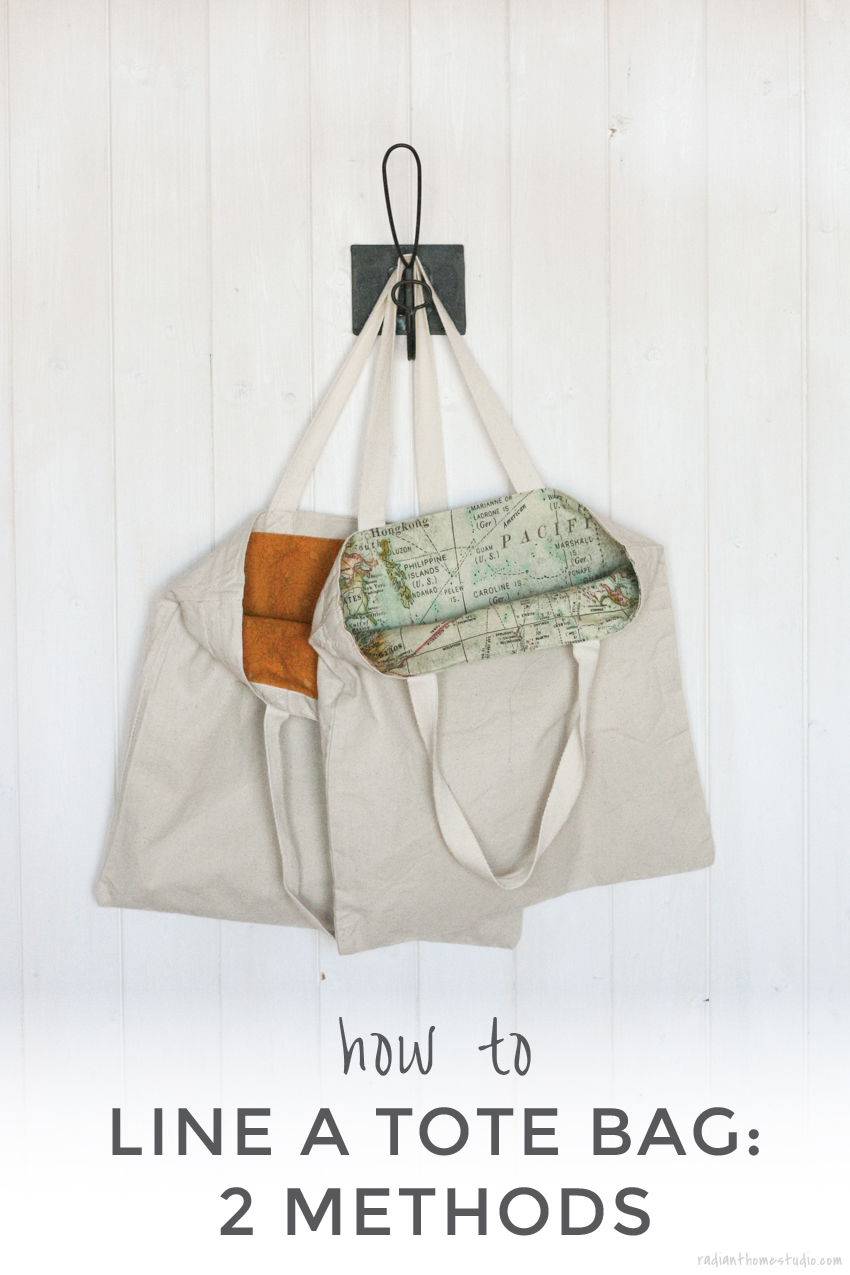
Joining the Layers
- Place the outer bag inside the lining bag, right sides together.
- Align the top edges and pin around the entire opening.
- Sew around the top edge with a 1/2″ seam allowance.
Turning and Finishing
- Reach through the opening in the lining and pull the entire bag right side out.
- Carefully tuck the lining down into the outer bag.
- Press the top edge of the bag to create a crisp, clean finish.
- Topstitch around the top edge of the bag, 1/4″ from the edge, closing the opening in the lining as you sew.
Attaching the Handles
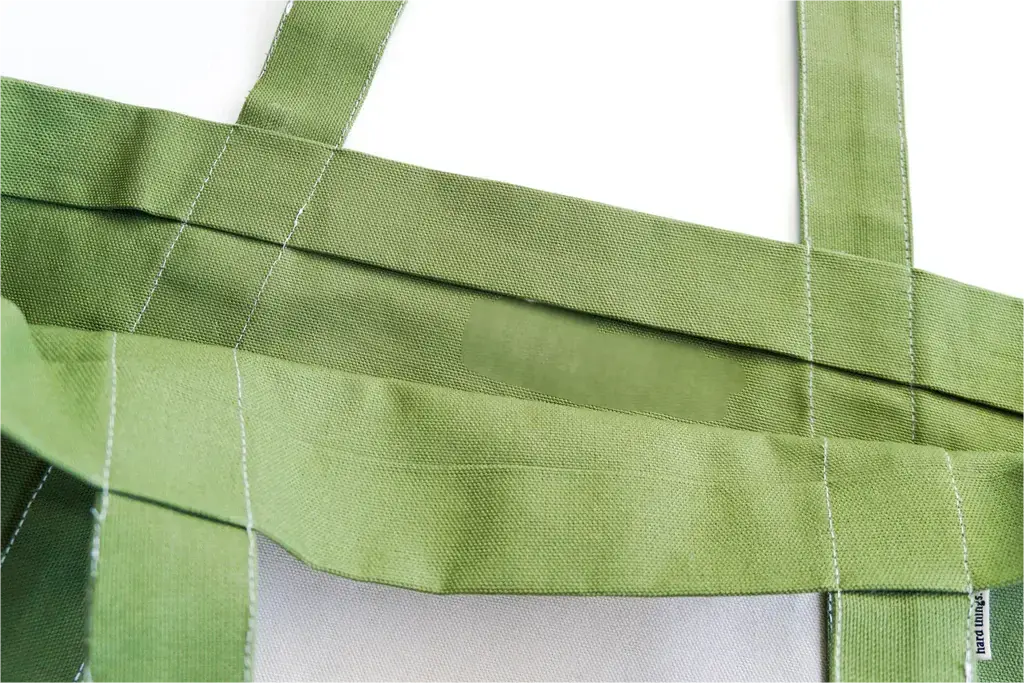
Positioning and Securing
- Determine the desired handle placement. A good starting point is 3″ – 4″ in from each side seam.
- Pin the handles securely to the top of the bag, ensuring they are evenly spaced and not twisted.
- Sew the handles to the bag with a box stitch or multiple rows of stitching for added strength. Reinforce the stitching by backstitching several times at the beginning and end of each row.
Pro Tips
- Fabric Choice: Use heavier-weight fabrics like canvas or denim for a more durable bag.
- Interfacing: Don’t skip interfacing if you want a bag that holds its shape well.
- Handle Length: Experiment with different handle lengths to find what’s most comfortable for you.
- Seam Allowance: Consistency is key! Maintain a consistent seam allowance throughout the project.
- Pressing: Pressing seams as you go makes a huge difference in the final appearance of the bag.
- Personalization: Add pockets, embroidery, or applique to customize your tote bag.
- Reinforce Stress Points: Extra stitching at the handle attachment points will prevent ripping.
Professional Help
If you’re struggling with any part of this project, consider:
- Local Sewing Classes: Many fabric stores and community centers offer sewing classes for all skill levels.
- Online Tutorials: YouTube is a great resource for visual learners. Search for “sewing a tote bag with lining” for a plethora of helpful videos.
- Seamstress/Tailor: For complex customizations or repairs, a professional seamstress or tailor can provide expert assistance.
FAQ
Q: What fabric is best for a tote bag?
A: Canvas, denim, and duck cloth are excellent choices for a durable tote bag. For a lighter-weight bag, cotton or linen work well.
Q: Can I use different fabrics for the outer bag and lining?
A: Absolutely! Using contrasting fabrics can create a visually appealing tote bag.
Q: How do I prevent the handles from ripping?
A: Use sturdy webbing or reinforce fabric handles with multiple layers of stitching. A box stitch is particularly effective.
Q: What if my seams are uneven?
A: A seam ripper is your friend! Don’t be afraid to unpick and redo seams until you’re satisfied with the result.
Alternative Solutions
If you are intimidated by a full lining, consider making a simple unlined tote bag. While not as polished, it’s a great starting point for beginners. You can also purchase pre-made tote bag kits that include all the necessary materials and instructions.
| Solution | Pros | Cons | Best For |
|---|---|---|---|
| Unlined Tote | Quick & Easy | Less Durable | Beginners |
| Pre-Made Kit | Convenient | Limited Customization | Time-saving |
Enjoy Your New Tote Bag!
Congratulations! You’ve successfully sewn a tote bag with lining. Now you have a stylish and eco-friendly alternative to plastic bags.
Here’s a quick recap:
* We prepared our fabric by cutting and applying interfacing.
* We constructed the outer bag and lining separately.
* We attached the lining and handles.
* We finished the bag with topstitching.
You should be incredibly proud of your creation. Don’t hesitate to experiment with different fabrics, colors, and embellishments to create unique tote bags that reflect your personal style.
Share your finished tote bag with us in the comments below! We’d love to see your creations and hear about your sewing experience.


