
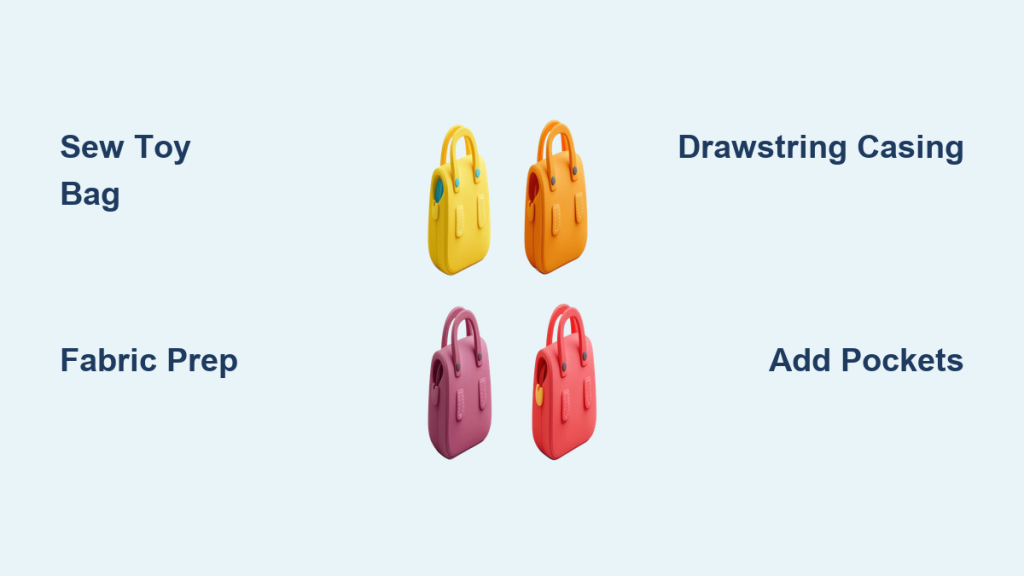
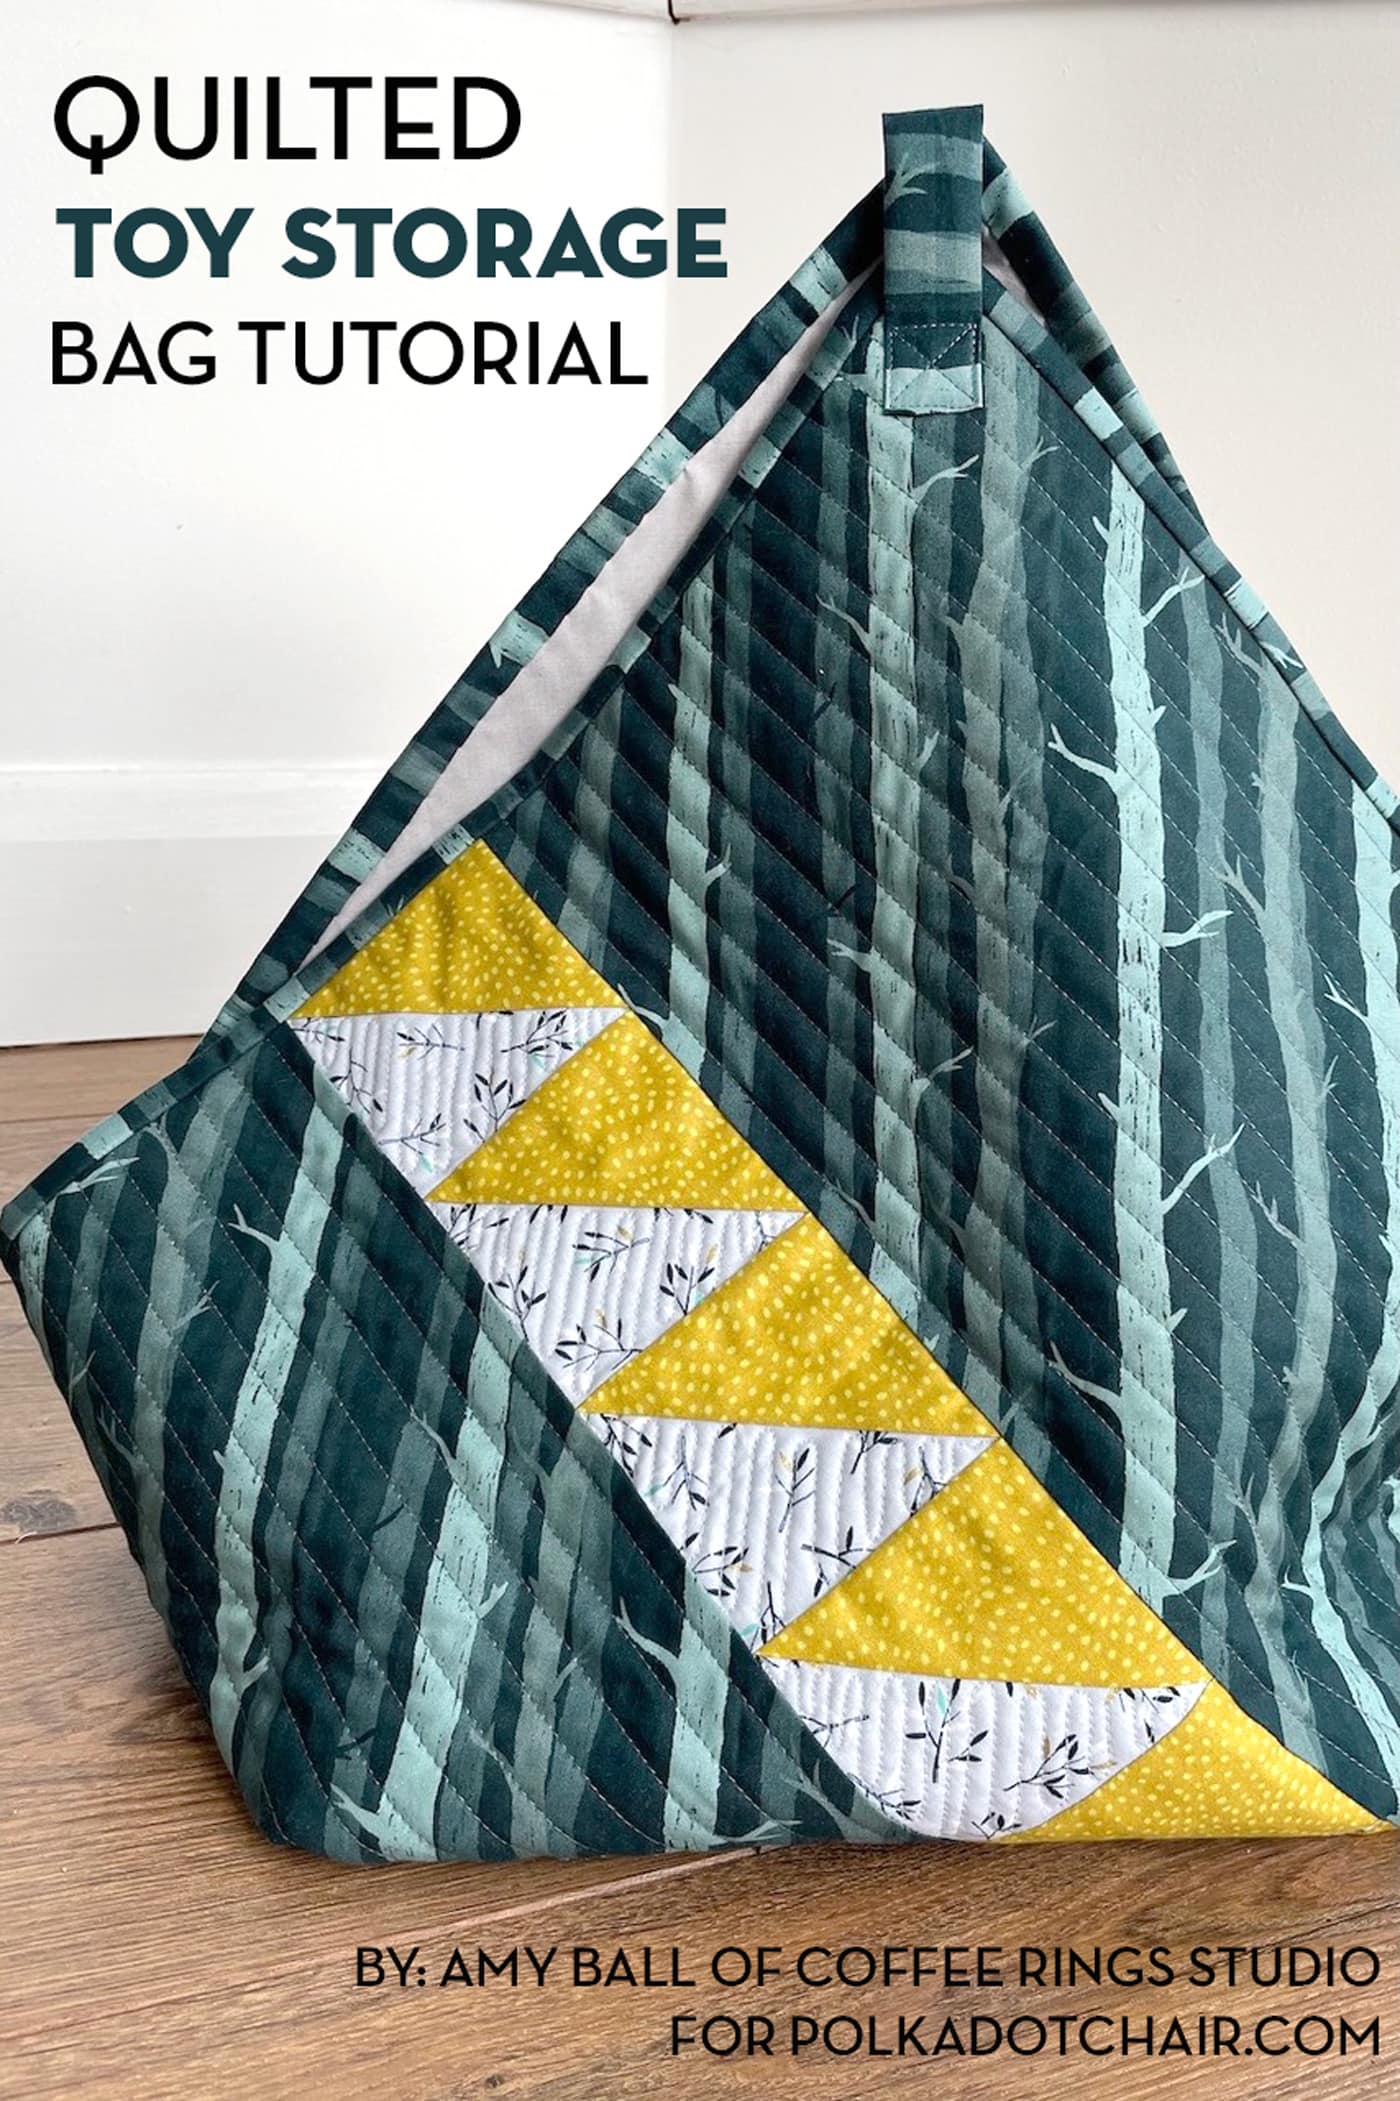
Are you tired of toy clutter taking over your home? Do you need a quick and easy solution for keeping toys organized and portable? Learning how to sew a toy bag is the answer! This guide will walk you through creating a durable and charming toy bag, perfect for storing everything from building blocks to stuffed animals. We’ll start with a simple method for beginners, getting you organized quickly, and then delve into more advanced techniques for a personalized touch.
This comprehensive guide will cover everything you need to know, from choosing the right fabrics and tools to step-by-step instructions, helpful tips, and even ideas for customizing your bag. By the end of this article, you’ll be confidently sewing your own toy bags, reclaiming your space, and keeping playtime chaos at bay.
Materials and Tools Needed
| Item | Quantity | Specifications |
|---|---|---|
| Fabric (Outer) | 1 yard | Cotton, Canvas, or Denim – durable and washable |
| Fabric (Lining) | 1 yard | Cotton or Quilting Fabric – lighter weight |
| Drawstring Cord | 2 yards | Cotton or Nylon – approximately ¼ inch diameter |
| Interfacing (Optional) | 1 yard | Lightweight fusible interfacing – for added structure |
| Thread | 1 spool | Matching the outer fabric |
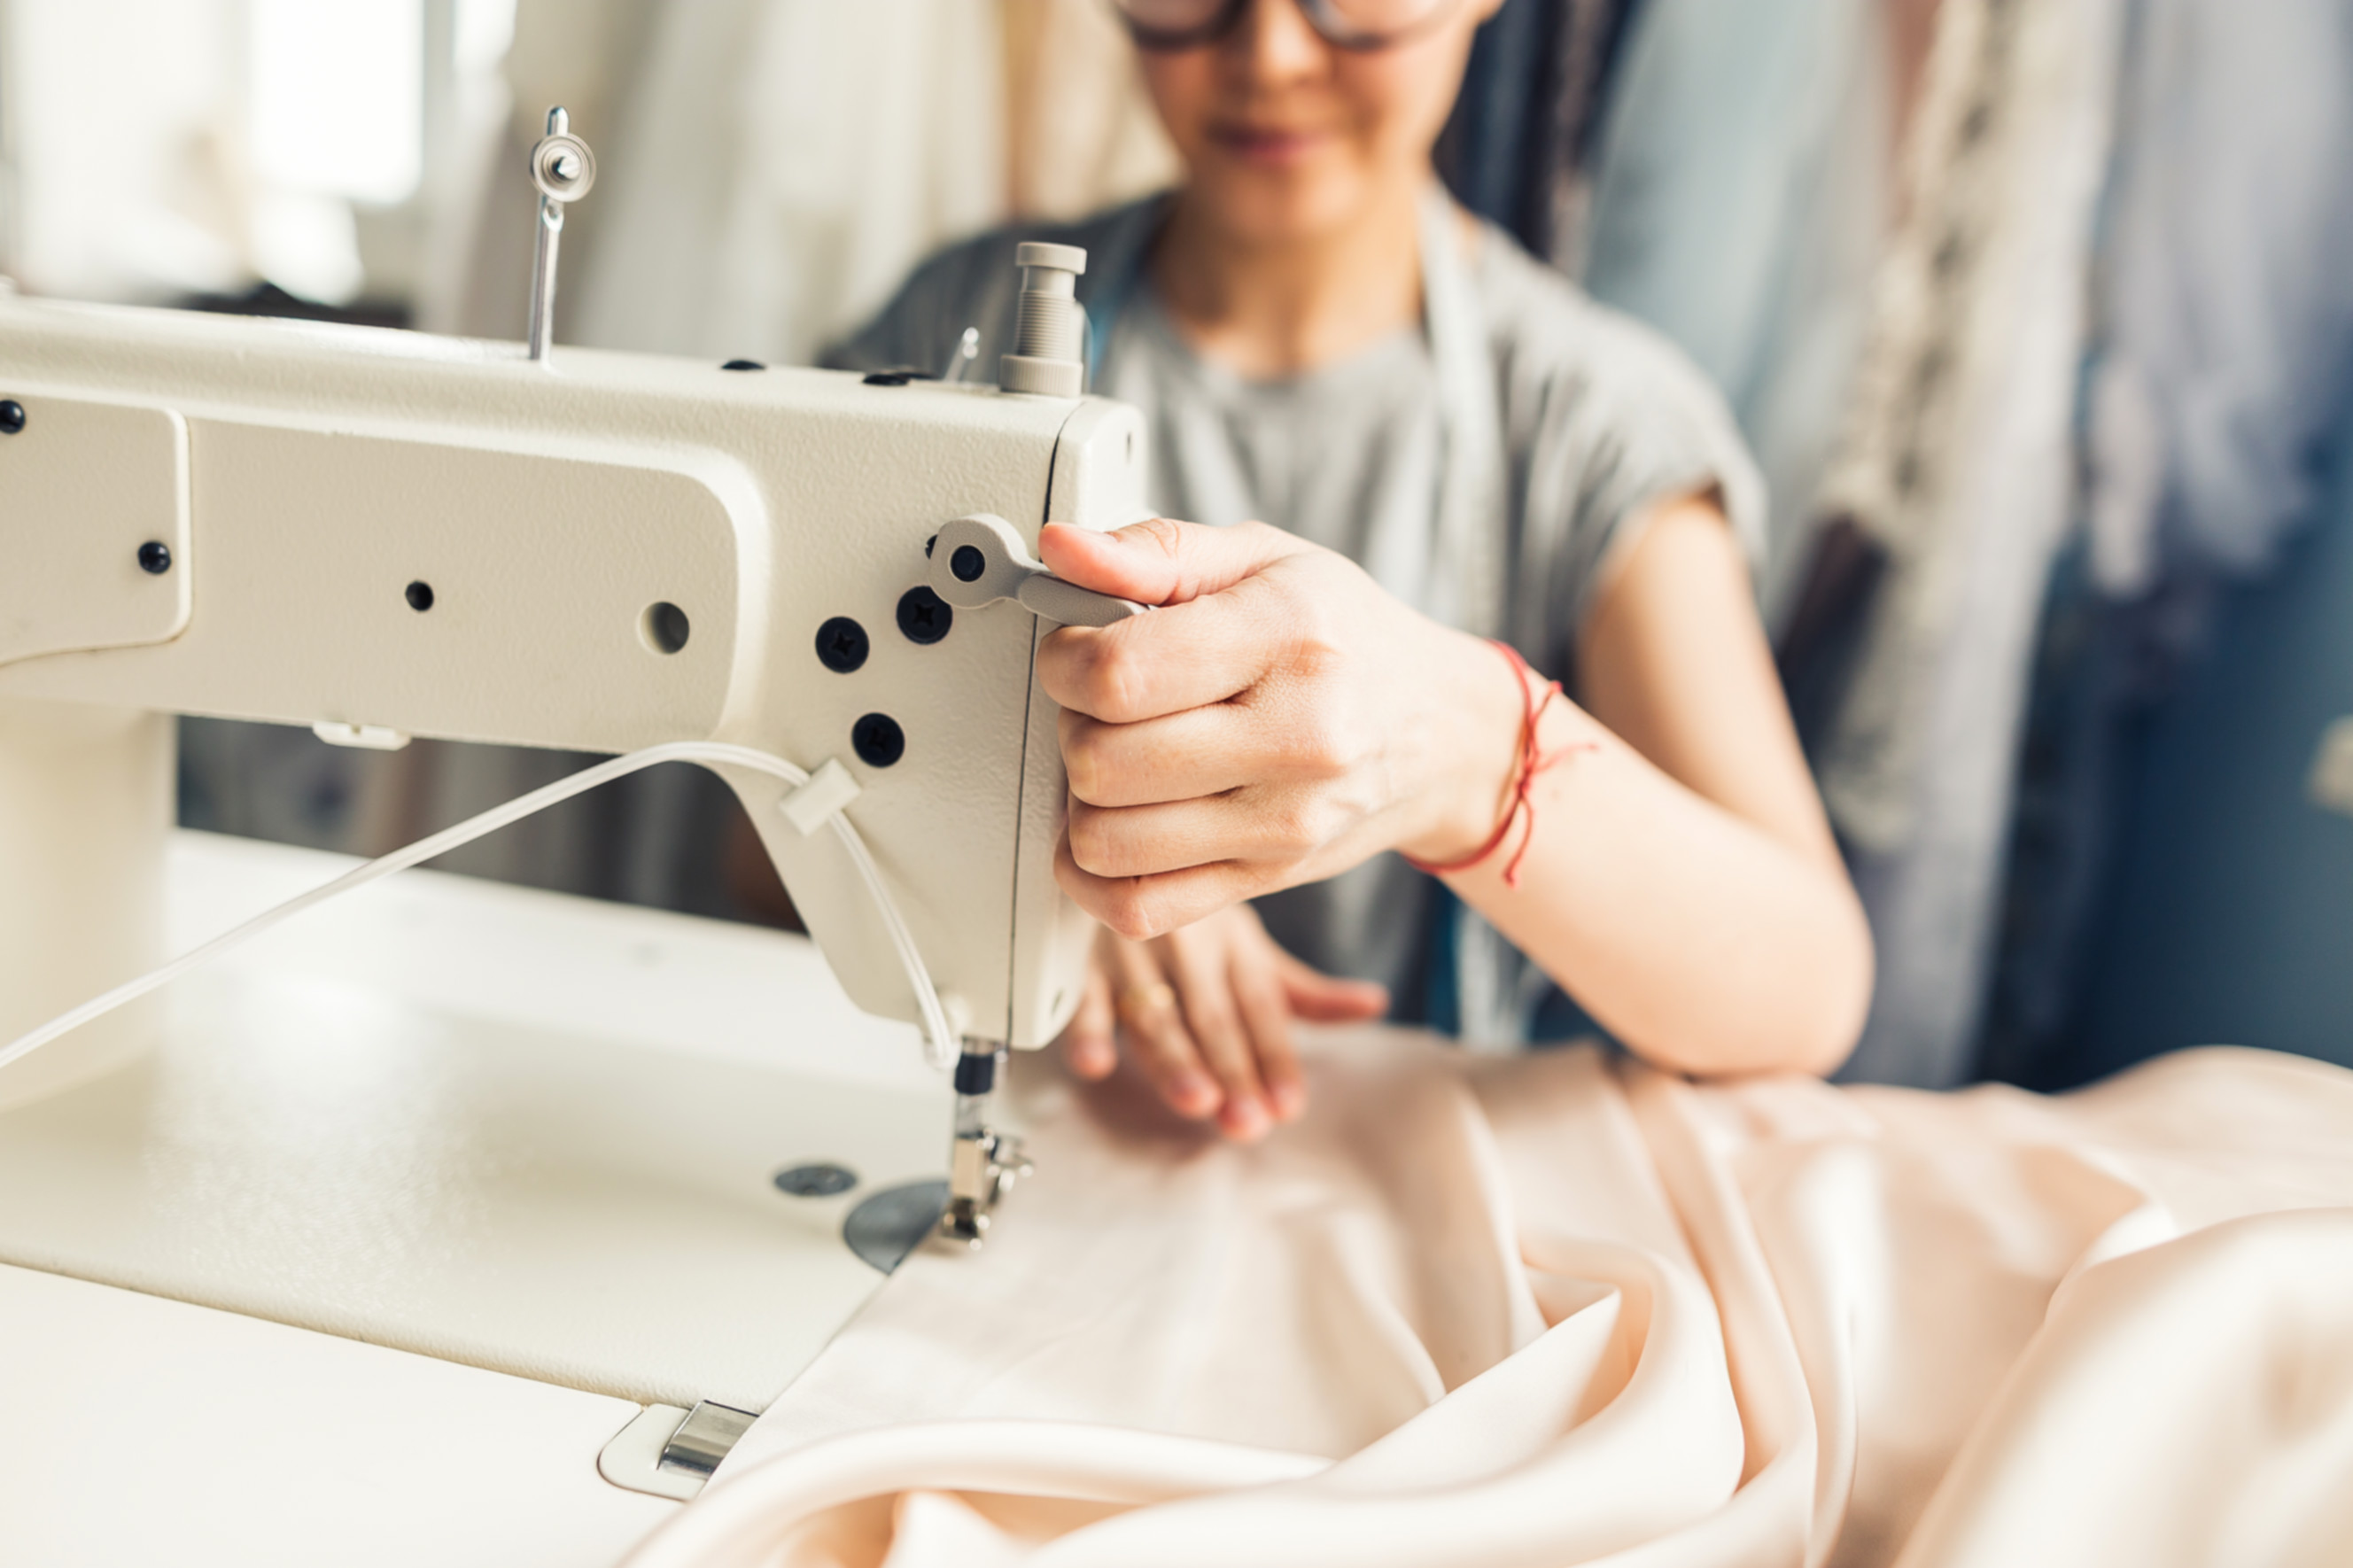
| Sewing Machine | 1 | Standard sewing machine |
| Fabric Scissors | 1 | Sharp, for accurate cutting |
| Rotary Cutter & Mat (Optional) | 1 set | For faster, more precise cutting |
| Pins or Clips | 20-30 | To hold fabric layers together |
| Measuring Tape | 1 | For accurate measurements |
| Safety Pin | 1 | To thread the drawstring |
| Iron & Ironing Board | 1 set | For pressing seams |
Preparing Your Fabric
Cutting the Fabric
- Outer Fabric: Cut one rectangle measuring 20 inches wide x 24 inches high.
- Lining Fabric: Cut one rectangle measuring 20 inches wide x 24 inches high.
- Interfacing (Optional): Cut one rectangle measuring 20 inches wide x 24 inches high. If using interfacing, fuse it to the wrong side of the outer fabric according to the manufacturer’s instructions. This will give your bag more structure.
Preparing the Casing for the Drawstring
- On the right side of the outer fabric, along the top 24-inch edge, fold down ½ inch and press.
- Fold down another 1 ½ inches and press again. This creates the casing for the drawstring.
- Stitch along the bottom edge of the folded casing, leaving a 2-inch opening in the middle for turning the bag right-side out and inserting the drawstring. Backstitch at the beginning and end of your stitching.
Sewing the Toy Bag
Phase 1: Assembling the Bag Body
- Place the outer fabric and lining fabric right sides together, aligning all edges.
- Pin or clip around the perimeter, leaving the top edge (with the casing) open.
- Using a ½-inch seam allowance, stitch around three sides (both sides and the bottom), starting and ending at the corners. Backstitch at the beginning and end of each seam.
- Clip the corners to reduce bulk.
Phase 2: Turning and Finishing
- Carefully turn the bag right-side out through the opening in the drawstring casing.
- Use a point turner or blunt object to gently push out the corners.
- Press the seams flat, paying attention to the casing.
- Fold the raw edges of the opening in the casing inward and press. Pin closed.
- Topstitch around the entire casing, closing the opening and securing the casing in place.
Phase 3: Inserting the Drawstring
- Attach a safety pin to one end of the drawstring cord.
- Thread the safety pin and cord through the casing, starting at the opening and working your way around until it emerges back at the opening.
- Remove the safety pin.
- Tie the ends of the drawstring cord together in a secure knot.
Customization Options

Adding Pockets
- Cut two rectangles for pockets (e.g., 6 inches wide x 8 inches high).
- Fold the top edge of each pocket down ½ inch and press.
- Pin the pockets to the outside of the outer fabric before assembling the bag body (Step 1 in Phase 1).
- Stitch the pockets in place, leaving the sides and bottom open.
Appliqués and Embroidery
- Add personalized touches with fabric appliqués or embroidery.
- Appliqués can be sewn on by hand or machine.
- Embroidery can add a unique and charming detail.
Fabric Choices
- Experiment with different fabrics to create unique looks.
- Consider using patterned fabrics or combining different textures.
- For added durability, choose heavier-weight fabrics like canvas or denim.
Pro Tips
- Pre-wash your fabrics: This prevents shrinkage after the bag is sewn.
- Use a walking foot: If you’re working with thick or multiple layers of fabric, a walking foot will help feed the fabric evenly.
- Reinforce stress points: Backstitch at the beginning and end of seams, especially at the corners, to strengthen them.
- Experiment with drawstring styles: Use ribbon, rope, or even braided fabric for a different look.
- Add a label: Personalize your bag with a fabric label featuring the recipient’s name.
- Consider a bottom gusset: Adding a triangular gusset at the bottom of the bag will give it more depth and allow it to hold more toys.
- Use contrasting thread: For a decorative touch, use thread that contrasts with your fabric.
Professional Help
If you’re struggling with a specific step or don’t have access to a sewing machine, consider:
- Local seamstress: A seamstress can sew the bag for you based on your fabric choices.
- Sewing classes: Learn the basics of sewing and gain confidence in your skills.
- Online tutorials: Many free video tutorials are available online.
Typical costs for a seamstress to sew a simple toy bag range from $20-$50, depending on the complexity and location.
FAQ
Q: What type of fabric is best for a toy bag?
A: Durable fabrics like cotton canvas, denim, or sturdy quilting cotton are ideal. They can withstand wear and tear and are easy to clean.
Q: Can I use felt for the toy bag?
A: While felt is easy to work with, it’s not as durable as other fabrics. It’s best for lining or small details, but not for the entire bag.
Q: How do I reinforce the drawstring casing?
A: Use a sturdy stitch and backstitch at the beginning and end. You can also use interfacing on the wrong side of the fabric before creating the casing for added support.
Q: What size should the drawstring be?
A: A ¼ inch diameter cord works well for most toy bags. Adjust the size based on the size of the casing you create.
Alternative Solutions
If sewing isn’t your thing, consider these alternatives:
| Solution | Pros | Cons | Best For |
|---|---|---|---|
| Fabric Storage Bins | Readily Available | Can be less portable | Quick, no-sew organization |
| Woven Baskets | Aesthetic Appeal | Can be bulky | Decorative storage |
| Large Tote Bags | Versatile | Less structured | Simple, portable option |
Keep Your Home Tidy!
Congratulations! You’ve successfully sewn a toy bag. Now you can easily gather and store toys, keeping your home organized and clutter-free. Remember these key steps: preparing the fabric, assembling the bag body, turning and finishing, and inserting the drawstring.
Share your finished toy bag with us in the comments below! We’d love to see your creations and hear about your experience.


