
Do you struggle to comfortably carry your yoga mat to and from class? A bulky mat slung under your arm can quickly become tiresome. Sewing your own yoga bag is a fantastic solution, offering both style and convenience. This guide will walk you through creating a durable and attractive yoga bag complete with a comfortable carrying strap – and it’s easier than you think!
This comprehensive guide will go beyond just the basic sewing instructions. We’ll cover fabric choices, lining options, creating a secure closure, adding a useful pocket, and finishing techniques for a professional look. By the end, you’ll have a custom-made yoga bag perfectly suited to your needs, and you’ll be equipped to make more for friends and family.
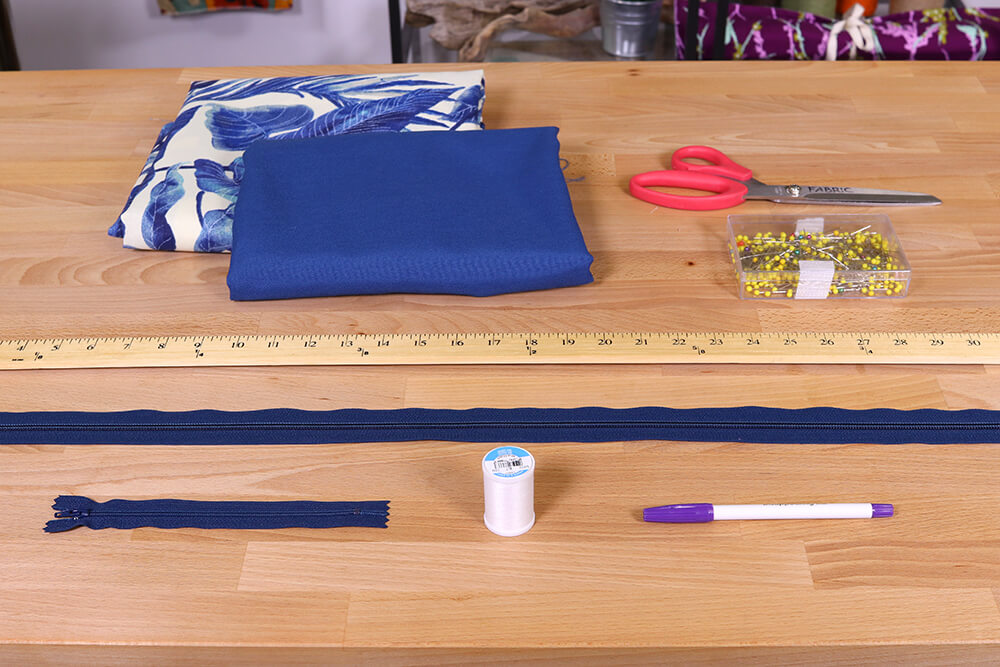
Materials and Tools Needed
| Item | Quantity | Specifications |
|---|---|---|
| Main Fabric (Cotton Canvas, Duck Cloth, or Similar) | 1.5 yards | 44-45″ wide |
| Lining Fabric (Cotton Poplin, Quilting Cotton) | 1.5 yards | 44-45″ wide |
| Webbing for Strap | 1-2 yards | 1″ or 1.5″ wide |
| D-Rings | 2 | 1″ or 1.5″ wide (to match webbing) |
| Swivel Hook/Clasp | 1 | To attach to the strap |
| Zipper (Optional – for pocket) | 8-12″ | Coordinating color |
| Interfacing (Optional – for pocket or added structure) | 1/2 yard | Lightweight fusible interfacing |
| Thread | 1 spool | Coordinating color |
| Sewing Machine | 1 | Standard sewing machine |
| Fabric Scissors | 1 pair | Sharp fabric scissors |
| Rotary Cutter & Mat (Optional) | 1 | For precise cutting |
| Ruler/Measuring Tape | 1 | For accurate measurements |
| Pins/Clips | 1 box/pack | For holding fabric layers together |
| Iron & Ironing Board | 1 | For pressing seams |
| Seam Ripper | 1 | For correcting mistakes |
Preparing Your Fabric and Pattern

Cutting the Fabric
- Main Fabric: Cut two rectangles measuring 28″ x 72″. This will create a cylindrical bag shape.
- Lining Fabric: Cut two rectangles measuring 28″ x 72″.
- Pocket (Optional): Cut two rectangles for the pocket, approximately 8″ x 10″ (adjust size as desired). Cut two interfacing pieces the same size if using.
- Strap: Cut webbing to your desired length. A typical strap length is 40-50″ but adjust for your preference.
Preparing the Pocket (Optional)
- Interface (Optional): Fuse interfacing to the wrong side of the pocket fabric pieces for added structure.
- Zipper Installation (Optional): If adding a zipper, install it along the top edge of one pocket piece, following standard zipper insertion techniques.
- Assemble Pocket: With right sides together, stitch the pocket pieces together along three sides, leaving the top open. Turn right side out and press.
Sewing the Yoga Bag
Assembling the Bag Body
- Main Fabric: With right sides together, pin the two main fabric rectangles along the 72″ sides, creating a loop. Stitch with a 1/2″ seam allowance. Press the seam open.
- Lining Fabric: Repeat the process with the lining fabric, creating a separate loop. Leave a 6-8″ opening in one seam for turning the bag right side out.
- Attaching the Pocket (Optional): Pin the pocket to the inside of one of the lining pieces, positioning it strategically. Stitch around three sides, leaving the top open.
Connecting Main Fabric and Lining
- Insert Lining: Place the lining inside the main fabric shell, with right sides together. Line up the top edges.
- Pin and Stitch: Pin around the entire top edge. Stitch with a 1/2″ seam allowance.
- Turn Right Side Out: Carefully turn the bag right side out through the opening left in the lining.
- Close Opening: Hand-stitch or machine-stitch the opening in the lining closed.
- Press: Press the top edge of the bag for a clean finish.
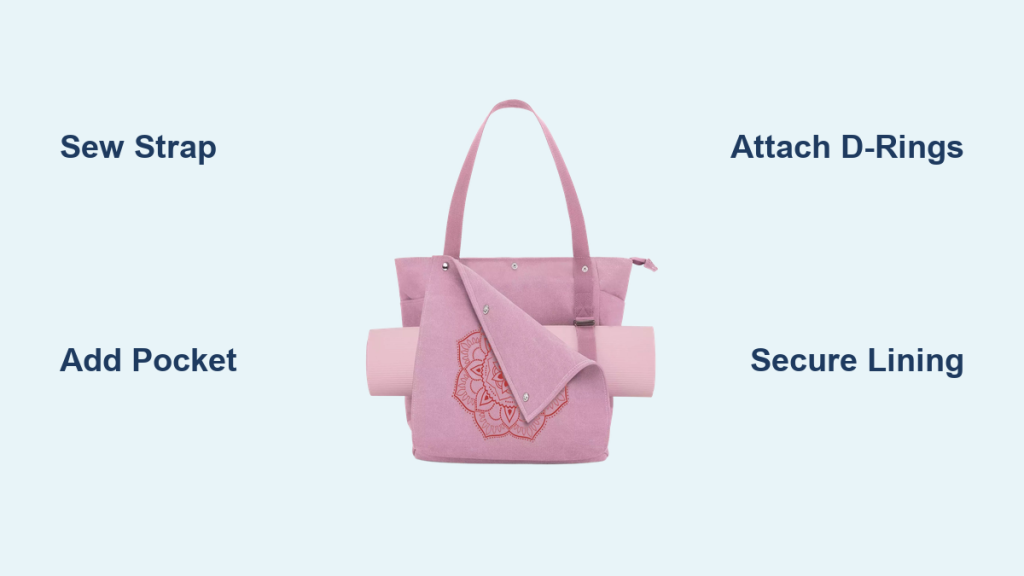
Creating the Strap
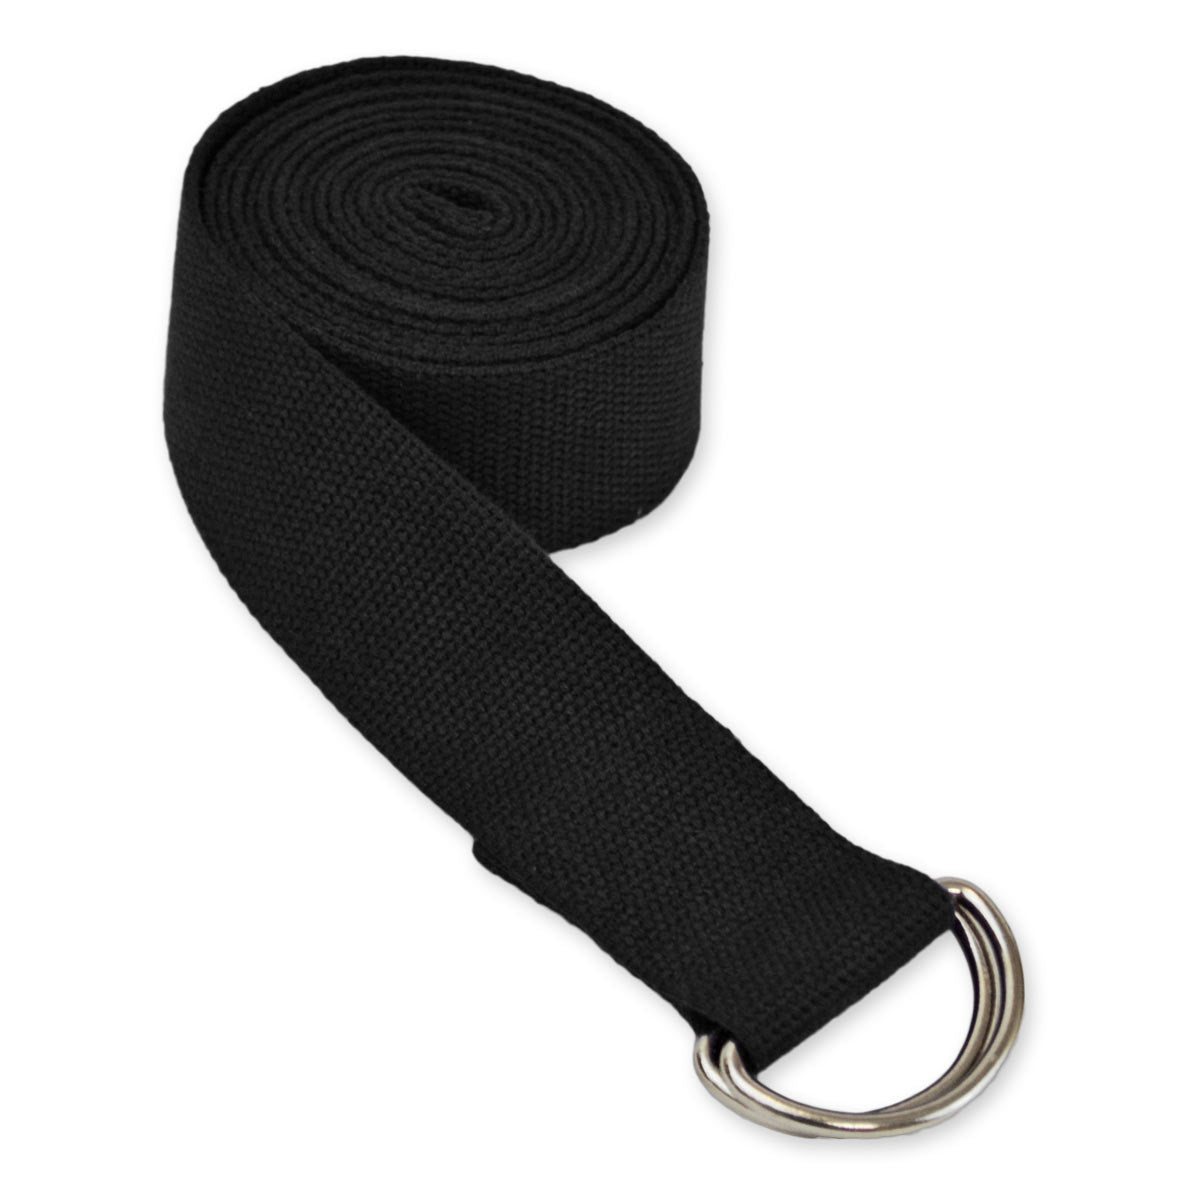
- Attach D-Rings: Fold the webbing in half to find the center. Thread each end of the webbing through a D-ring, then fold the webbing back on itself, creating a loop around the D-ring. Stitch securely to hold the D-rings in place.
- Attach Swivel Hook: Attach the swivel hook/clasp to the center of the webbing strap.
- Secure the Strap: You can either stitch the strap directly to the bag or create fabric loops to attach the strap to. For direct attachment, position the D-rings on either side of the bag opening, evenly spaced. Stitch securely.
Finishing Touches
Topstitching (Optional)
Topstitching around the top edge of the bag adds a polished look and reinforces the seam.
Seam Finishing
Consider finishing the raw edges inside the bag with a zig-zag stitch or serger to prevent fraying.
Pro Tips
- Fabric Choice: Canvas or duck cloth are durable and ideal for yoga bags. Consider water-resistant fabrics for added protection.
- Reinforced Seams: Double-stitch seams in high-stress areas, like where the strap attaches, for extra durability.
- Adjustable Strap: Use a buckle instead of a swivel hook for an adjustable strap length.
- Mat Security: Add ties inside the bag to help secure the yoga mat and prevent it from sliding around.
- Personalization: Embellish your bag with embroidery, appliqués, or fabric paint.
Professional Help
If you are uncomfortable with any of the sewing steps, consider taking a beginner sewing class or enlisting the help of a local seamstress. Professional alterations can cost between $20-$50 depending on the complexity.
FAQ
Q: What type of fabric is best for a yoga bag?
A: Canvas, duck cloth, or other tightly woven fabrics are ideal. They are durable and can withstand the weight of a yoga mat.
Q: Can I use a different type of closure instead of an open top?
A: Yes! You can add a drawstring, a snap closure, or even a button closure.
Q: How do I adjust the length of the strap?
A: If you use a buckle instead of a swivel hook, you can easily adjust the strap length.
Q: What if my fabric frays easily?
A: Use a fabric sealant or serge the edges to prevent fraying.
Alternative Solutions
If sewing isn’t your forte, consider repurposing a sturdy canvas tote bag. Add a carrying strap and secure ties to adapt it for your yoga mat. Alternatively, many pre-made yoga bags are available online or at sporting goods stores, ranging in price from $20 to $80.
Keep Your Yoga Mat Secure and Stylish
Congratulations! You’ve successfully sewn a custom yoga bag. By following these steps, you’ve created a functional and stylish accessory that will make carrying your mat a breeze. Remember to choose durable fabrics, reinforce your seams, and personalize your bag to reflect your unique style.
Share your finished yoga bag in the comments below! We’d love to see your creations and hear about any challenges you faced.


