
Are you frustrated with bulky, uneven bag corners that detract from your handmade bags? Achieving neat, boxed corners is a crucial skill for any sewist wanting a professional-looking finish. This guide will walk you through the process, starting with a quick fix for existing corners and progressing to detailed methods for creating perfect corners from the start.
This comprehensive guide will cover everything from understanding why boxed corners are important, to choosing the right technique for your fabric, and step-by-step instructions with photos. We’ll also cover troubleshooting common issues and offer pro tips to elevate your bag-making game. By the end of this article, you’ll confidently sew bag corners that will make your projects look polished and professional.
Understanding Why Boxed Corners Matter
Boxed corners give bags structure and a more finished look. Without them, corners tend to be rounded and flimsy, impacting the bag’s overall shape and capacity. They also add durability, preventing wear and tear at stress points. Properly sewn corners distribute weight more evenly, making the bag more comfortable to carry.
What You’ll Need to Sew Bag Corners
| Item | Quantity | Specifications |
|---|---|---|
| Fabric | Varies | Depending on bag project |
| Sewing Machine | 1 | Standard sewing machine |
| Thread | 1 spool | Matching fabric color |
| Scissors | 1 pair | Fabric scissors |
| Pins | 1 box | Quilting or dressmaking pins |
| Ruler or Square | 1 | Clear acrylic ruler recommended |
| Marking Tool | 1 | Fabric chalk, disappearing ink pen, or washable marker |
| Iron and Ironing Board | 1 each | For pressing seams |
Methods for Sewing Bag Corners

Method 1: The Classic Boxed Corner (Most Common)
This method is ideal for most bag projects and creates a neat, structured corner.
Diagnosing the Issue
This method is used during bag construction, while the bag is still flat. It’s not a fix for already finished bags (see Alternative Solutions).
Fix Steps
- Prepare the Corner: With right sides together, align the side and bottom seams of your bag. Pin securely.
- Measure and Mark: Measure in from the corner along both seams. The distance depends on the desired width of your boxed corner (typically 1-2 inches). Mark with your chosen marking tool.
- Draw a Line: Connect the marks with a straight line. This line will be your sewing line.
- Sew: Sew along the marked line, backstitching at both ends for reinforcement.
- Trim: Trim the excess fabric, leaving a ¼-inch seam allowance.
- Press: Press the corner flat, carefully pushing out the point.
Testing
Turn the bag right side out and inspect the corner. It should be neatly boxed and hold its shape. Repeat on the other corner.
Method 2: Corner Reinforcement with Triangle Pieces

This method adds extra durability and structure, especially useful for heavier fabrics or bags that will carry significant weight.
Diagnosing the Issue
This is used during bag construction, similar to Method 1, but adds reinforcement.
Fix Steps
- Follow Steps 1-6 from Method 1.
- Cut Reinforcement Triangles: Cut two triangles from a sturdy interfacing or lining fabric. The base of the triangle should match the trimmed corner, and the height should be approximately 1-2 inches.
- Insert and Pin: Insert the triangles into the corner, with the right sides facing inward. Pin securely.
- Topstitch: Topstitch around the corner, ¼ inch from the edge, catching the triangles and securing them in place.
Testing
Check the corner for added firmness and stability. The reinforcement should prevent the corner from stretching or sagging over time.
Method 3: Pre-Formed Corner Templates
For consistent results, especially on larger projects, using a corner template can be very helpful.
Diagnosing the Issue
This is a more advanced method for those who make many bags and want consistent corner shapes.
Fix Steps
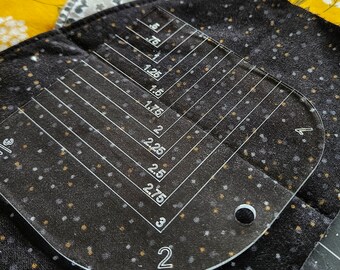
- Create or Purchase a Template: Make a cardboard or acrylic template in the desired corner shape and size.
- Trace and Cut: Place the template on the wrong side of the fabric, aligning it with the corner. Trace around the template and carefully cut along the line.
- Sew: Align the side and bottom seams and sew along the template’s edges.
- Finish: Finish the raw edges with a serger or zigzag stitch to prevent fraying.
Testing
Compare the corner to your template to ensure accuracy. This method requires more precision but delivers highly consistent results.
Prevention Tips and Maintenance Advice
- Accurate Cutting: Precise fabric cutting is essential for achieving neat corners.
- Consistent Seam Allowance: Maintain a consistent seam allowance throughout the project.
- Pressing: Pressing seams open or to the side after each step helps create a cleaner finish.
- Reinforcement: For heavy-duty bags, consider using interfacing or additional layers of fabric in the corners.
- Regular Inspection: Periodically inspect your bags for wear and tear at the corners. Repair any loose seams or damage promptly.
Pro Tips for Perfect Bag Corners
- Use a walking foot: A walking foot helps feed all layers of fabric evenly, preventing puckering and distortion.
- Clip the corners: Before turning the bag right side out, clip the corners diagonally to reduce bulk. Be careful not to cut into the seam allowance.
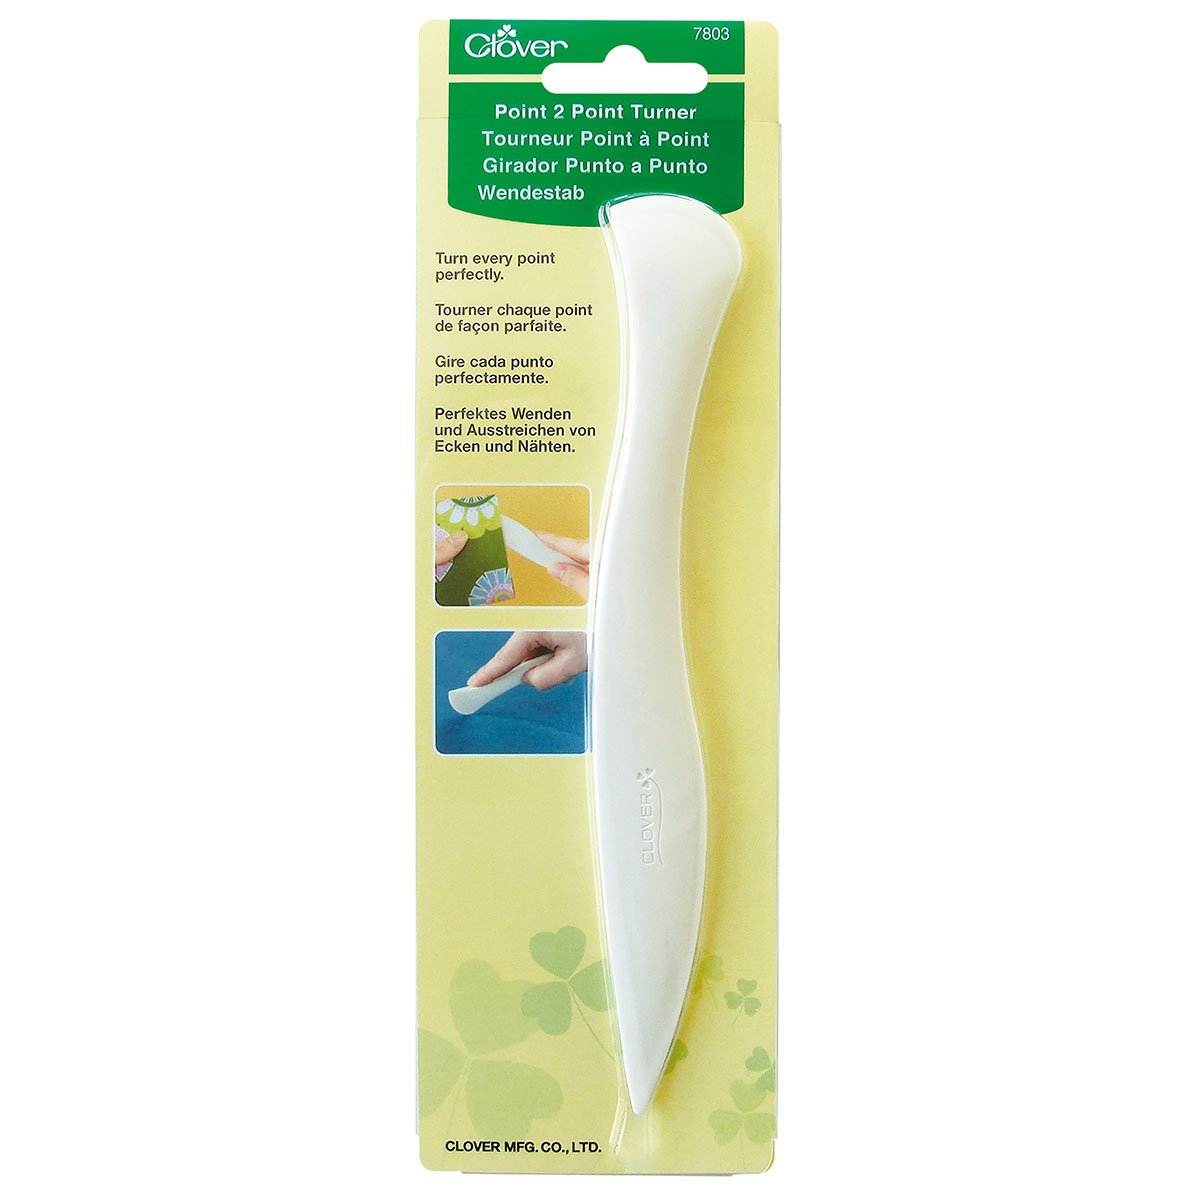
- Point turner: Use a point turner to gently push out the corners and create a sharp, defined shape.
- Practice on scraps: Before working on your final project, practice the technique on scrap fabric to get comfortable with the process.
- Consider fabric weight: Heavier fabrics may require more reinforcement or a larger corner allowance.
Professional Help
If you’re struggling to achieve the desired results or are working with a particularly challenging fabric, consider seeking help from a professional seamstress or bag-making instructor. A professional can offer personalized guidance and ensure your project is finished to a high standard. Typical costs for a seamstress to fix bag corners range from $10-$30 per corner, depending on the complexity and location.
FAQ
Q: What size corner allowance should I use?
A: A 1-2 inch corner allowance is generally sufficient for most bags. Adjust the size based on the desired corner shape and fabric weight.
Q: Can I use a serger to finish the corners?
A: Yes, a serger is an excellent option for finishing the raw edges of the corners, providing a clean and durable finish.
Q: What if my corners are still rounded after sewing?
A: Ensure you are clipping the corners properly and using a point turner to push out the fabric. You may also need to adjust your sewing technique or corner allowance.
Q: What fabric works best for boxed corners?
A: Medium-weight fabrics like canvas, denim, and quilting cotton are generally easier to work with. Lighter fabrics may require interfacing for added structure.
Alternative Solutions
If you’ve already finished your bag and the corners are unsatisfactory, you can try carefully opening the seam allowance, re-shaping the corner, and re-sewing it. However, this can be challenging and may not yield perfect results. For truly problematic corners, consider adding decorative corner protectors or bringing the bag to a professional for repair.
Get Your Bag Corners Working Again
By following these detailed instructions and incorporating the pro tips, you’ll confidently sew bag corners that will elevate your handmade bags to a professional level. Remember to practice, experiment, and have fun with the process!
Have you successfully sewn boxed corners? Share your experience and any tips you’ve learned in the comments below to help other readers!


