
Are you tired of flimsy plastic grocery bags? Do you want a stylish and eco-friendly way to carry your belongings? Learning how to sew a reversible tote bag is a fantastic project for beginners, and you can have a functional and beautiful bag in an afternoon! A quick fix for everyday carrying needs is just a few stitches away.
This comprehensive guide will walk you through every step of creating your own reversible tote bag, from gathering materials to finishing touches. We’ll cover everything from cutting the fabric to sewing the handles, with detailed instructions and helpful tips. By the end of this article, you’ll have the skills and confidence to create multiple reversible tote bags in various fabrics and styles, making them perfect gifts or additions to your own wardrobe.
What You’ll Need for Sewing a Reversible Tote Bag
| Item | Quantity | Specifications |
|---|---|---|
| Fabric | 1 yard | Cotton, Canvas, or Linen (Two coordinating fabrics for reversibility) |
| Sewing Machine | 1 | Standard home sewing machine |
| Thread | 1 spool | Coordinating color to your fabric |
| Fabric Scissors | 1 pair | Sharp scissors for accurate cutting |
| Rotary Cutter & Mat | Optional | For faster and more precise cutting |
| Ruler | 1 | 6” x 24” quilting ruler recommended |
| Iron & Ironing Board | 1 | For pressing seams |
| Pins or Clips | 1 box/pack | To hold fabric layers together |
| Seam Ripper | 1 | For correcting mistakes |
| Measuring Tape | 1 | For accurate measurements |
Preparing Your Fabric & Cutting
Choosing Your Fabrics
Select two fabrics that complement each other in color and pattern. Consider the weight of the fabric – medium-weight cotton, canvas, or linen work best for tote bags. Avoid fabrics that are too thin or flimsy, as they won’t provide enough structure.
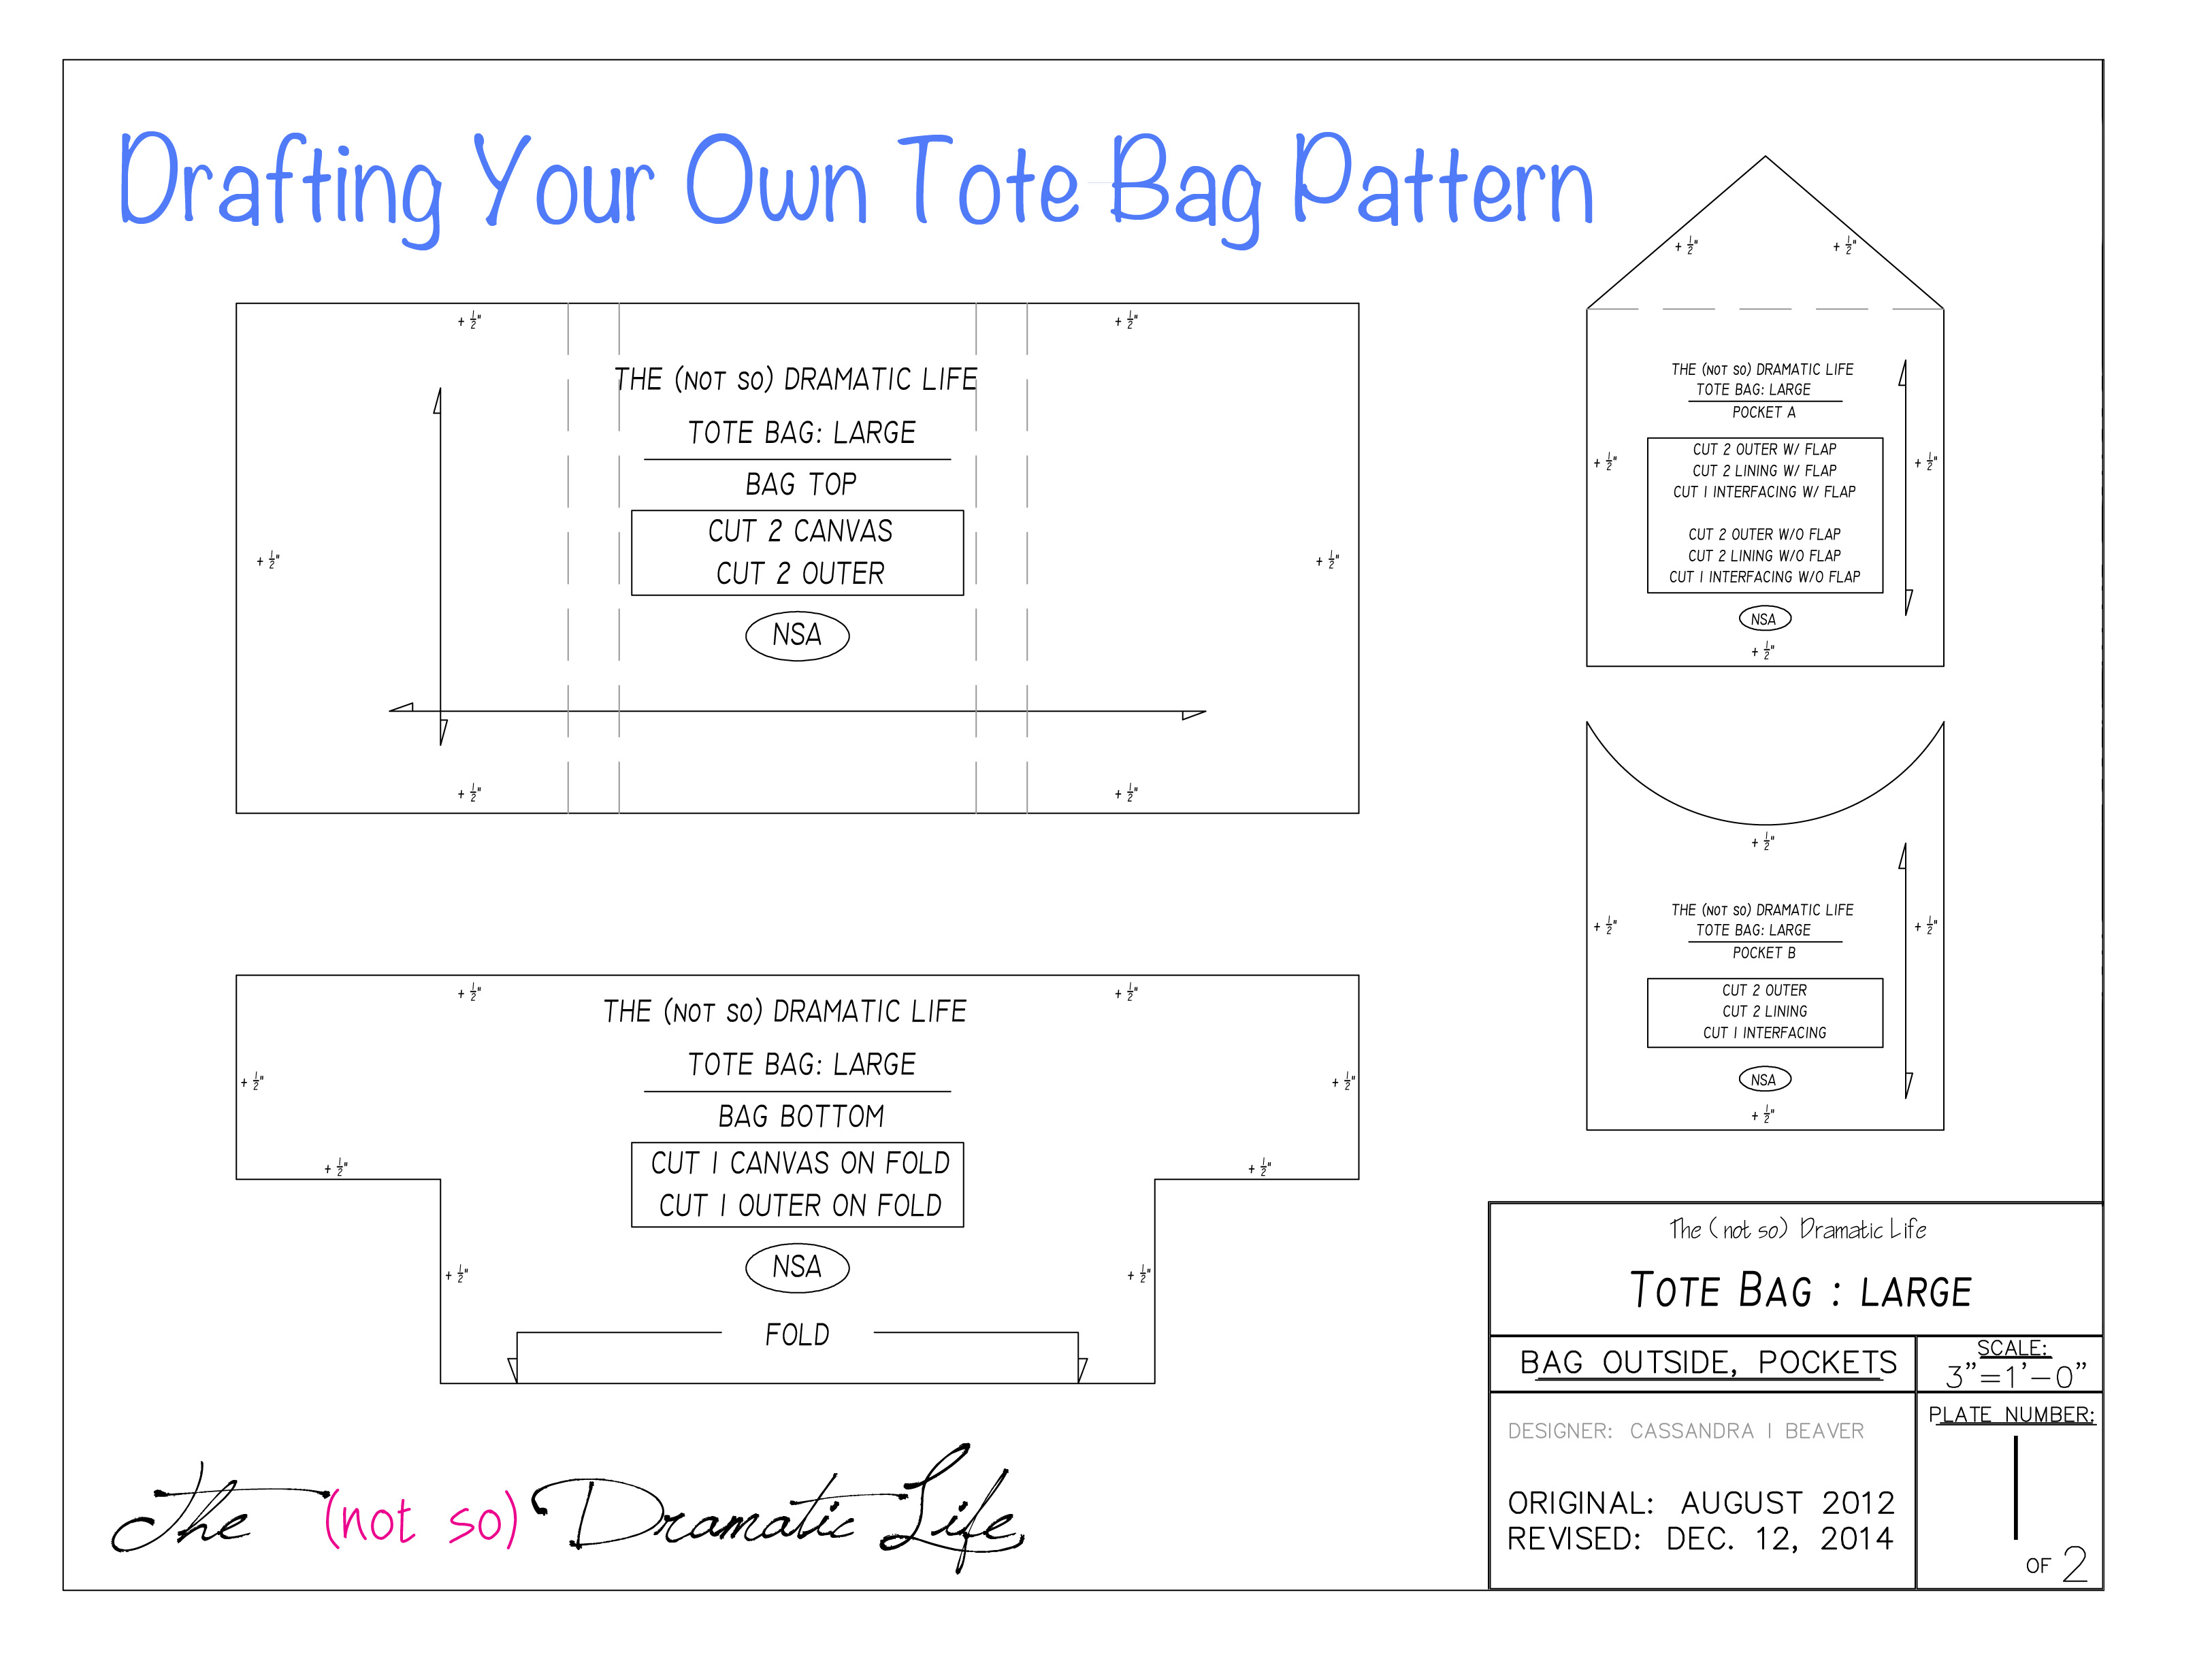
Cutting the Fabric Pieces
You will need to cut the following pieces from each fabric:
1. Main Body Pieces (2 per fabric): 16” x 18” (These will form the front and back of the bag)
2. Handle Pieces (2 per fabric): 3” x 24” (These will be folded and sewn to create the handles)
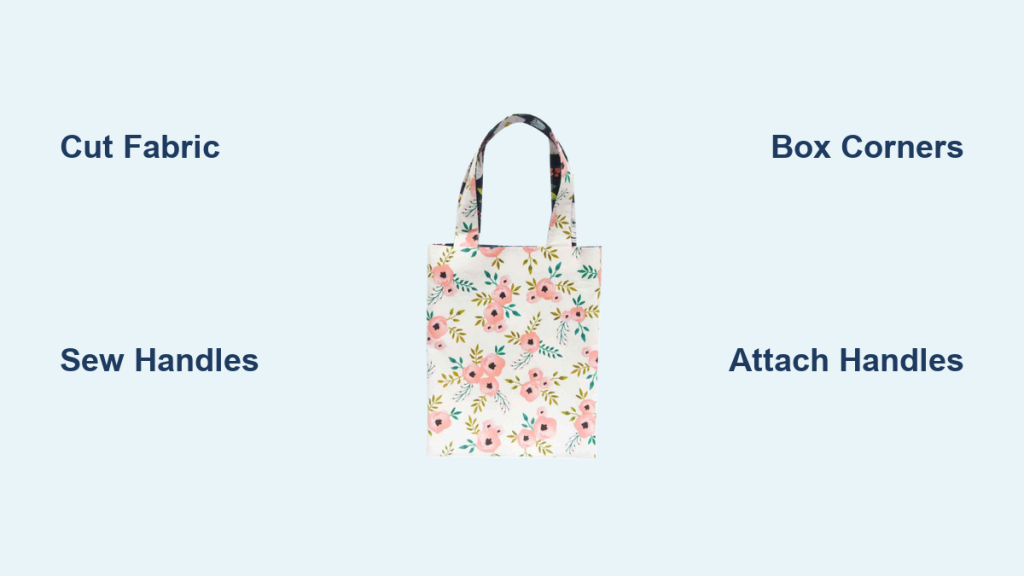
Step-by-Step Sewing Process
Phase 1: Creating the Handles
Step 1: Folding and Pressing the Handles
- Fold each handle piece in half lengthwise, wrong sides together, and press.
- Open the fold and fold each long edge towards the center crease, pressing again.
- Fold the handle in half again along the original crease, encasing the raw edges. Press firmly.
Step 2: Sewing the Handles
- Topstitch along both long edges of each handle, approximately 1/8” from the edge. This secures the folds and creates a finished look.
Phase 2: Assembling the Bag Body
Step 1: Sewing the Side and Bottom Seams
- Place the two main body pieces of Fabric A right sides together.
- Pin along both side edges and the bottom edge.
- Sew along these edges with a 1/2” seam allowance. Backstitch at the beginning and end of each seam to secure.
- Repeat this process with the two main body pieces of Fabric B.
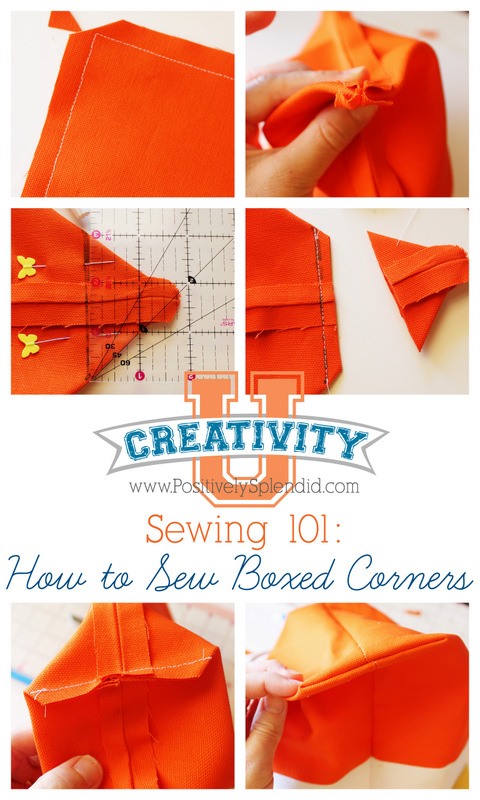
Step 2: Boxing the Corners
- Turn both assembled bag bodies right side out.
- Flatten one bottom corner, aligning the side seam with the bottom seam to form a triangle.
- Measure 2” from the point of the triangle and draw a line across.
- Sew along this line.
- Cut off the excess fabric, leaving a 1/2” seam allowance.
- Repeat on the other bottom corner of both bag bodies.
Phase 3: Joining the Bag Bodies
Step 1: Nesting the Bag Bodies
- Place the Fabric A bag body inside the Fabric B bag body, wrong sides together.
- Align the top edges and pin around the entire perimeter.
Step 2: Sewing the Top Edge
- Sew around the top edge of the bag with a 1/2” seam allowance, leaving a 6” opening for turning. Backstitch at the beginning and end.
Phase 4: Finishing Touches
Step 1: Turning and Pressing
- Carefully turn the bag right side out through the opening.
- Gently push out the corners to create a crisp shape.
- Press the top edge of the bag, ensuring the seam is neatly aligned.
Step 2: Closing the Opening
- Fold the raw edges of the opening inward by 1/2” and press.
- Topstitch around the entire top edge of the bag, approximately 1/8” from the edge, closing the opening and creating a finished look.
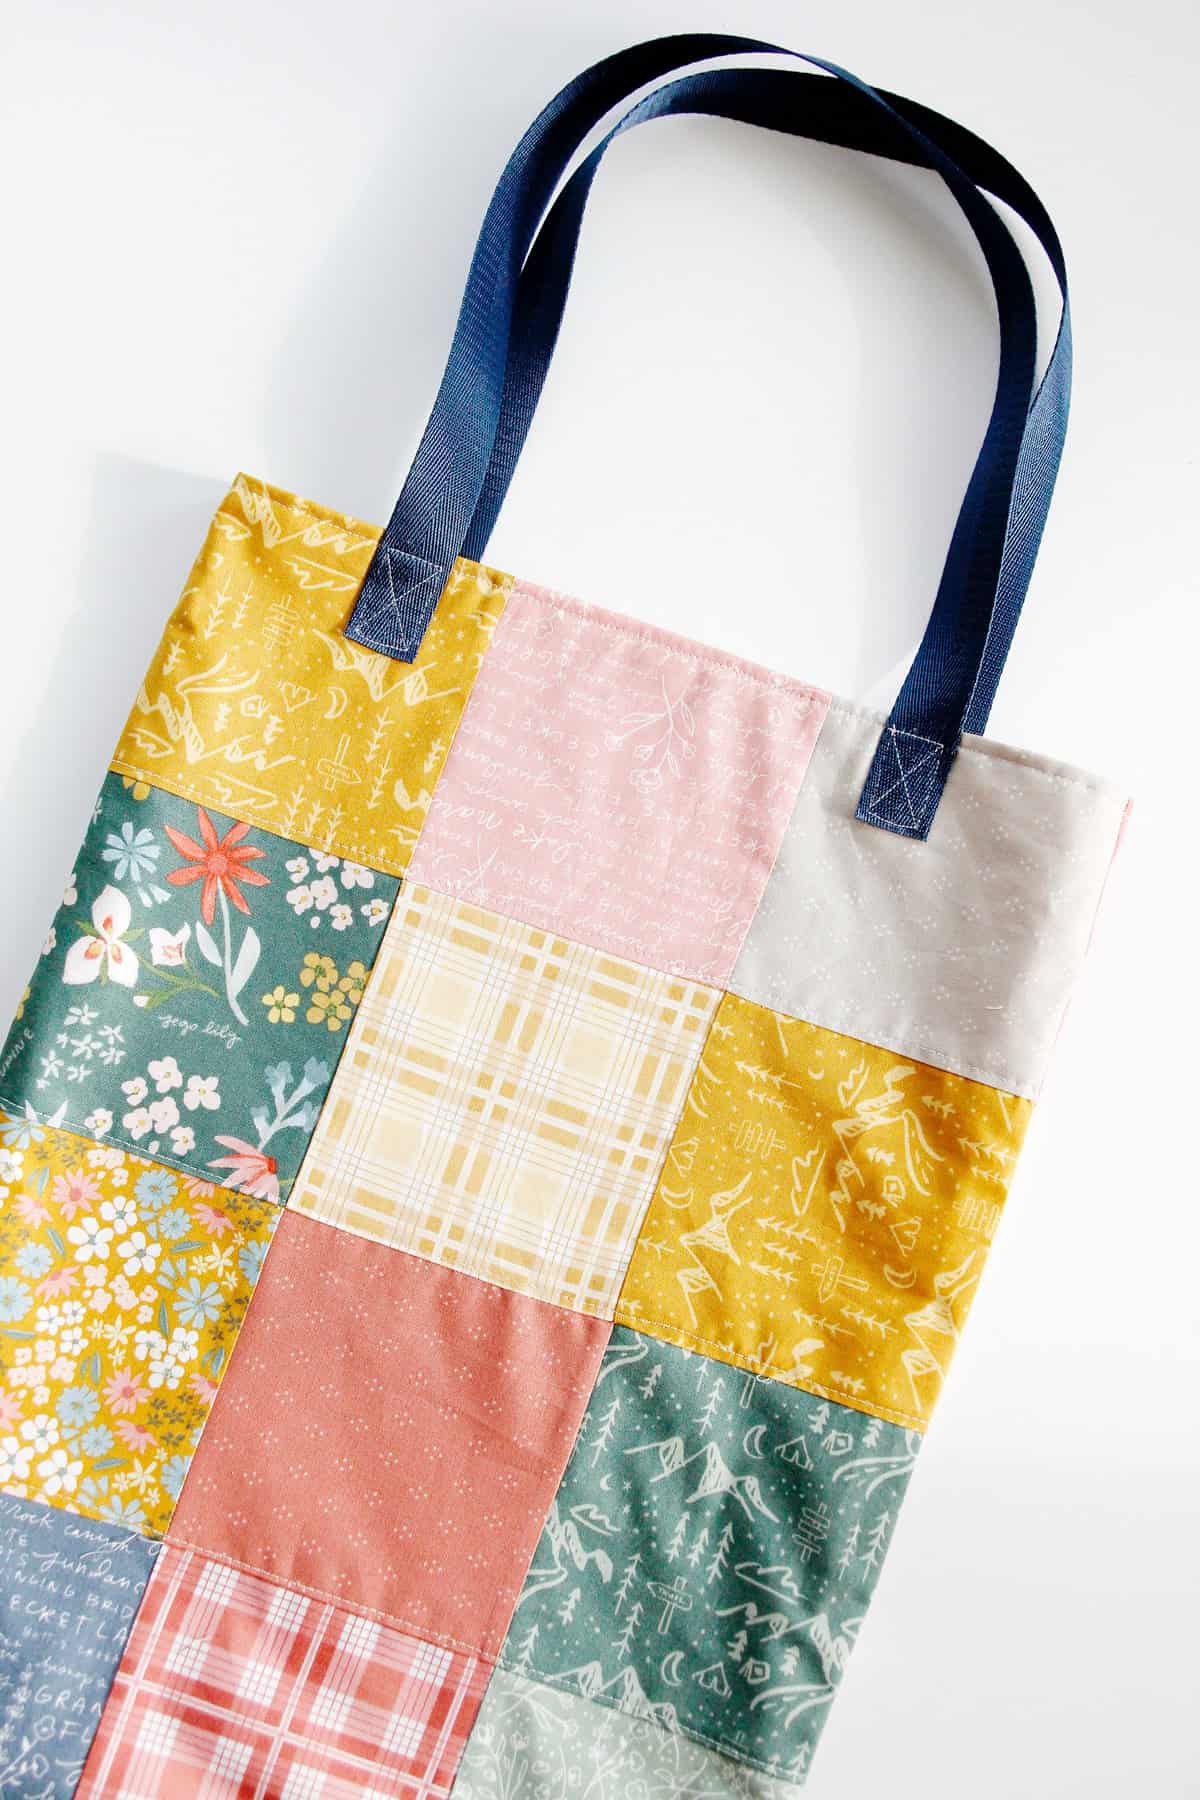
Step 3: Attaching the Handles
- Measure and mark the desired placement for the handles on both sides of the bag (approximately 3” – 4” from the side seams).
- Pin the handles securely to the bag, ensuring they are evenly spaced.
- Sew the handles to the bag with a sturdy stitch, reinforcing the attachment by sewing a square or an “X” shape.
Pro Tips for a Perfect Tote Bag
- Pre-wash your fabric: This prevents shrinkage after the bag is sewn.
- Use a walking foot: This helps feed multiple layers of fabric evenly, especially when working with thicker materials.
- Reinforce the handle attachment: Sew multiple rows of stitching to ensure the handles are securely attached.
- Consider adding a lining: A lining adds extra structure and durability to the bag.
- Experiment with different fabrics: Try using denim, corduroy, or patterned cotton for unique looks.
- Add pockets: Incorporate interior or exterior pockets for added functionality.
- Don’t be afraid to practice: Before working with your final fabric, practice sewing straight lines and corners on scrap fabric.
Professional Help Section
If you’re struggling with a particular step or don’t have access to a sewing machine, consider:
- Local Fabric Stores: Many stores offer sewing classes or can recommend local seamstresses.
- Online Sewing Tutorials: YouTube is a great resource for visual learners.
- Professional Seamstress: A seamstress can complete the project for you, typically costing between $40-$80 depending on complexity.
FAQ Section
Q: What type of fabric is best for a reversible tote bag?
A: Medium-weight cotton, canvas, or linen are excellent choices. They offer a good balance of durability, structure, and ease of sewing.
Q: How can I prevent the handles from stretching out over time?
A: Use sturdy fabric for the handles, reinforce the attachment points with multiple rows of stitching, and consider adding interfacing to the handles for extra support.
Q: Can I add a lining to my tote bag?
A: Absolutely! A lining adds structure and durability. Cut the lining fabric to the same dimensions as the main body pieces and sew it in before attaching the handles.
Q: How do I sew a boxed corner?
A: Flatten the corner, aligning the side and bottom seams. Measure and draw a line, then sew across the line and trim the excess fabric.
Alternative Solutions Section
| Solution | Pros | Cons | Best For |
|---|---|---|---|
| No-Sew Tote Bag (using fabric glue) | Quick and easy, no machine needed | Less durable, not as professional looking | Beginner projects, quick gifts |
| Pre-made Tote Bag Blanks | Convenient, saves time | Limited customization options | Events, bulk orders |
Enjoy Your New Reversible Tote Bag!
Congratulations! You’ve successfully sewn a beautiful and functional reversible tote bag.
Here’s a recap of what you’ve accomplished:
– You learned how to cut and prepare fabric for sewing.
– You mastered the techniques for creating and attaching handles.
– You assembled and finished a reversible tote bag with a boxed corner.
Don’t hesitate to experiment with different fabrics, colors, and patterns to create a collection of unique tote bags.
Share your finished tote bag with us in the comments below! We’d love to see your creations and hear about your experience.


